Key Takeaways:
- Proper calibration of your display increases productivity
- In Windows 10, most displays allow for plenty of calibration options
- Calibration is an important factor in reducing eye strain
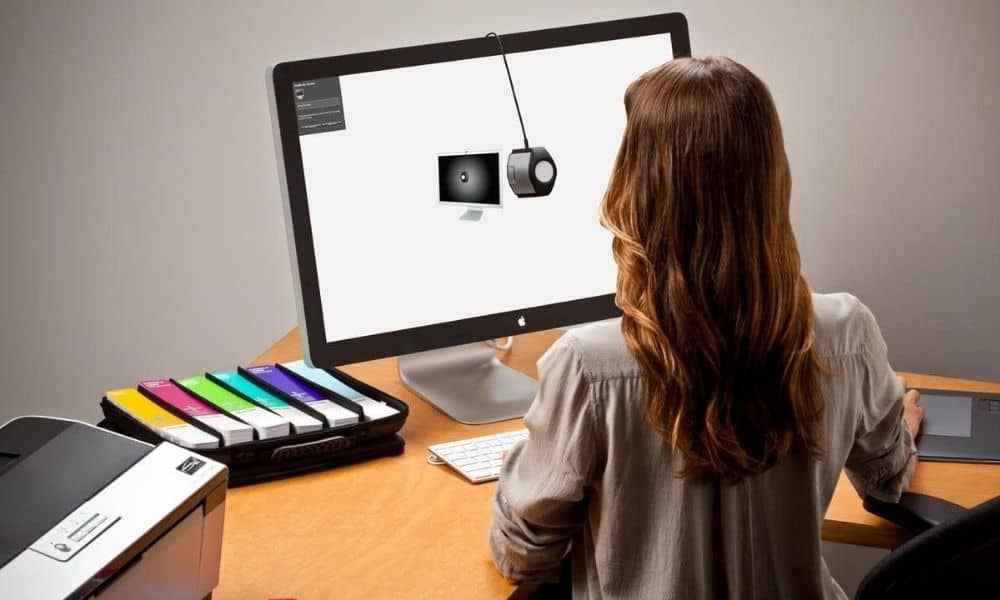
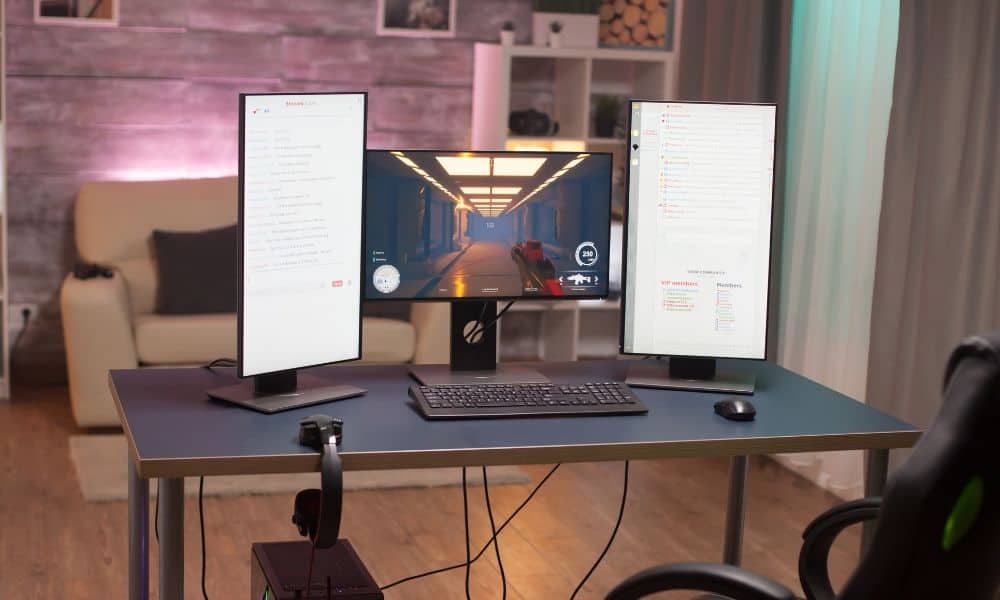
Regardless of what kind of display you’re using and the graphics processing power available to you, proper calibration of your monitor or display is absolutely essential for getting the most out of your user experience both in terms of productivity and healthy, strain-free long-term use. This also includes changing the screen orientation, based on your level of comfort and need. Below, we break down how to calibrate your modern display regardless of your setup.
Calibrating Your Monitor in Windows 10
Here are the steps to get your monitor calibrated for Windows 10 users.
To calibrate your monitor in Windows 10:
- Press the Windows key + I to open Settings
- Click on “Display,” then click “Advanced Display”
- Check that you’re using the recommended screen resolution before continuing
- Click “Color calibration” to run the calibration utility and then click “Next”
Now you’ll be walked through the steps for using your monitor’s control panel in conjunction with the Windows utility. Press “next” to begin.
Related Posts:
- What Should You Use to Clean a Computer Monitor?
- How to Clean a Touch Screen Monitor
- Tips for Cleaning your Monitor Without Leaving Streaks
Steps for the Windows Utility:
- Adjust gamma by moving the sliders until the displayed dots are barely visible, then press next
- Access the brightness controls on your display and change the value based on the image the Windows utility shows you and its specific instructions, then click Next
- Access the contrast controls on your display and change the value based on the image the Windows utility shows you and its specific instructions, then click Next
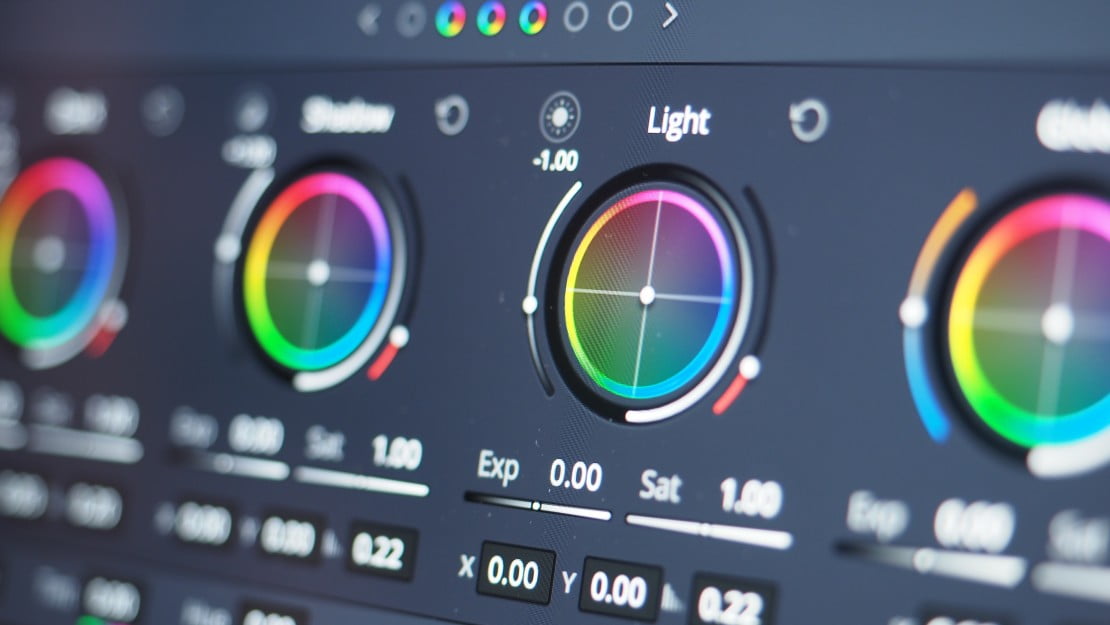
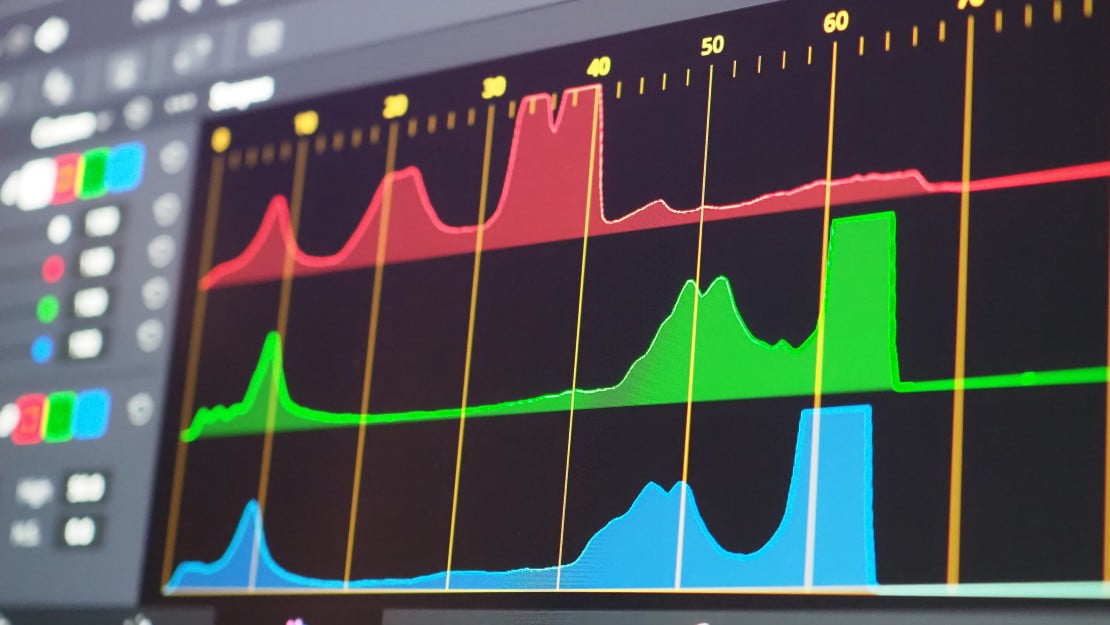
- Adjust color balance using the displayed red, blue, and green sliders until any color cast from the gray bars is cleared. Click Next.
- Compare the changes you’ve made by clicking the Previous or Current calibration buttons. If you’re satisfied with your changes, click Finish (or Cancel, if you wish to start again.)
During the last step, notice that you’ll be given the option to open the ClearType Tuner utility if you want to make adjustments to how your text is displayed. It’s not necessary if you’re fine with your text appearance, but it’s a good option to be aware of.
Although, when the text and fonts of your display are too small, it may be time to buy a new display. To learn more, check out our resource article about how to buy a computer monitor.
Also, keep in mind that any changes you made on the display settings or controls will remain even if you choose to cancel the changes you’ve made via Windows’ calibration utility. Reverting to the factory display settings is as simple as choosing the “default” settings on your monitor’s control panel, and it’s probably a good idea to do so if you’re going to take another pass in the Windows utility.
Related Posts:
STAT:
DisplayPort can offer the most accurate color calibration available, even more than HDMI
https://www.ign.com/articles/2019/09/16/monitor-calibration-how-to-calibrate-monitor
Users with dedicated GPUs may wish to use Nvidia or AMD’s downloadable utilities for calibration
https://www.ign.com/articles/2019/09/16/monitor-calibration-how-to-calibrate-monitor
Native color accuracy can vary significantly in different display models at all price points
https://www.rtings.com/monitor/tests/picture-quality/color-accuracy
Photographers are recommended to not use native or built-in color calibration tools for the best level of accuracy
https://photographylife.com/how-to-calibrate-your-monitor
Sources:
https://www.cnet.com/how-to/how-to-calibrate-your-monitor/
https://www.digitaltrends.com/computing/how-to-calibrate-your-monitor/
https://www.ign.com/articles/2019/09/16/monitor-calibration-how-to-calibrate-monitor
*https://www.youtube.com/watch?v=f1PCG5hXUmE&ab_channel=Techquickie






![Best 27 Inch Computer Monitor in [year] 27 Best 27 Inch Computer Monitor in 2026](https://www.gadgetreview.dev/wp-content/uploads/how-to-buy-the-best-computer-monitor.jpg)
![Best BenQ Monitors in [year] 28 Best BenQ Monitors in 2026](https://www.gadgetreview.dev/wp-content/uploads/best-benq-monitor-image.jpg)
![Best ASUS Monitors in [year] 29 Best ASUS Monitors in 2026](https://www.gadgetreview.dev/wp-content/uploads/best-asus-monitor-image.jpg)
![Best Dell Monitors in [year] 30 Best Dell Monitors in 2026](https://www.gadgetreview.dev/wp-content/uploads/best-dell-monitor-image.jpg)
![Best HP Monitors in [year] 31 Best HP Monitors in 2026](https://www.gadgetreview.dev/wp-content/uploads/best-hp-monitor-image.jpg)
![Best Lenovo Monitors in [year] 32 Best Lenovo Monitors in 2026](https://www.gadgetreview.dev/wp-content/uploads/best-lenovo-monitor-image.jpg)
![Best ViewSonic Monitors in [year] 33 Best ViewSonic Monitors in 2026](https://www.gadgetreview.dev/wp-content/uploads/best-viewsonic-monitor-image.jpg)
![Best Gigabyte Monitors in [year] 34 Best Gigabyte Monitors in 2026](https://www.gadgetreview.dev/wp-content/uploads/best-gigabyte-monitor-image.jpg)
![Best Monitors for PS4 Pro Gaming in [year] 35 Best Monitors for PS4 Pro Gaming in 2026](https://www.gadgetreview.dev/wp-content/uploads/best-monitors-for-ps4-pro-image.jpg)
![Best Monitor for Xbox Series X in [year] 36 Best Monitor for Xbox Series X in 2026](https://www.gadgetreview.dev/wp-content/uploads/best-monitor-for-xbox-series-x-image.jpg)
![Best Acer Monitors in [year] 37 Best Acer Monitors in 2026](https://www.gadgetreview.dev/wp-content/uploads/best-acer-monitor-image.jpg)
![Best MSI Monitors in [year] 38 Best MSI Monitors in 2026](https://www.gadgetreview.dev/wp-content/uploads/best-msi-monitor-image.jpg)
![Best SAMSUNG Monitors in [year] 39 Best SAMSUNG Monitors in 2026](https://www.gadgetreview.dev/wp-content/uploads/best-samsung-monitor-image.jpg)
![Best LG Monitors in [year] 40 Best LG Monitors in 2026](https://www.gadgetreview.dev/wp-content/uploads/best-lg-monitor-image.jpg)
![Best AOC Monitors in [year] 41 Best AOC Monitors in 2026](https://www.gadgetreview.dev/wp-content/uploads/best-aoc-monitor-image.jpg)
![Best Philips Monitors in [year] 42 Best Philips Monitors in 2026](https://www.gadgetreview.dev/wp-content/uploads/best-philips-monitors-image.jpg)
![Best Monitors For PUBG in [year] 43 Best Monitors For PUBG in 2026](https://www.gadgetreview.dev/wp-content/uploads/best-monitor-for-pubg-image.jpg)
![Best Stream Decks in [year] 44 Best Stream Decks in 2026](https://www.gadgetreview.dev/wp-content/uploads/best-stream-deck-image.jpg)
![Best Monitors for Streaming in [year] 45 Best Monitors for Streaming in 2026](https://www.gadgetreview.dev/wp-content/uploads/best-monitor-for-streaming-image.jpg)
![Best Monitors For Flight Simulator in [year] 46 Best Monitors For Flight Simulator in 2026](https://www.gadgetreview.dev/wp-content/uploads/best-monitor-for-flight-simulator-image.jpg)
