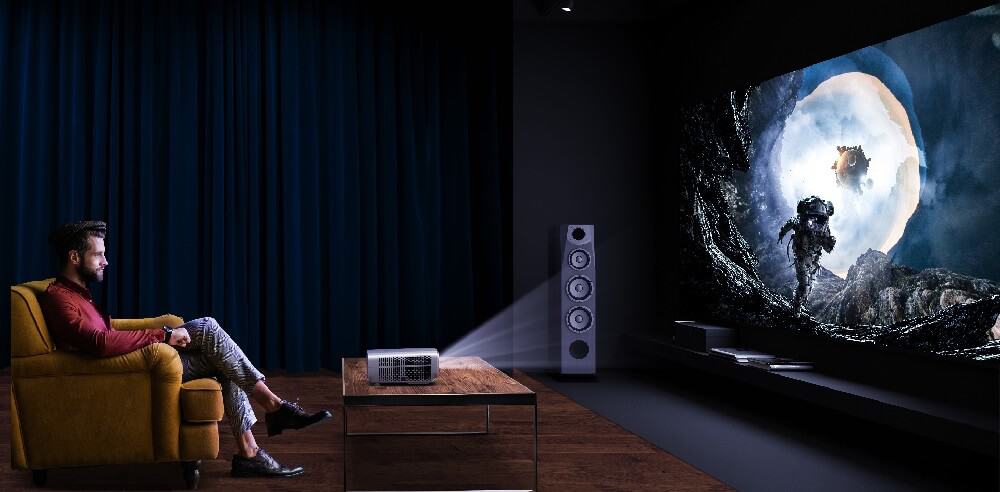
The process of learning how to build a projector screen frame is pretty simple. A finished-edge screen is always going to look more refined. Then, you can use a flat-screen or make your own curved projector screen. Once you have the screen height and size figured out, you’re ready to use the best projectors to their fullest potential.
KEY TAKEAWAYS:
- First, you’ll need to measure the screen fabric and see what you need for frame dimensions before you begin building.
- Next, you’ll need to choose the frame material, which usually comes down between a wooden or PVC frame.
- Always locate the appropriate wall studs when you hang your affordable screen since doing otherwise can cause damage to your home.
Building a DIY Projection Screen Frame
In a few simple steps, you can turn that cheap DIY screen into your dream screen. While wide varieties of options are great, they aren’t strictly necessary. You don’t need an infinite amount of raw material to build your dream screen.
Insider Tip
Watch out for sharp corners while working with DIY projects, and use hand protection when necessary.
To continue the theme of DIY projects, it’s never a bad idea to learn how to hang a projector screen.
Building a DIY Projection Screen Frame
After picking out your projection screen material, the next step is building a beautiful frame for it. The screen size will matter a great deal. Always purchase or create a screen before getting a frame ready for it.
Once you’ve built your frame, you should continue your research. Asking, “What is a projector color wheel?” and “How do projectors work outside?” will help you achieve the highest image quality possible.
STEP 1
Figure out the dimensions of your screen. Measure the screen height that you’ve chosen. Then, measure the width. This will give you your overall screen size.
STEP 2
After this, you’ll need to figure out how big the frame for your finished-edge screen should be. You’ll simply take the dimensions from your screen and add on any extras. This includes velvet trim.
STEP 3
Cut PVC or wood strips to the correct dimensions. You should have four pieces of wood that fit perfectly together. Put these pieces of wood aside for now.
STEP 4
You’ll now make more PVC or wood strips. These will attach to the top and bottom of the frame and provide stability to the frame projector screen.
STEP 5
Begin drilling and putting together all of the different pieces. Be careful during this process not to hurt yourself, and wear PPE when necessary. Eye protection is never a bad idea.
STEP 6
Once you have everything securely attached, you have a custom projector screen frame ready to use. Your new frame projector screen will provide that classic movie theater look you’ve been dreaming about.
F.A.Q.S
What projector screen material is best?
That depends on the type of screen you’re going for. For DIY projector screens, these are all acceptable materials:
- Light bed sheet
- Blackout curtain
- White sheet
How do I create the perfect backyard theater?
A backyard theater is about more than just fun movie nights viewed on a backyard movie screen. To have an amazing movie night, you need to understand quite a bit. Once you learn about technicalities like aspect ratio, your backyard theater will be easier to create.
Can I use a white wall for my projection screen?
A white wall won’t be the best for image quality. However, it’ll work just fine in a pinch. You can also use a white sheet, so long as you keep the screen fabric taut.
STAT: Projection screens may be permanently installed, as in a movie theater; painted on the wall;[1] or portable with tripod or floor rising models as in a conference room or other non-dedicated viewing space. (source)
REFERENCES:
- https://www.researchgate.net/publication/228986297_A_Portable_Projector_Extended_for_Object-Centered_Real-Time_Interactions
- https://www.youtube.com/watch?v=tM_1oGp_D7o
- https://www.researchgate.net/publication/220587807_Low-Cost_Smart_Projector_for_Home_Entertainmentr
- https://citeseerx.ist.psu.edu/viewdoc/download?doi=10.1.1.100.8777&rep=rep1&type=pdf
- https://www.youtube.com/watch?v=bEjq-pF20pI











![Best Projectors for Daylight Viewing in [year] 27 Best Projectors for Daylight Viewing in 2026](https://www.gadgetreview.dev/wp-content/uploads/best-projector-for-daylight-viewing-image.jpg)
![Best Samsung Projectors in [year] 28 Best Samsung Projectors in 2026](https://www.gadgetreview.dev/wp-content/uploads/best-samsung-projectors-image.jpg)
![Best NEC Projectors in [year] 29 Best NEC Projectors in 2026](https://www.gadgetreview.dev/wp-content/uploads/best-nec-projectors-image.jpg)
![Best Acer Projectors in [year] 30 Best Acer Projectors in 2026](https://www.gadgetreview.dev/wp-content/uploads/best-acer-projectors-image.jpg)
![Best Quiet Projectors in [year] 31 Best Quiet Projectors in 2026](https://www.gadgetreview.dev/wp-content/uploads/best-quiet-projector-image.jpg)
![Best Projectors for Golf Simulator in [year] 32 Best Projectors for Golf Simulator in 2026](https://www.gadgetreview.dev/wp-content/uploads/best-projector-for-golf-simulator-image.jpg)
![Best Conference Room Projectors in [year] 33 Best Conference Room Projectors in 2026](https://www.gadgetreview.dev/wp-content/uploads/best-conference-room-projector-image.jpg)
![Best InFocus Projectors in [year] 34 Best InFocus Projectors in 2026](https://www.gadgetreview.dev/wp-content/uploads/best-infocus-projectors-image.jpg)
![Best Mini Projector in [year] ([month] Reviews) 35 Best Mini Projector in 2026 (January Reviews)](https://www.gadgetreview.dev/wp-content/uploads/best-mini-projector-image.jpg)
![Best Panasonic Projectors in [year] 36 Best Panasonic Projectors in 2026](https://www.gadgetreview.dev/wp-content/uploads/best-panasonic-projectors-image.jpg)
![Best Sony Projectors in [year] 37 Best Sony Projectors in 2026](https://www.gadgetreview.dev/wp-content/uploads/best-sony-projectors-image.jpg)
![Best Projector Stands in [year] 38 Best Projector Stands in 2026](https://www.gadgetreview.dev/wp-content/uploads/best-projector-stand-image.jpg)
![Best Ultra Short Throw Projectors in [year] 39 Best Ultra Short Throw Projectors in 2026](https://www.gadgetreview.dev/wp-content/uploads/best-ultra-short-throw-projector-image.jpg)
![Best Projectors for a Living Room in [year] 40 Best Projectors for a Living Room in 2026](https://www.gadgetreview.dev/wp-content/uploads/best-projector-for-living-room-image.jpg)
![Best RCA Projectors in [year] 41 Best RCA Projectors in 2026](https://www.gadgetreview.dev/wp-content/uploads/best-rca-projectors-image.jpg)
![Best Optoma Projectors in [year] 42 Best Optoma Projectors in 2026](https://www.gadgetreview.dev/wp-content/uploads/best-optoma-projectors-image.jpg)
![Best BenQ Projectors in [year] 43 Best BenQ Projectors in 2026](https://www.gadgetreview.dev/wp-content/uploads/best-benq-projectors-image.jpg)
![Best Projectors for Church in [year] 44 Best Projectors for Church in 2026](https://www.gadgetreview.dev/wp-content/uploads/best-projector-for-church-image.jpg)
![Best Projectors for Classroom in [year] 45 Best Projectors for Classroom in 2026](https://www.gadgetreview.dev/wp-content/uploads/best-projector-for-classroom-image.jpg)
![Best Epson Projectors in [year] 46 Best Epson Projectors in 2026](https://www.gadgetreview.dev/wp-content/uploads/best-epson-projector-image.jpg)
