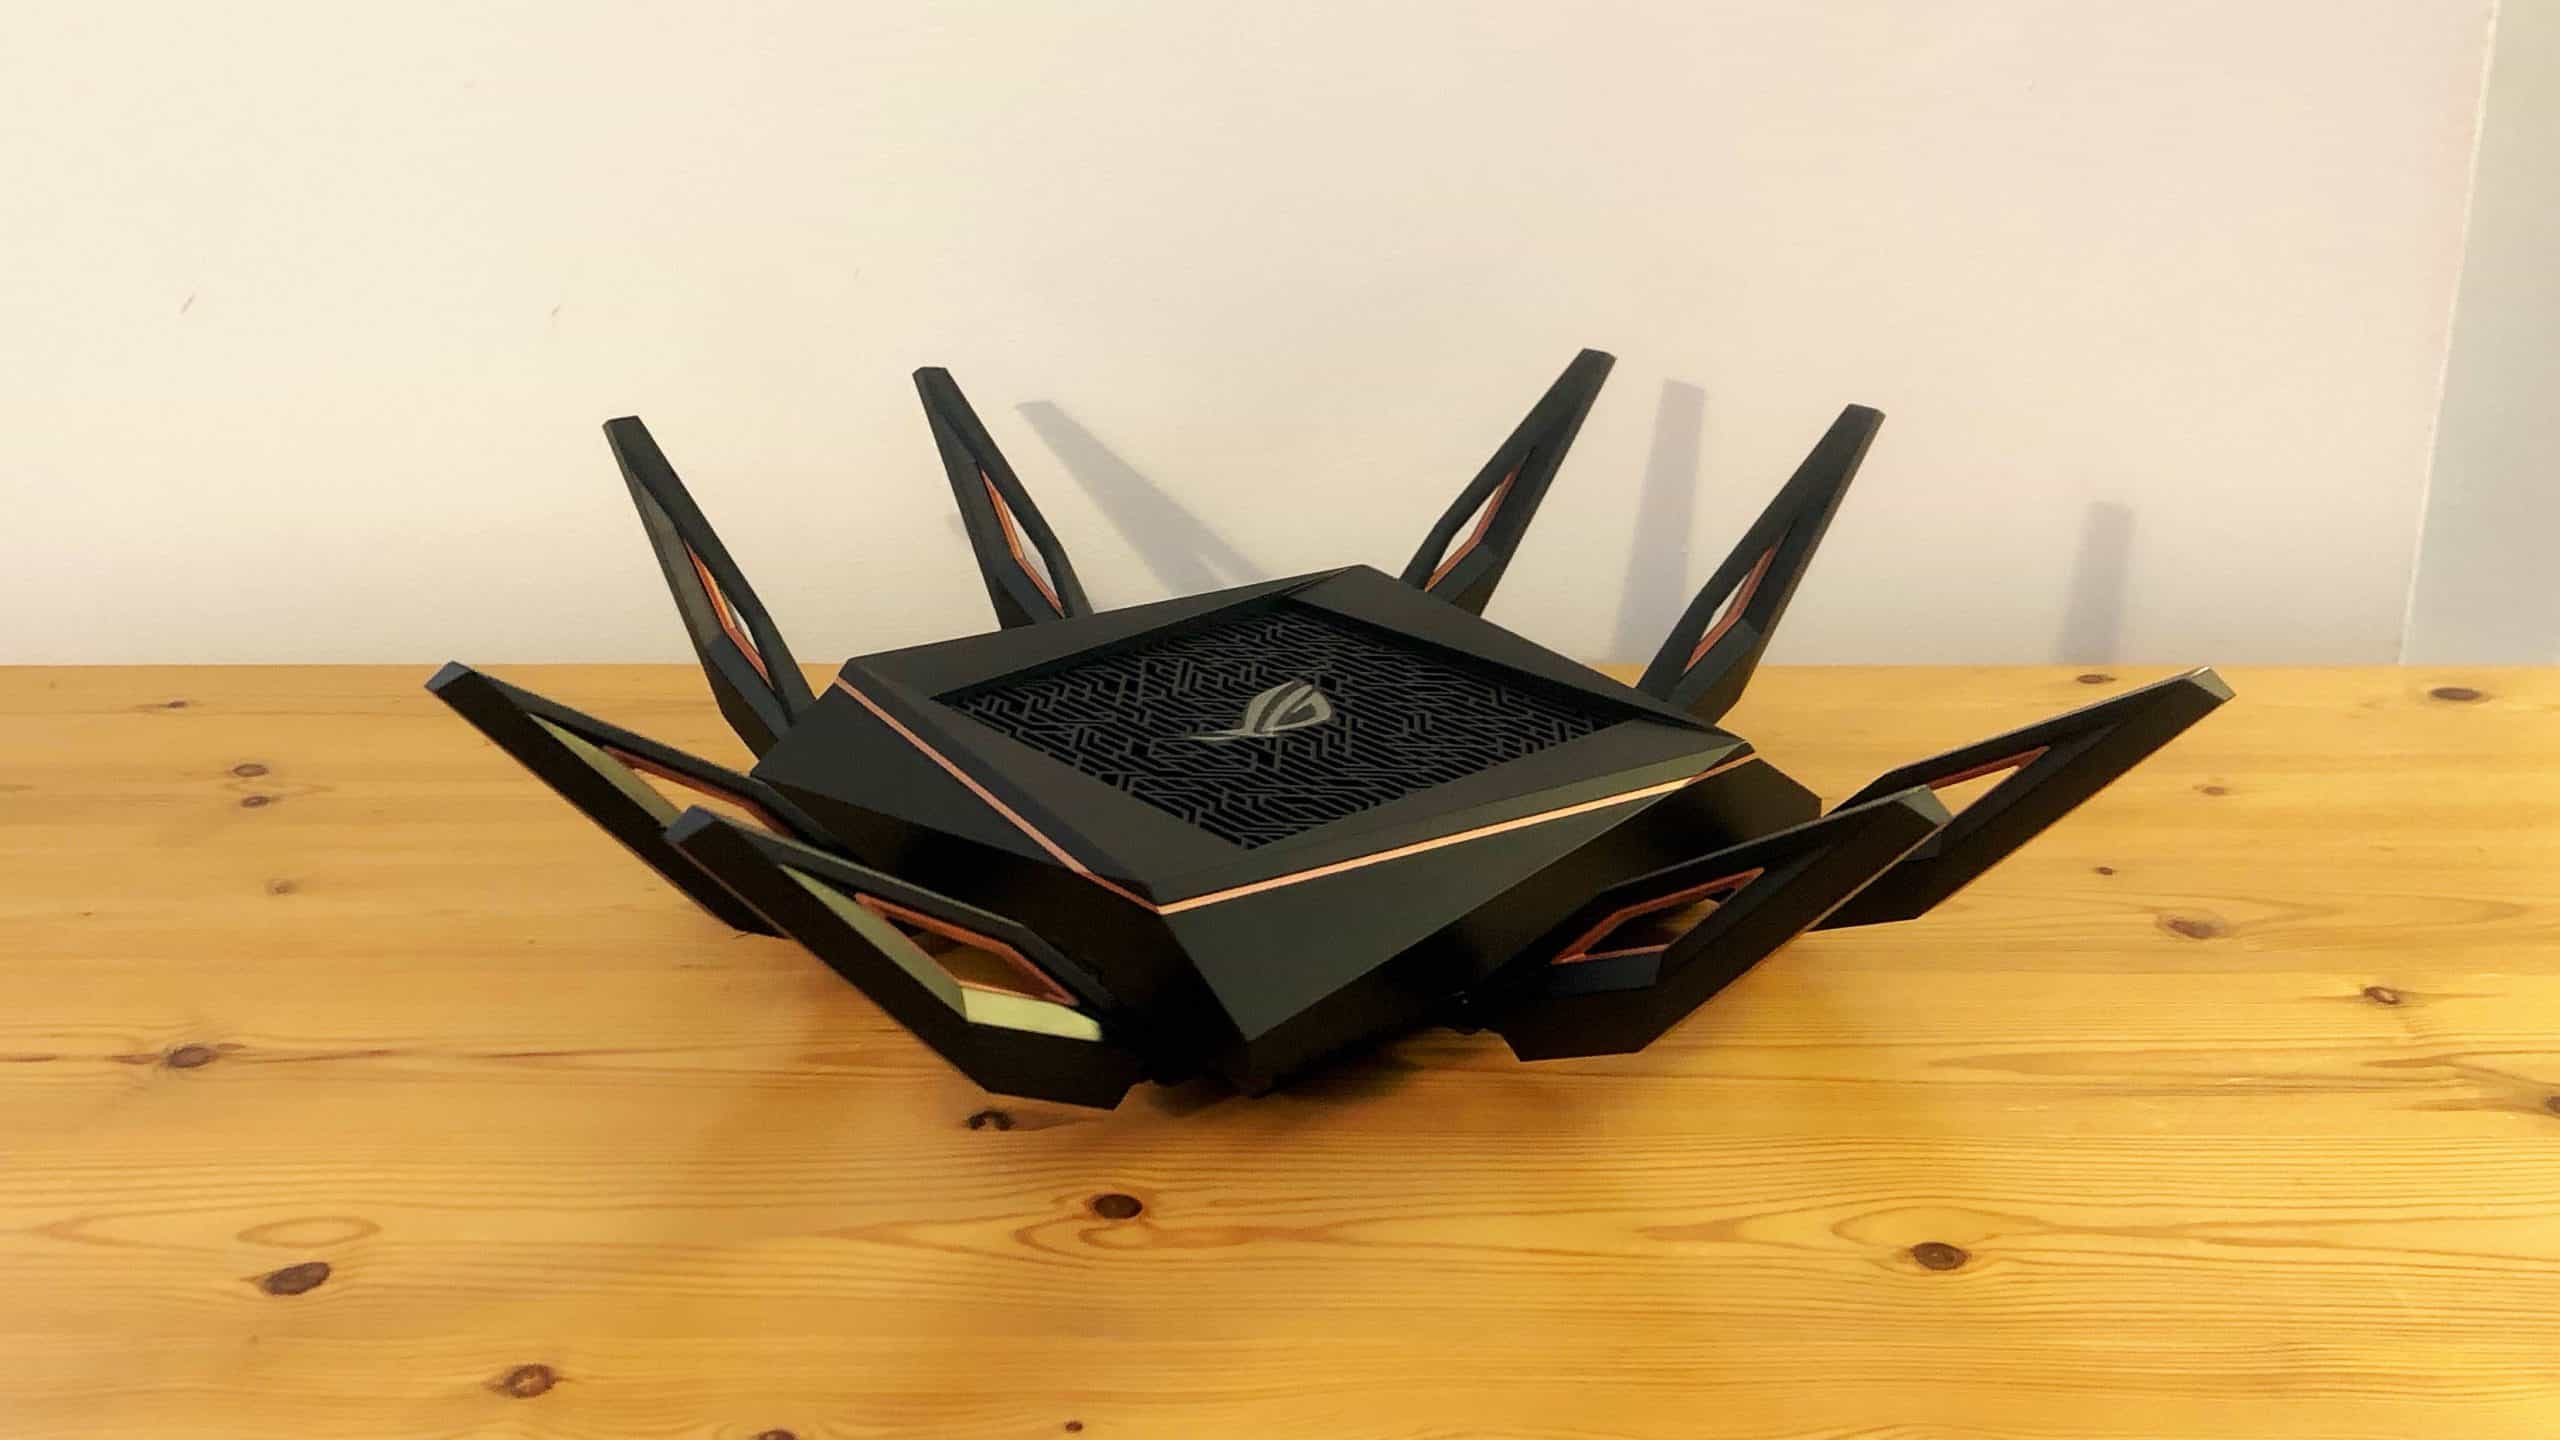
Read about the best network switches and learn about your router below.
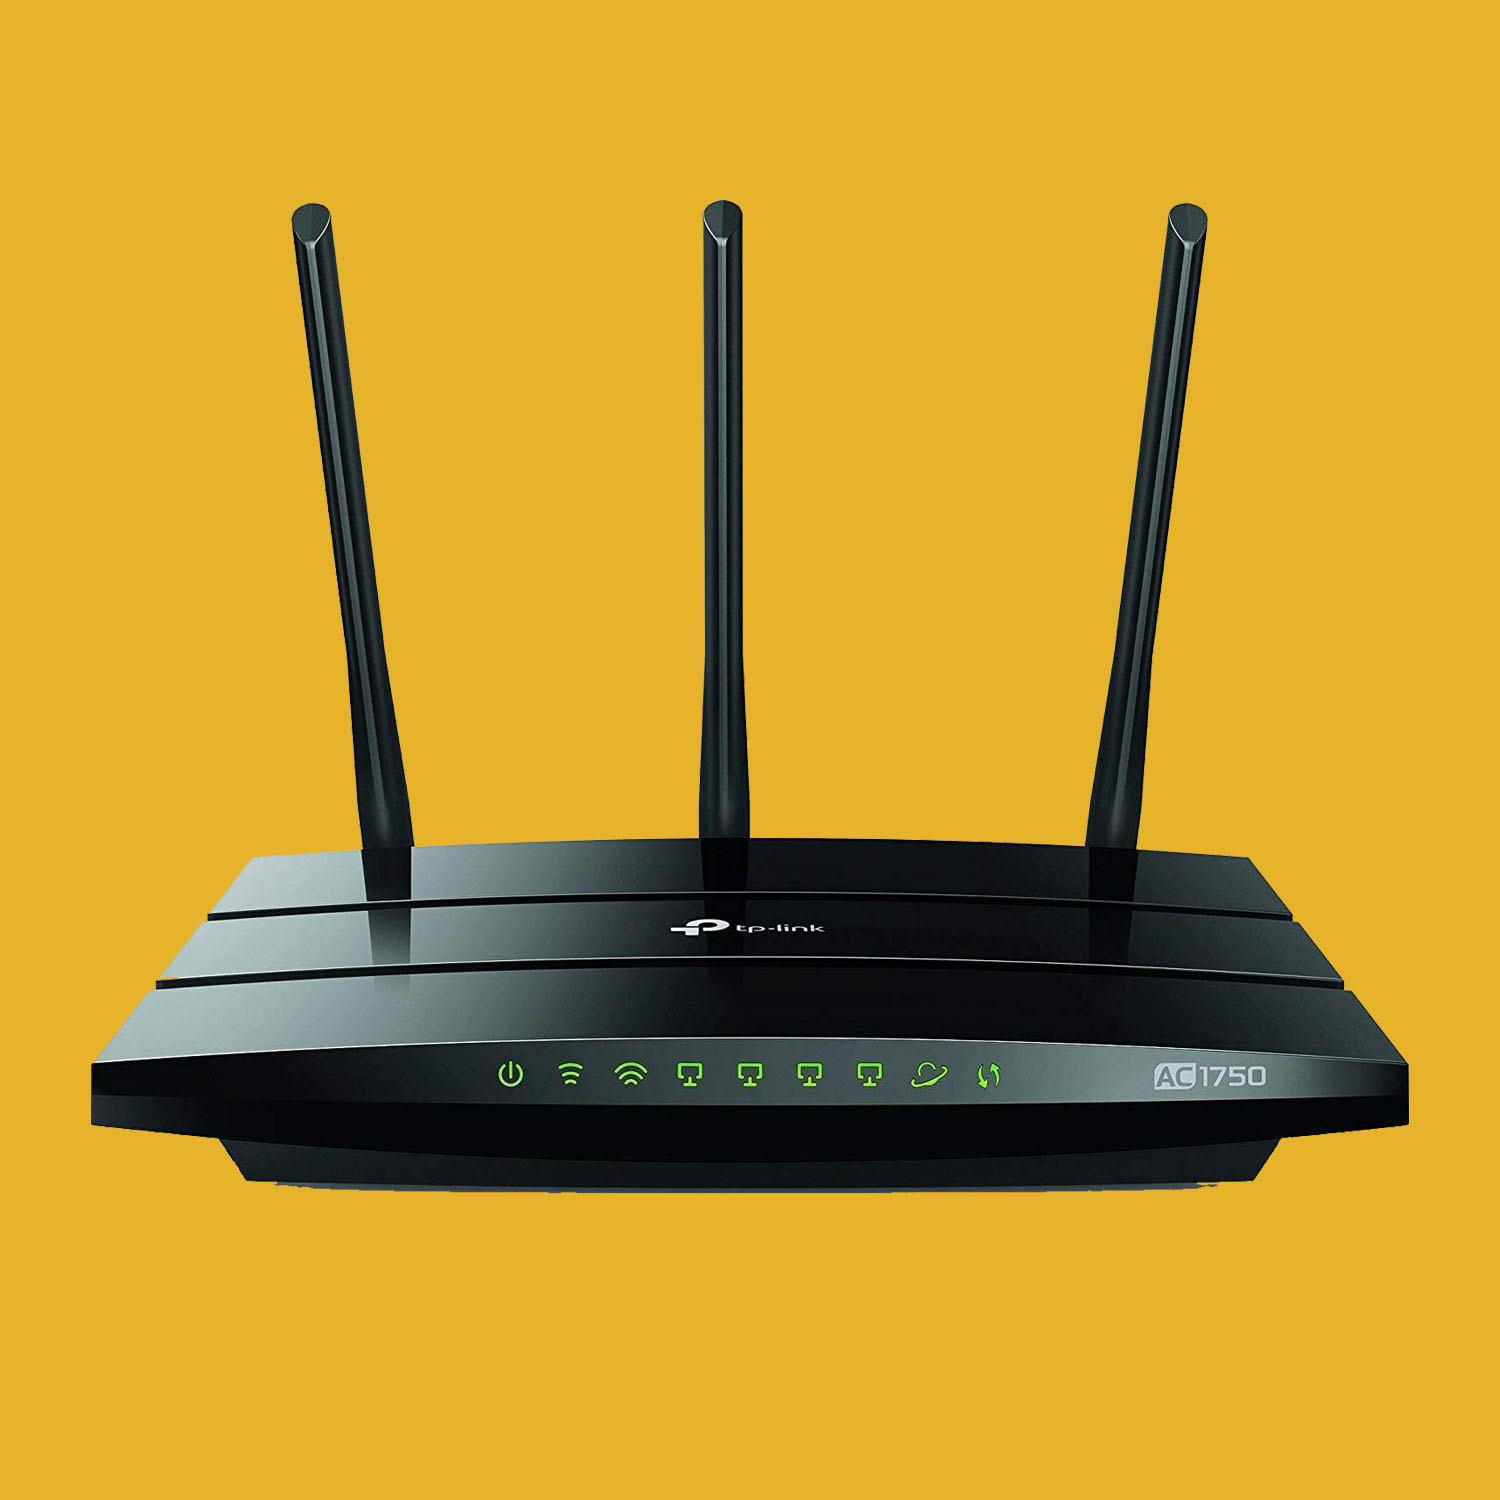
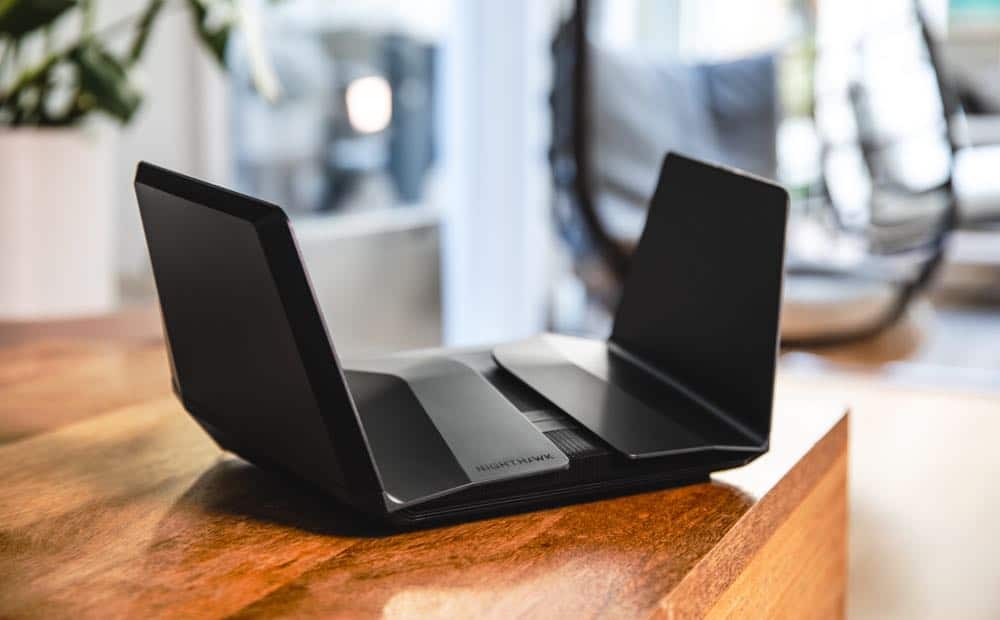
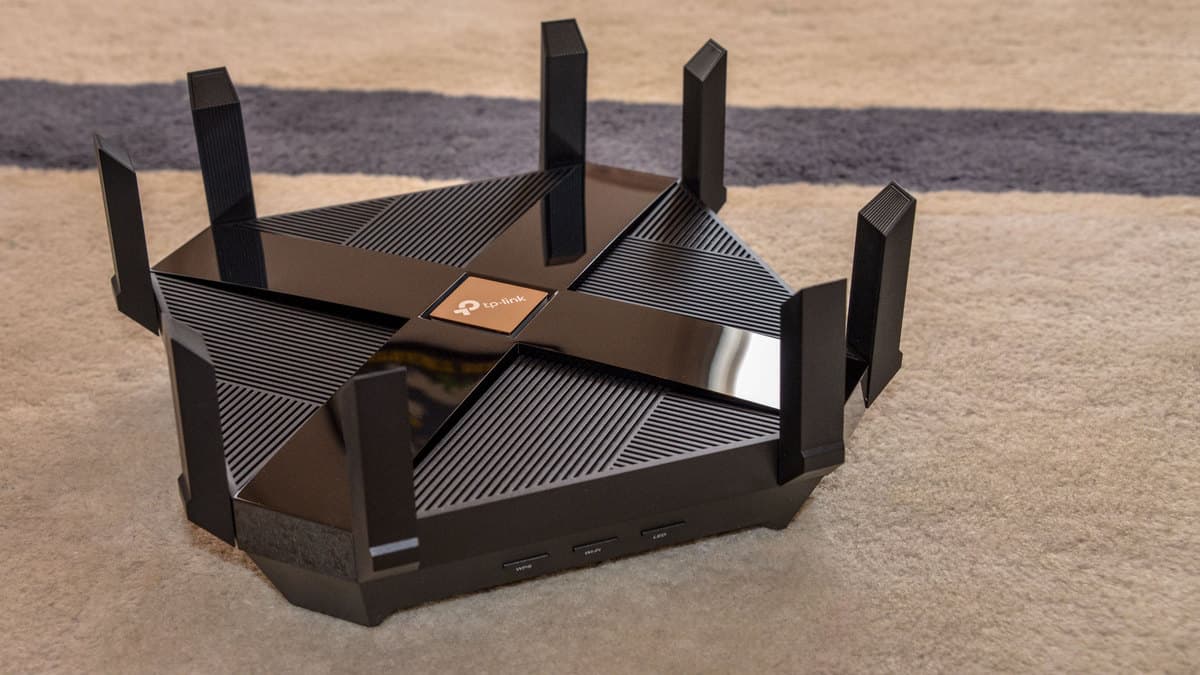
Learn how to set up a router like the TP-Link Archer A20 Smart Wi-Fi Router. Or, you could use a hotspot, like the one in our Verizon Jetpack MiFi 4G hotspot review. It’s not as hard as you think? With so many new routers hitting the scene last year packed to the brim with features like 802.11ad transmission and mesh range extenders, figuring out how to setup a wireless router isn’t always as straightforward as you might think. Buying the router is only half the battle, and knowing how to set up your new device is imperative to getting your home WiFi network up, running, and secured in 20 minutes or less! Learn when and Why You Should Buy A New Wireless Router.
Things You’ll Need
- A wireless router
- Ethernet Cable
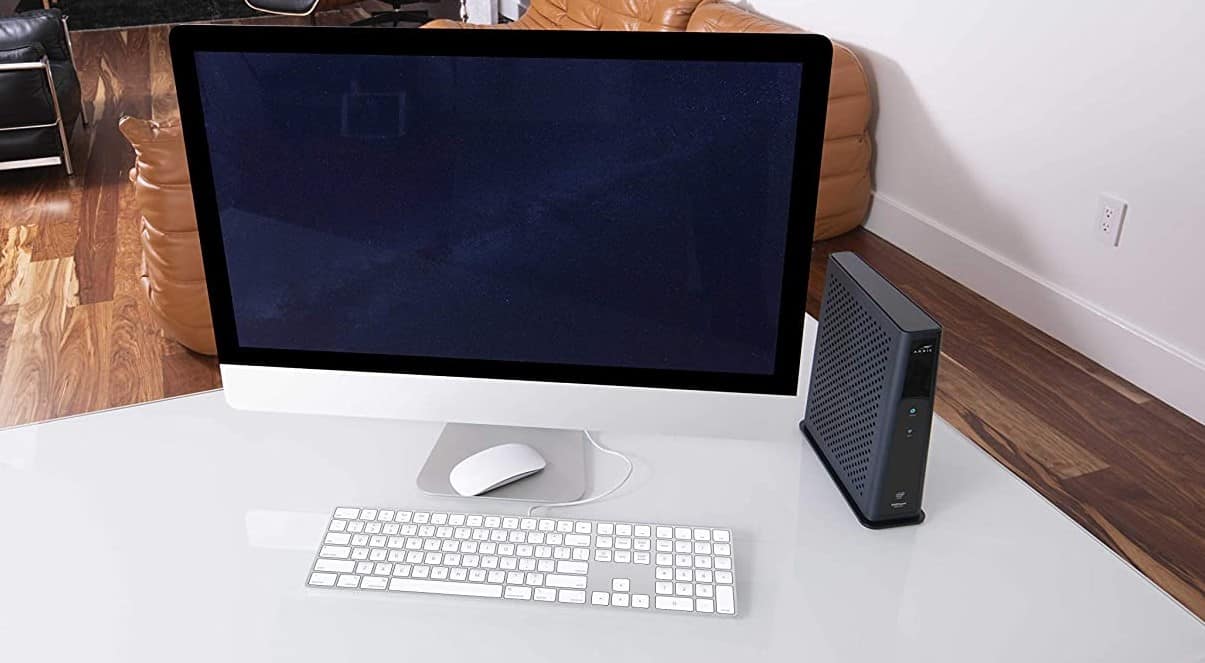
- An internet modem
- An internet subscription
Setting Up a Wireless Router
1. Getting Things Hooked Up
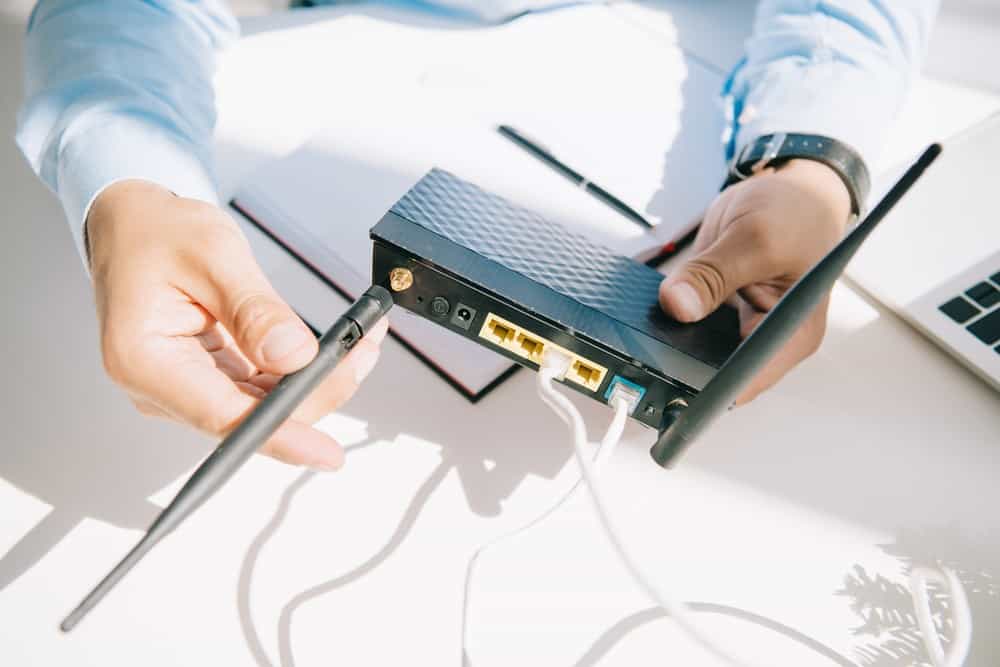
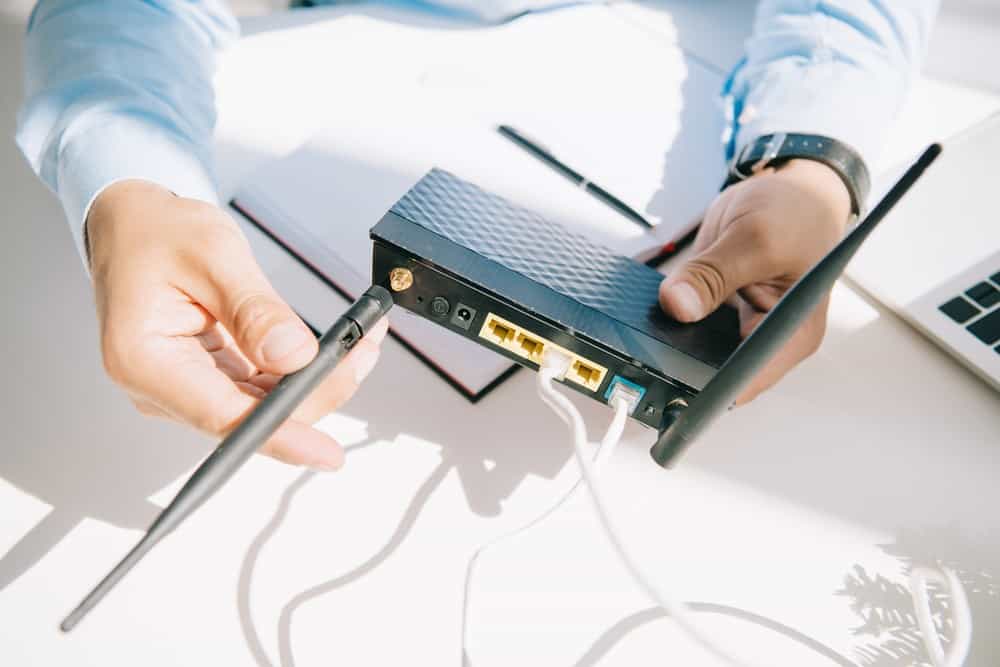
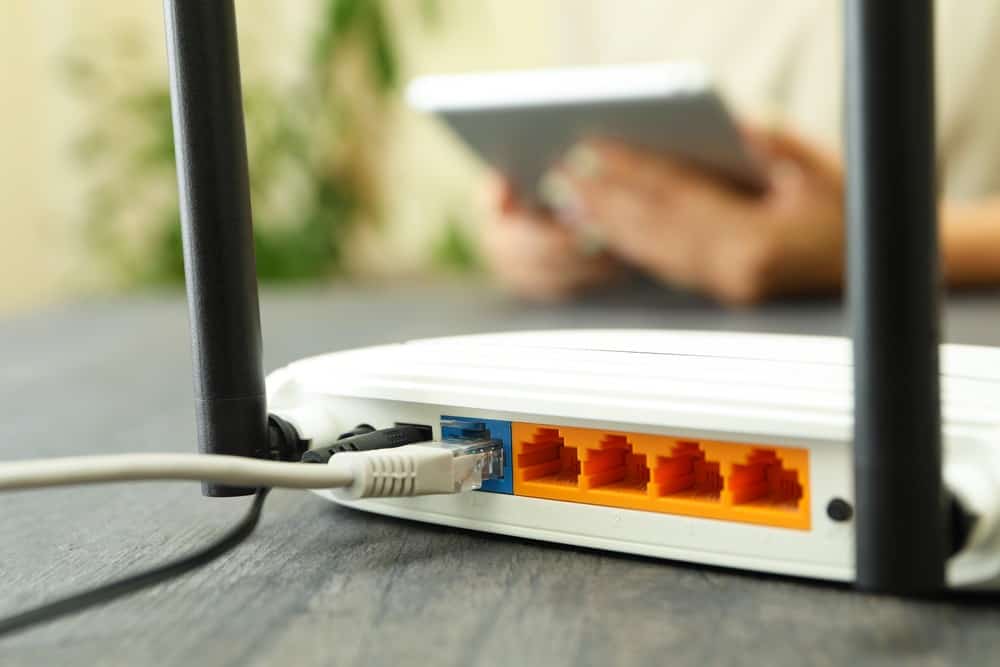
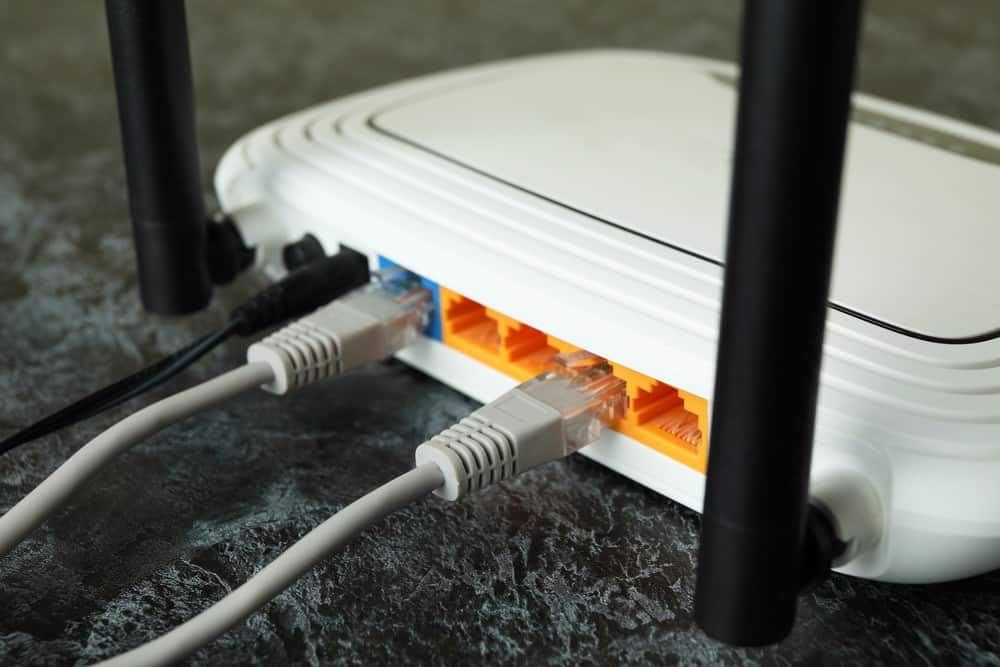
The first step in any router setup is to pull everything you need out of the box, and take stock of what you have to work with. If you’re buying your router brand new it should come with its own 3ft (or more, in some cases) Ethernet cable that you can use to hook up to your modem. You might also want the Belkin WeMo Switch review if you want to upgrade your home internet further.
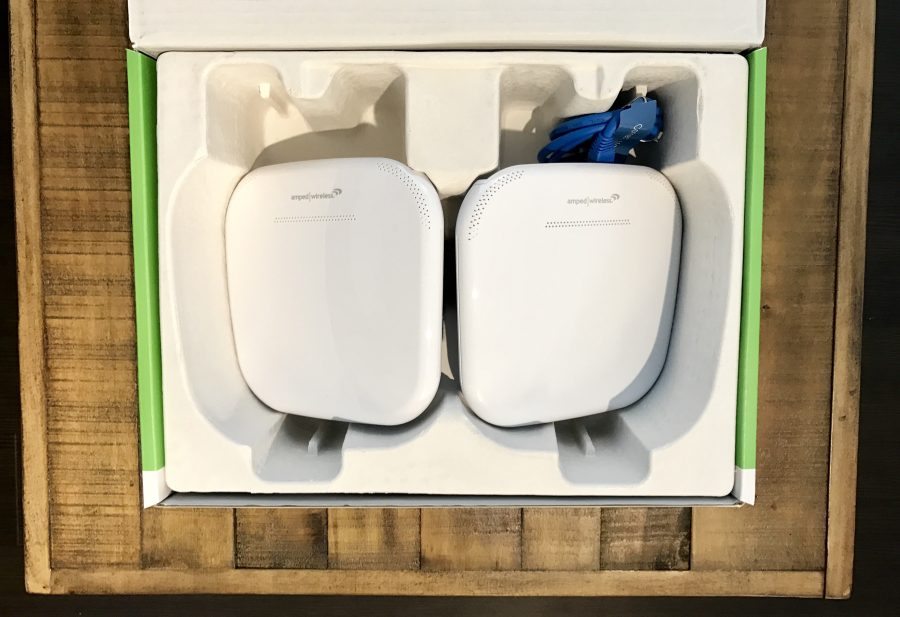
Once you have everything unpackaged, plug in the router to a wall, preferably in a space that’s close enough to your modem so the cord you have can reach. If you’re worried about range from the modem or don’t have mesh extenders, you can buy 25ft Ethernet cables off Amazon for only $7.99.
2. Choose Your Setup Platform
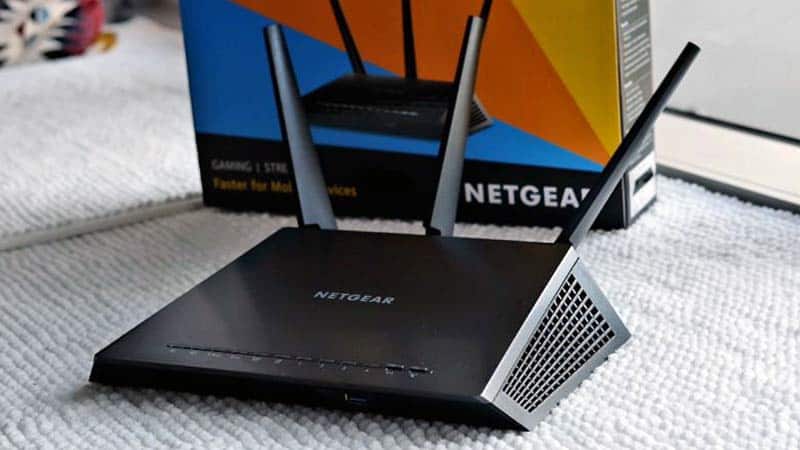
After the router runs through its bootup process, you should see a new WiFi network in your vicinity that’s named after the manufacturer themselves. For example, a router made by Netgear might have “NETGEAR-39” as the network that you can connect to from the device of your choosing.
Which brings us to the next step: picking your setup platform. While the traditional route of using your desktop or laptop to setup the router is still a solid way to go, many of the bigger manufacturers like Linksys and Netgear have begun turning to mobile platforms as an easier way to get you up and running in a matter of minutes, rather than the hours it used to take in the old days.
No matter which platform you choose though, the steps beyond this point all remain the same, so don’t feel like you’re missing out on anything if you choose to go desktop over mobile, or vice versa. Take a look at our TP-Link TL-MR3020 3G/4G wireless N150 portable router review.
3. Connect to the Network
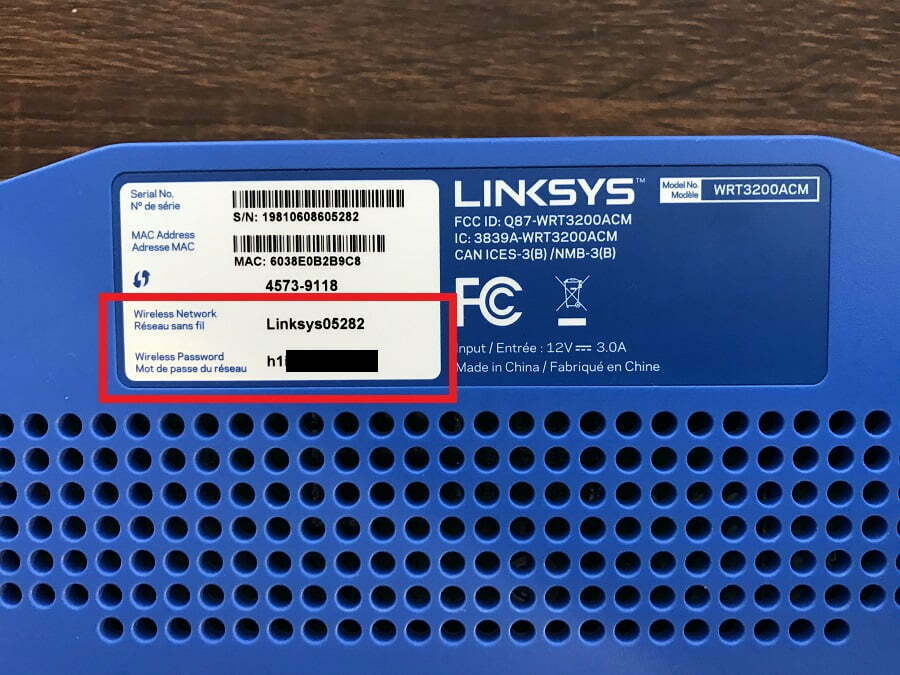
Once you’ve found the new wireless network on the device you plan to use, it’s time to connect. Although this isn’t true for older routers, pretty much any made in the past five years will start out as a WPA2-protected network. To find the default password for it, either consult your router’s manual, or flip it over and look on the bottom.
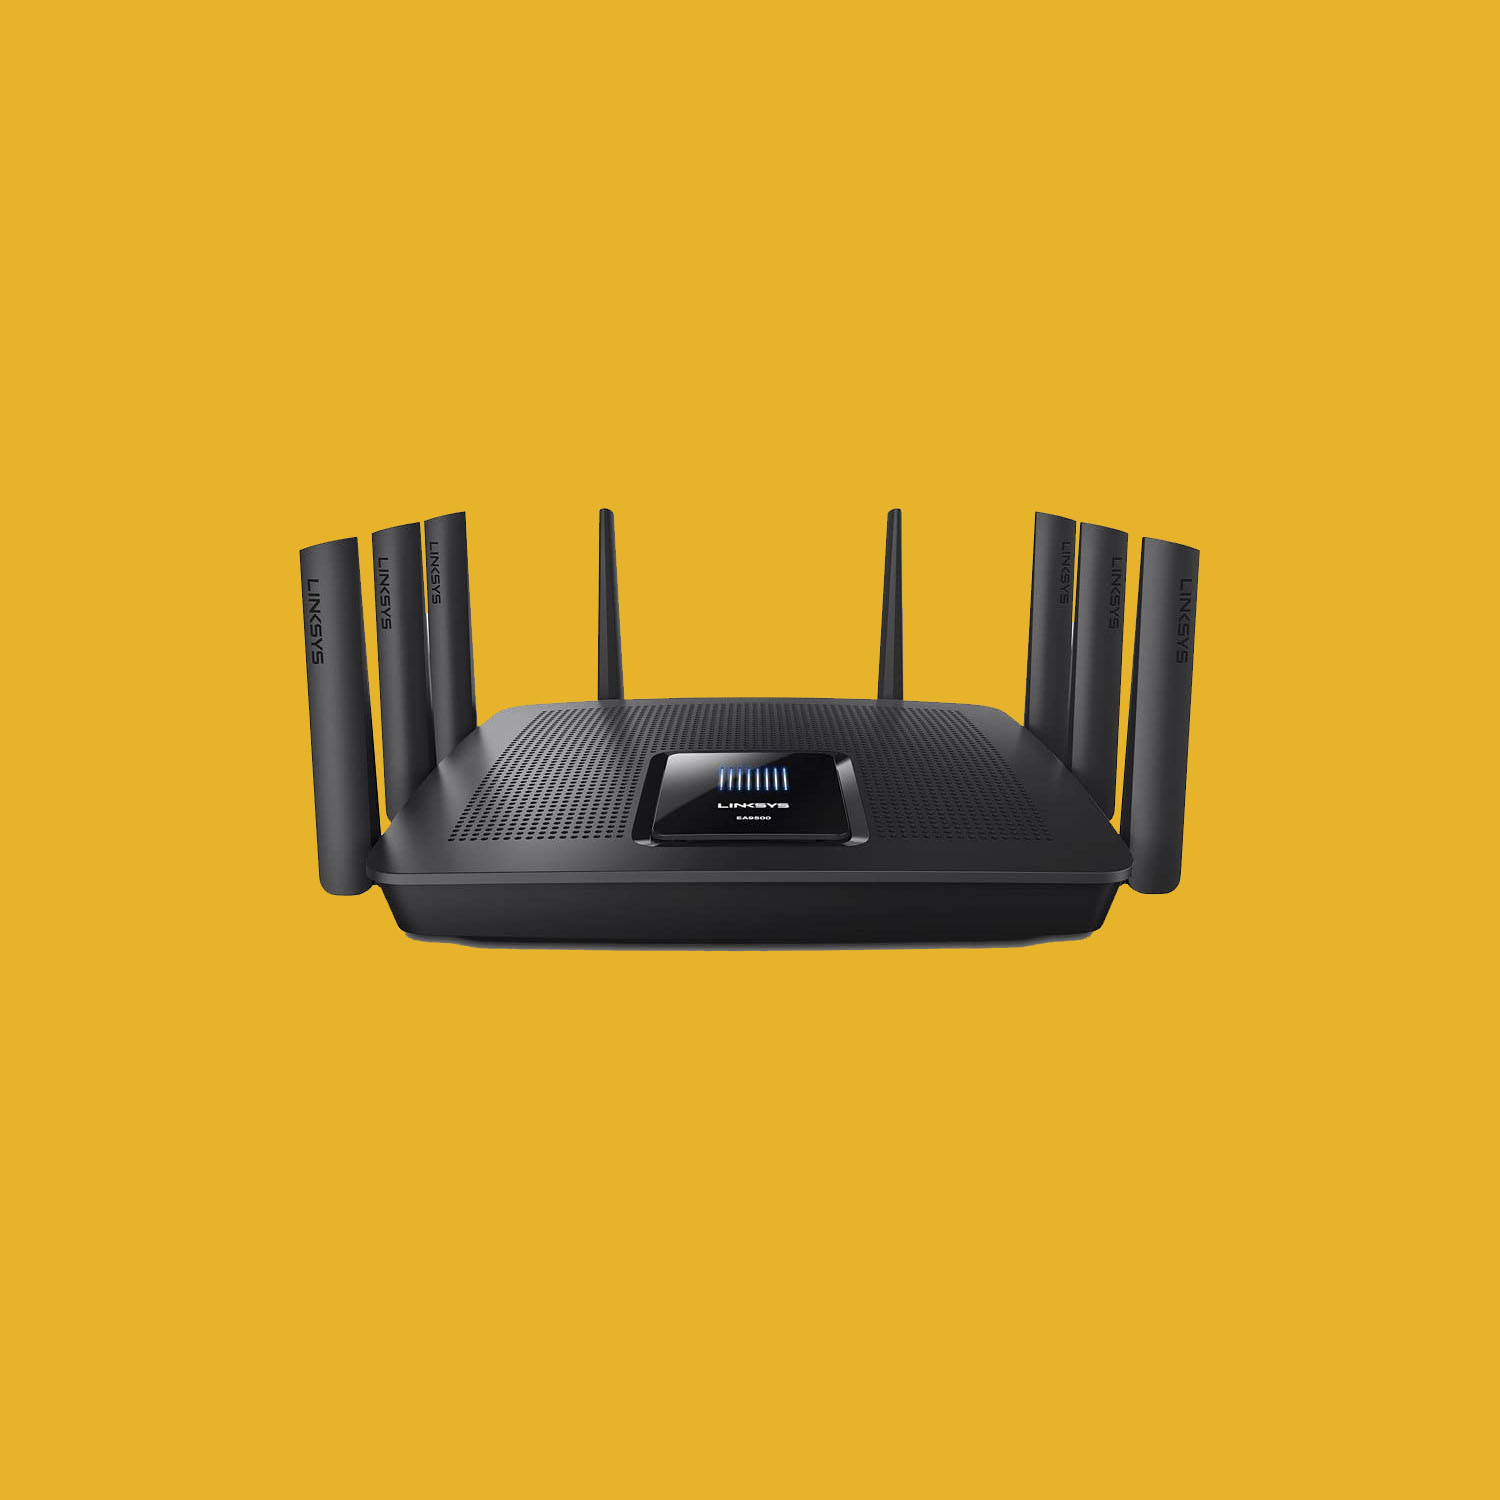
Many routers will include both the default SSID and the password somewhere on the router itself, as a backup just in case you lose your documentation at some point in the process. It should look something like the example below, found on the Linksys 3200ACM which we had the pleasure of reviewing earlier this year (and also topped our list as the #1 Top Wireless Router for 2018).
Once you’re connected, the process of getting your router through its actual configuration process will differ, depending on the manufacturer. We’re going to go through the general steps that all routers will ask you to complete, as well as go over a few of the features you should have enabled, but unfortunately there’s no way to write a master guide on the setup steps from here because they vary between different hardware makers and software approaches.
4. Enter New Credentials
Although it may be tempting to simply leave your router at the configuration it came with out of the box and call it a day, we recommend changing both the default SSID and password to something unique to your home. Oftentimes, prospective hackers will look for networks that carry default SSIDs (NETGEAR-39, for example) as easier targets than those with more complicated names, as a default configuration shows that not much effort must have been paid to the rest of the setup, making it all that much easier for them to get in.
Another option is to stop publicly broadcasting the SSID altogether, a good move for the especially security conscious among us. Again, how you actually do this will change depending on the router dashboard you’re using and the platform you’re connecting through, but consult your user’s manual to find the location of these settings and learn how they can be toggled on or off accordingly.
5. Enable Extra Features
As we’ve already mentioned a few times (and this will be the last, we promise), the exact extra features you’re going to get from your router are going to be wildly different depending not only on the manufacturer, but also the cost tier of the router you’re trying to setup.
Read More: Top Wireless Router for 2018 – The In-Depth Buyer’s Guide
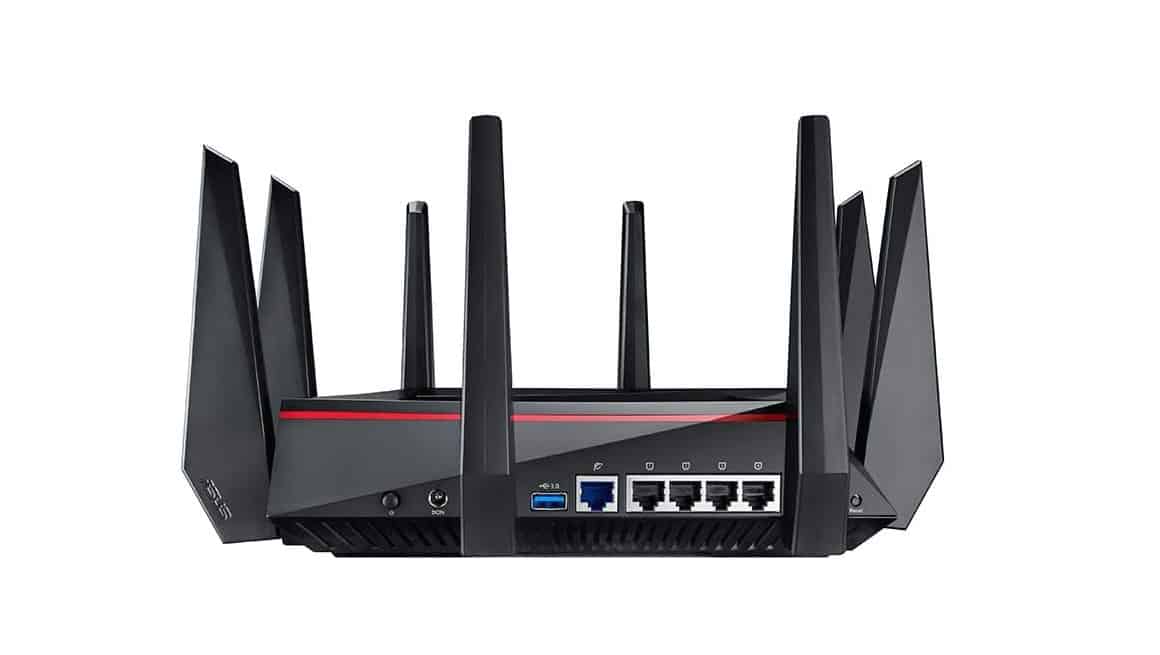
Some of the more common features we can comment on, however, include things like the option to turn your router into a home-based media server (check the back of your router for a USB port, this is the first indication). Others like parental controls and firewall configurations are a must for big homes with a lot of people who browse at the same time, and if your router comes with choices like phishing filters and DDoS protection, this is also the time to get it enabled so you don’t have to come back and worry about it later.
6. Connect to Your Modem
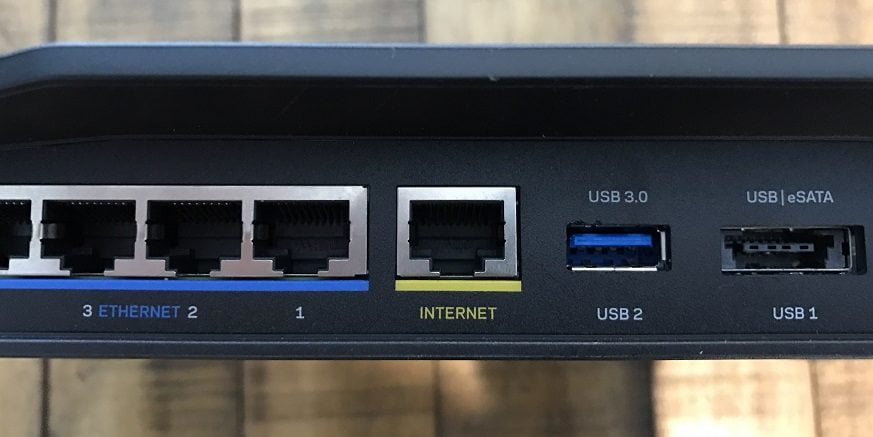
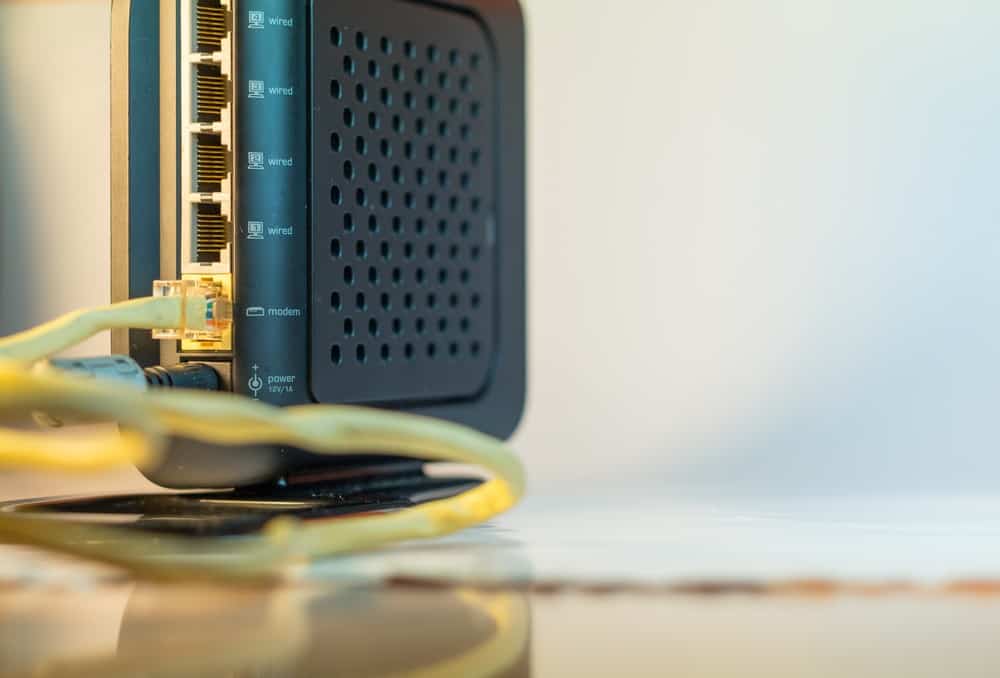
Once the router has been properly configured, it’s time to get it online. Depending on your ISP (Internet Service Provider), you may have one of two separate kinds of modems: those with WiFi, and those without. Modems with no internal WiFi will connect directly to your router with no problems, and all it takes in this case is cycling the modem (unplug for 30 seconds, then back on), and then plugging the Ethernet cable from the “Internet” port on your modem to the “Internet” port on the back of your router.
If you have a modem with internal WiFi, you might need to either disable the internal WiFi first (again, consult your user’s manual for the exact directions on how to do this), or run it in what’s called “Bridge Mode”. Bridge Mode allows you to transfer the wireless responsibility over to the router, rather than sourcing it from the modem first. This is most common in fiber optic and DSL modems, however there are still a few select cases where cable broadband providers might have given you a modem which will only work on an external router when Bridge Mode is enabled.
7. Test for Proper Operation
Once the modem is plugged in and all the lights are flashing green (both on the modem and the router you’re hooked into), it’s time to test the connection. Using either a mobile device or a computer, you can start out by simply visiting Google.com as a nice starting point. If that loads without any problems, you can then move into more acute testing scenarios, like running it through SpeedTest.net to see what kind of speed improvements you’re getting off your brand new router!
Another good test to run before you pack up, is for range. To do this, simply grab a phone or tablet that’s connected to the router, and roam throughout your home while keeping an eye on the number of bars you’re getting at any given time. Run more speed tests from the outer reaches of your property, and if for any reason you’re not getting a good signal in vital areas of use (the living room, for example), you have a few different options available. The first (and most obvious), is simply to move the modem and the router to a more centralized location of your home – as long as there is a jack you can plug into nearby.
If that’s not an option, you might want to invest in newer “mesh networking” systems like the AmpliFi HD, which uses a series of external antennas that can plug into any standard electrical socket and boost your router’s signal by 50% or more in optimal use scenarios.
Summary
As much as we would have liked to have been able to delve deeper into the many extra features and options you’ll find on some of the top routers on shelves in 2017, there are simply too many different options and configurations out there to cover in a single post! That said, this guide should still give you the basics of everything you need to get your router out of the box and onto the internet, at a level that both protects your family from hackers and increases your wireless speeds in the places where you need them most.
Related Articles:





![Best BenQ Monitors in [year] 30 Best BenQ Monitors in 2026](https://www.gadgetreview.dev/wp-content/uploads/best-benq-monitor-image.jpg)
![Best Wifi Extenders For FiOS in [year] 31 Best Wifi Extenders For FiOS in 2026](https://www.gadgetreview.dev/wp-content/uploads/best-wifi-extender-for-fios-image.jpg)
![Best Fiber Optic Routers in [year] 32 Best Fiber Optic Routers in 2026](https://www.gadgetreview.dev/wp-content/uploads/best-fiber-optic-router-image.jpg)
![Best VoIP Routers in [year] 33 Best VoIP Routers in 2026](https://www.gadgetreview.dev/wp-content/uploads/best-voip-router-image.jpg)
![Best Routers for 200Mbps in [year] 34 Best Routers for 200Mbps in 2026](https://www.gadgetreview.dev/wp-content/uploads/best-router-for-200mbps-image.jpg)
![Best Routers for Optimum in [year] 35 Best Routers for Optimum in 2026](https://www.gadgetreview.dev/wp-content/uploads/best-router-for-optimum-image.jpg)
![Best Routers for Apple in [year] 36 Best Routers for Apple in 2026](https://www.gadgetreview.dev/wp-content/uploads/best-router-for-apple-image.jpg)
![Best Routers for Frontier FIOS in [year] 37 Best Routers for Frontier FIOS in 2026](https://www.gadgetreview.dev/wp-content/uploads/best-router-for-frontier-fios-image.jpg)
![Best Secure Routers in [year] 38 Best Secure Routers in 2026](https://www.gadgetreview.dev/wp-content/uploads/best-secure-router-image.jpg)
![Best Routers for Google Fiber in [year] 39 Best Routers for Google Fiber in 2026](https://www.gadgetreview.dev/wp-content/uploads/best-router-for-google-fiber-image.jpg)
![Best Routers for Cox in [year] 40 Best Routers for Cox in 2026](https://www.gadgetreview.dev/wp-content/uploads/best-router-for-cox-image.jpg)
![Best Asus Routers in [year] 41 Best Asus Routers in 2026](https://www.gadgetreview.dev/wp-content/uploads/best-asus-routers-image.jpg)
![Best Linksys Routers in [year] 42 Best Linksys Routers in 2026](https://www.gadgetreview.dev/wp-content/uploads/best-linksys-routers-image.jpg)
![Best Routers for CenturyLink in [year] 43 Best Routers for CenturyLink in 2026](https://www.gadgetreview.dev/wp-content/uploads/best-router-for-centurylink-image.jpg)
![Best WiFi Routers for Multiple Devices in [year] 44 Best WiFi Routers for Multiple Devices in 2026](https://www.gadgetreview.dev/wp-content/uploads/best-wifi-router-for-multiple-devices-image.jpg)
![Best Wired Routers in [year] 45 Best Wired Routers in 2026](https://www.gadgetreview.dev/wp-content/uploads/best-wired-router-image.jpg)
![Best Routers for 4K Streaming in [year] 46 Best Routers for 4K Streaming in 2026](https://www.gadgetreview.dev/wp-content/uploads/best-router-for-4k-streaming-image.jpg)
![Best Cisco Routers in [year] 47 Best Cisco Routers in 2026](https://www.gadgetreview.dev/wp-content/uploads/best-cisco-routers-image.jpg)
![Best eero Routers in [year] 48 Best eero Routers in 2026](https://www.gadgetreview.dev/wp-content/uploads/best-eero-routers-image.jpg)


