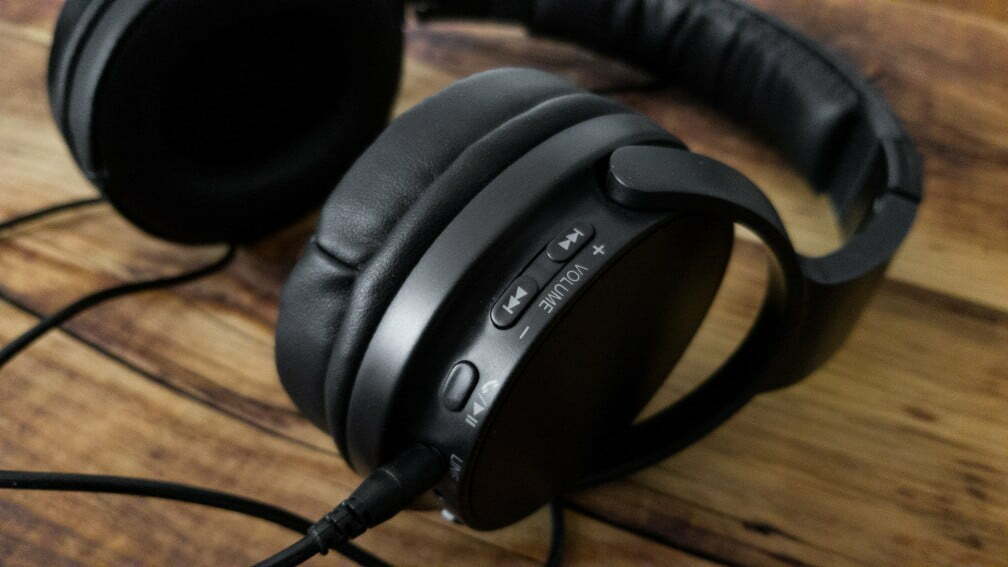
If you’ve been regularly using your headphones, you may have noticed some wear and tear on your earpads, causing you to ask how to put ear pads on headphones. Sometimes, you may need to reattach the earpads if they have fallen off the best headphones. In many cases, headphones are designed with a removable and replaceable foam or cloth earcups because they suffer the most from wear and tear.
KEY TAKEAWAYS:
- You will need replacement pads that fit your ears and your headphones to enhance comfort after extended use.
- You may not want to replace the earpads if you have a pair of headphones with non-removable cups.
- Align your new pads accordingly if your headset has grooves on the earcup.
Additionally, this padding is exposed to your sweat, dust, and debris from nearby. Finally, if you build a custom set of headphones, you could immediately replace the earcups with a more comfortable version. You may also be interested in finding out how to play audio out of speakers and headphones.
Insider Tip
Earpad glue can help keep your foam padding in place during use.
How to Replace Ear Pads on Headphones
Earpads may fall off your headset over time, or you may need to replace the earpads on over-ear headphones due to cracking, wear, or stiffness. But first, always check your headphone model before trying to replace the earpads.
Remember that some headphones do not have removable earcups or earpads, so you may not be able to replace them easily. In this case, you could void any warranty you are under by removing them. Once you’ve replaced your earpads, check out our guide on how to put headphones on.
The Replacement Process
STEP 1
Remove your headphones’ original earpads. If the headphone pads stick to the device, you may need to pull the pads a little harder or work them off. For Razer headsets, you will need to pry the joints around the cushion assembly. However, you should not attempt to remove the earcups if your headset has non-removable pads. If your earpads take more effort to remove, avoid replacing them if you’re still under warranty.
STEP 2
Clean the earcup edge that was under the foam or cloth pads. This step will help your headset stay clean and avoid some of the wear and tear that occurs with daily use.
STEP 3
As an optional step, apply earcup glue, which may be called ear pad glue or adhesive. This adhesive helps keep the earpads on the earcups during use. You probably want to apply it if you are already having trouble keeping your earpads on the headphone model.
STEP 4
Pull the rim that tucks into the headphones on the replacement pads and slip them around the bare earcups. Some headphones have notches to which you must match the new earpads, including Sony wireless headphones. If you have applied glue, allow the glue to dry before using your wired headphones or wireless headphones.
Warning
If you encounter resistance while trying to remove your earcups, do not try to replace them because they are not designed to be removed.
F.A.Q.S
When do you replace headphone pads?
Replace your headphone pads when they have become stiff, crusty, or worn. Also, if you aren’t comfortable wearing your headset, you may need to replace the pads.
How often should you clean your headphones?
You should clean your headphones at least once a week if you use them daily. However, some experts recommend cleaning them after each use.
How do you store your headphones, so they stay cleaner longer?
You can store your headphones in a case to protect them and keep them clean. Many high-end products come with a case when you purchase your new headphones. However, you may want to clean them before putting them inside to keep the inside clean.
STAT: Simply push the ring of the new earpads into the ear cups’ grooves to put new pads on your headphones. (source)
REFERENCES:
- https://www.bose.com/en_us/support/articles/HC111/productCodes/a20/article.html
- https://mysupport.razer.com/app/answers/detail/a_id/2825/~/how-to-remove-and-reattach-ear-cushions-on-a-razer-headset
- https://en-us.sennheiser.com/how-do-i-change-the-ear-pads-of-the-hd-400-series-inc-videor
- https://www.youtube.com/watch?v=kLYzdLx2BHw
- https://www.youtube.com/watch?v=NQbtu8390pY








![Best Over-Ear Headphones for Working Out in [year] 27 Best Over-Ear Headphones for Working Out in 2026](https://www.gadgetreview.dev/wp-content/uploads/best-over-ear-headphones-for-working-out-image-scaled.jpg)
![Best Sennheiser Headphones in [year] 28 Best Sennheiser Headphones in 2026](https://www.gadgetreview.dev/wp-content/uploads/best-sennheiser-headphones-image-1.jpg)
![Best Sony Headphones in [year] 29 Best Sony Headphones in 2026](https://www.gadgetreview.dev/wp-content/uploads/best-sony-headphones-image-1.jpg)
![Best Open Back Headphones in [year] 30 Best Open Back Headphones in 2026](https://www.gadgetreview.dev/wp-content/uploads/best-open-back-headphones-image-1.jpg)
![Best Headphones in [year] ([month] Reviews) 31 Best Headphones in 2026 (January Reviews)](https://www.gadgetreview.dev/wp-content/uploads/best-over-the-ear-headphones.jpg)
![Best Noise Cancelling Headphones for Sleeping in [year] 32 Best Noise Cancelling Headphones for Sleeping in 2026](https://www.gadgetreview.dev/wp-content/uploads/best-noise-cancelling-headphones-for-sleeping-image-1.jpg)
![Best Noise-Cancelling True Wireless Earbuds in [year] 33 Best Noise-Cancelling True Wireless Earbuds in 2026](https://www.gadgetreview.dev/wp-content/uploads/best-noise-cancelling-true-wireless-earbuds-image.jpg)
![Best Headphones with a Mic in [year] 34 Best Headphones with a Mic in 2026](https://www.gadgetreview.dev/wp-content/uploads/best-headphones-with-mic-image.jpg)
![Best Headphones for Sleeping in [year] 35 Best Headphones for Sleeping in 2026](https://www.gadgetreview.dev/wp-content/uploads/best-headphones-for-sleeping-image.jpg)
![Best Headphones for Teens in [year] 36 Best Headphones for Teens in 2026](https://www.gadgetreview.dev/wp-content/uploads/best-headphones-for-teens-image.jpg)
![Best Noise Canceling Headphones for Kids in [year] 37 Best Noise Canceling Headphones for Kids in 2026](https://www.gadgetreview.dev/wp-content/uploads/best-noise-cancelling-headphones-for-kids-image.jpg)
![Best Headphones for Music Production in [year] 38 Best Headphones for Music Production in 2026](https://www.gadgetreview.dev/wp-content/uploads/best-headphones-for-music-production-image.jpg)
![Best Wired Headphones in [year] 39 Best Wired Headphones in 2026](https://www.gadgetreview.dev/wp-content/uploads/best-wired-headphones-image.jpg)
![Best USB Headphones in [year] 40 Best USB Headphones in 2026](https://www.gadgetreview.dev/wp-content/uploads/best-usb-headphones-image.jpg)
![Best Headphones for Mowing in [year] 42 Best Headphones for Mowing in 2026](https://www.gadgetreview.dev/wp-content/uploads/best-headphones-for-mowing-image.jpg)
![Best Headphones for Music in [year] 43 Best Headphones for Music in 2026](https://www.gadgetreview.dev/wp-content/uploads/best-headphones-for-music-image.jpg)
![Best TV Headphones for Seniors in [year] 44 Best TV Headphones for Seniors in 2026](https://www.gadgetreview.dev/wp-content/uploads/best-tv-headphones-for-seniors-image.jpg)
![Best True Wireless Earbuds in [year] 45 Best True Wireless Earbuds in 2026](https://www.gadgetreview.dev/wp-content/uploads/best-true-wireless-earbud-image.jpg)
![Best Swimming Headphones in [year] 46 Best Swimming Headphones in 2026](https://www.gadgetreview.dev/wp-content/uploads/best-swimming-headphones-image.jpg)
