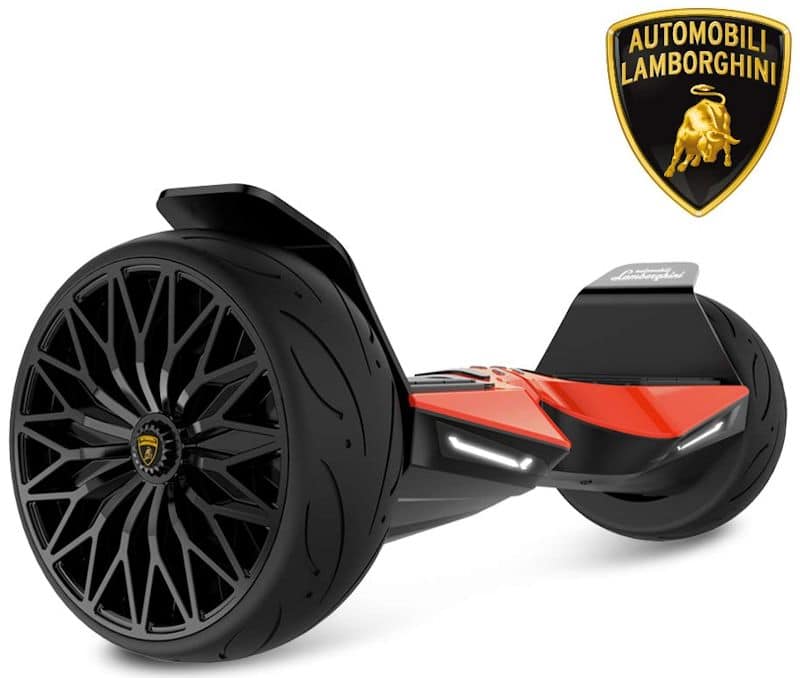
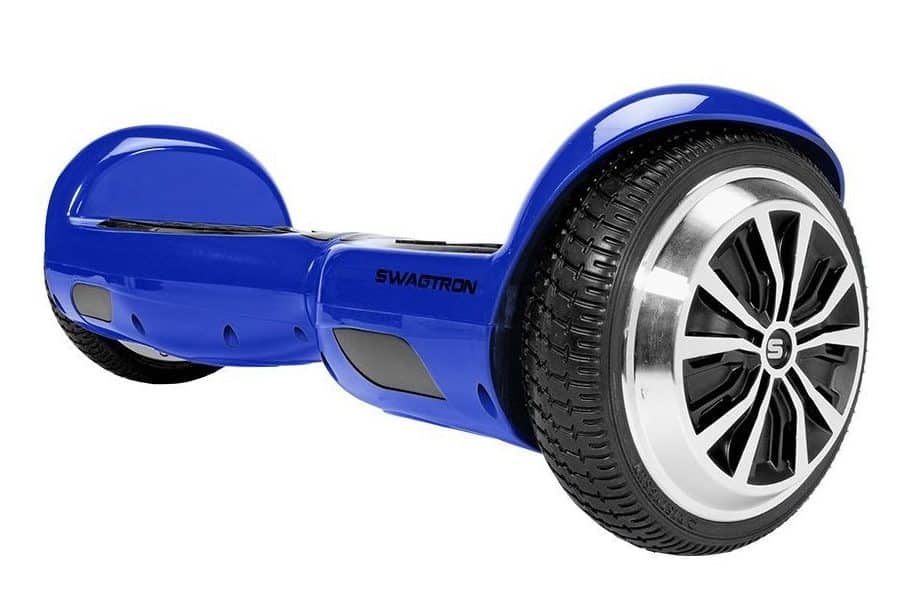
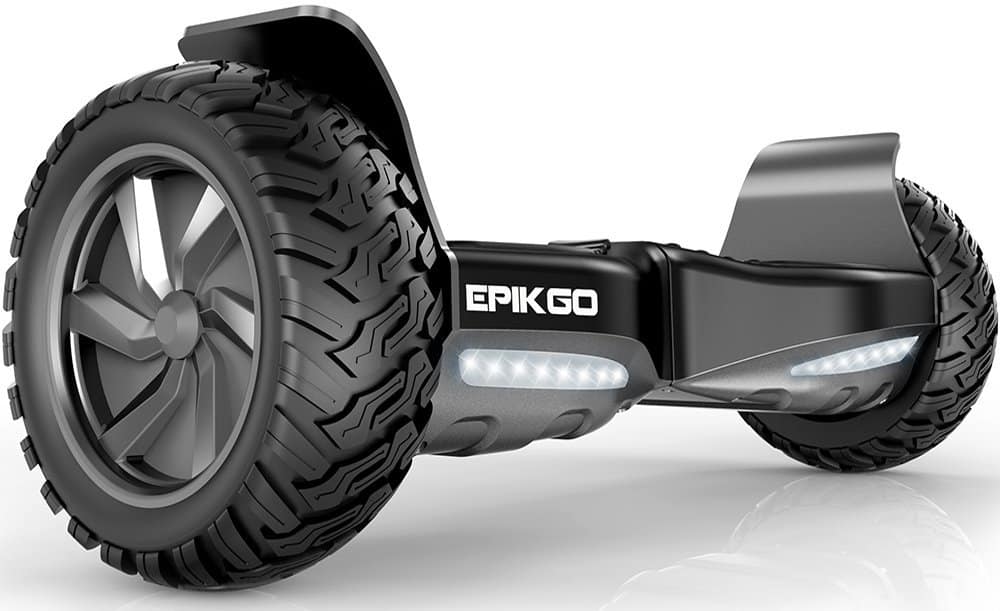
Here are some of the most common hoverboards and solutions you can try at home before seeking expert services. If your top rated hoverboard won’t charge, for example, you might be able to fix the problem by replacing the battery with a new hoverboard battery. If the charging port is damaged, you may be able to re-align or replace the charging port yourself. A hoverboard that won’t turn off is often due to a faulty motherboard. Depending on your level of DIY skill, you may be able to replace it at home. However, if the issues persist, even after seeking expert services, you may choose to buy a new device, or try out free hoverboard offers online so you can continue using your scooter. Read on to find out how you might be able to fix a hoverboard that won’t turn on, how to reset hoverboard components and check a hoverboard battery.
Hoverboard Troubleshooting: Most Common Issues When a Hoverboard Won’t Work
If your self-balancing scooter won’t turn on or work properly when you press the power button, there’s a good chance it could be due to one of these common hoverboard faults you may encounter.
• Charger issue
• Faulty charging port
• Battery malfunction
• Circuit board problem
- Damaged or faulty wiring
Hoverboard Power Troubleshooting
The first step to troubleshooting your self-balancing scooter is to identify the problem. As with any hoverboard repair advice, the following applies to the most common hoverboard issues but your results may vary.
Charger Problems
If it won’t turn on, first check the charger. Does the green indicator light come on when you plug the charger into the wall? Once plugged into the hoverboard, the charger light should turn red for at least a minute or two, even if the hoverboard battery is nearly full. If the light stays green or doesn’t come on at all, you may have a broken hoverboard charger. Make sure to only use a charger with the correct voltage and Amperage rating for your hoverboard. Consult the owner’s manual or manufacturer if you’re not sure of the specifications. Using an incorrect charger may cause the scooter’s BMS to shut off the charging process.
Battery Problems
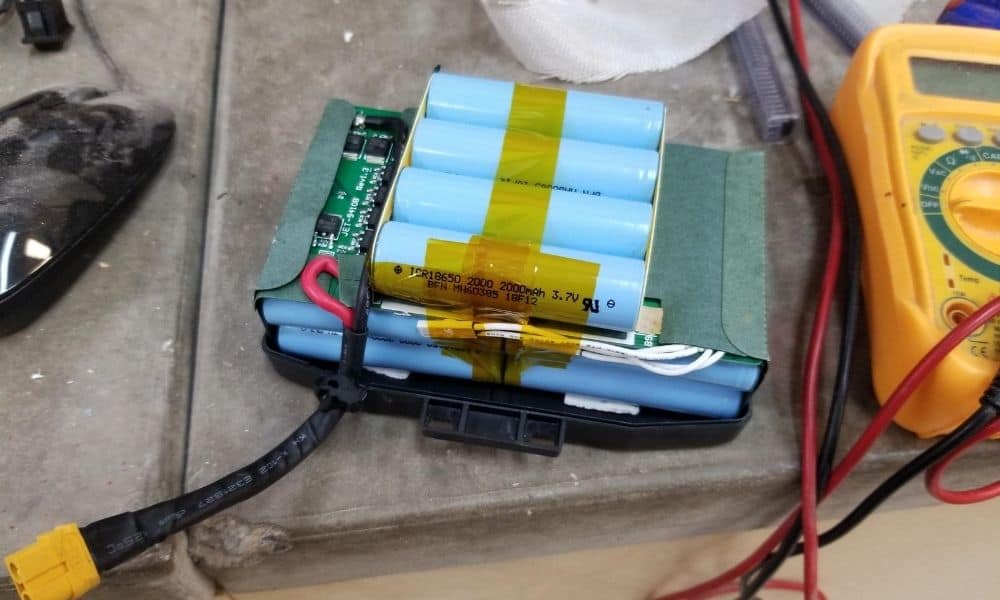
Next check the battery. To do this, plug in your charger and connect the charger to the hoverboard. Then turn on the hoverboard and if you see a flashing orange light on the battery indicator, it typically means the battery is worn out or else you have a defective hoverboard battery and you’ll need to replace it. Luckily, you can source a replacement hoverboard battery relatively easily.
Check BMS (Battery management system)
If the charger appears to be working correctly, but the scooter won’t turn on, you can also check the battery voltage using a voltmeter or multimeter. Look up your hoverboard’s normal voltage in the owner’s manual or online, if necessary.
Check Charging Port
Once you have ensured that the battery itself is working and not fully depleted, check the charging port. Sometimes, problems with a hoverboard charging port are easy to see at a glance. A dirty or misaligned charging port or a bent charging pin may be the issue.
Wiring Problems
If the charger, battery and charging port appears to be working correctly, but the hoverboard won’t turn on at all, the problem is likely with the motherboard or the internal wiring. With a little bit of know-how, you may be able to fix faulty wiring or replace the motherboard. Look for loose wires and disconnected wires; wiring issues can be cheap hoverboard fixes. Some self-balancing scooter companies may also offer a hoverboard repair kit that may be helpful. These kits are available throughout the Internet, including Amazon. There are a whole lot of hoverboards out there, though, each with its own specific internal wire components. So do some research to make sure you’ve found the right repair kit for your hoverboard.
DIY Fixes for Common Hoverboard Issues
Battery Replacement
If your hoverboard battery is faulty, you might be able to replace it at home. Hoverboard battery replacement is relatively straightforward and takes anywhere from 15 minutes to half an hour. You can often source a replacement for any common hoverboard battery online from various scooter retailers or from Amazon. Make sure to double check the voltage; most models of hoverboard batteries are 36V and have a capacity of around 4.4 aH. For safety, proper UL2272 certified casings and thermal management are a must as well.
Insider Tip
Make sure to only use a charger with the correct voltage and Amperage rating for your hoverboard.
Charging Port Repair
If the charger is working properly but the charging port appears dirty or damaged, you can sometimes fix this issue yourself at home. You can try cleaning it with Dust-off or some compressed air, or you can use an electronics cleaning kit if you have one. Never use water or any water-based cleaning solution directly on a charging port or other electrical connection, as you could cause a dangerous short-circuit.
If the charging pin is bent or broken, you might have to replace the hoverboard charging port. This is possible to do at home but it may require some patience and the right tools. You’ll need in general a charging port repair kit designed for your specific model of the hoverboard. Check the manufacturer’s website to ensure compatibility. You may also need glue, solder and a soldering iron. Make sure the hoverboard is powered off when cleaning or disassembling the charging port
General Safety Tips
Power Down
Whether you are using a hoverboard or a hoverkart, make sure you’ve completely powered down your device. This is extremely important. It may also be a good idea to let the battery completely drain before you open up the casing.
Check Battery Safety
In order to avoid overheating and fire risk, only use batteries designed for use in hoverboards. These should come with fire-resistant casings approved by an international safety standard such as UL2272.
Unplug Hoverboard Before Opening Casing
Never open the casing while your hoverboard is connected to the charger and the charger is plugged into a power source.
Insider Tip
Using an incorrect charger may cause the scooter’s BMS to shut off the charging process.
F.A.Q.S
How do you fix a hoverboard that won’t move?
It depends on what the specific problem is. Many hoverboard problems can be fixed at home; sometimes you just need to replace the battery or charger. Other times, you may have a problem with internal circuits or calibration. You can usually perform hoverboard calibration yourself, and there are replacements available for most hoverboard components, so you can often fix your hoverboard even if you find it has a defective charger or defective hoverboard motherboard.
How do you reset a hoverboard?
In general, the way to reset a hoverboard is to hold the power button down for at least 1 second, wait for any beeps or flashing lights, then let go of the power button and turn off the hoverboard. Once you power it back on it should be reset. If you find that only one of the hoverboard wheels is moving, then the internal sensors and gyroscope might need a reset.
Why is my hoverboard beeping and not moving?
If the battery is good and your hoverboard is getting power, it may beep if the internal gyroscope is not calibrated properly or if the hoverboard’s sensors detect that it’s tilting more than 15 degrees or resting on an incline greater than 30 degrees, depending on the model of the hoverboard.
How do I know if my hoverboard battery is bad?
The easiest way to check a hoverboard battery, if you have access to a charger you know is working, is to plug in the charger and see if the light on the charger turns red and it appears to be taking a charge. If you get a flashing light on the charger or if the light on the charger stays green, you may have a faulty hoverboard battery. Alternatively, you can check the battery voltage of your hoverboard directly using a multimeter.
Why is one side of my hoverboard not working?
In general, one side of a hoverboard not working points to a faulty internal gyroscope. You can often replace a hoverboard gyroscope at home using simple tools.
STAT: (source)




![Best 10 Inch Hoverboards in [year] 27 Best 10 Inch Hoverboards in 2026](https://www.gadgetreview.dev/wp-content/uploads/best-10-inch-hoverboard-image.jpg)
![Best Single Wheel Hoverboards in [year] 28 Best Single Wheel Hoverboards in 2026](https://www.gadgetreview.dev/wp-content/uploads/best-single-wheel-hoverboard-image.jpg)
![Best 8 Inch Hoverboards in [year] 29 Best 8 Inch Hoverboards in 2026](https://www.gadgetreview.dev/wp-content/uploads/best-8-inch-hoverboard-image.jpg)
![Best Hoverboards for Girls in [year] 30 Best Hoverboards for Girls in 2026](https://www.gadgetreview.dev/wp-content/uploads/best-hoverboards-for-girls-image.jpg)
![Best Hoverboards for Adults in [year] 31 Best Hoverboards for Adults in 2026](https://www.gadgetreview.dev/wp-content/uploads/best-hoverboard-for-adults-image.jpg)
![Best Hoverboard Accessories in [year] 32 Best Hoverboard Accessories in 2026](https://www.gadgetreview.dev/wp-content/uploads/best-hoverboard-accessories-image.jpg)
![Best 6.5 Inch Hoverboards in [year] 33 Best 6.5 Inch Hoverboards in 2026](https://www.gadgetreview.dev/wp-content/uploads/best-6.5-inch-hoverboard-image.jpg)
![Best Bluetooth Hoverboards in [year] 34 Best Bluetooth Hoverboards in 2026](https://www.gadgetreview.dev/wp-content/uploads/best-bluetooth-hoverboards-image.jpg)
![Best Knee Pads for Hoverboards in [year] 35 Best Knee Pads for Hoverboards in 2026](https://www.gadgetreview.dev/wp-content/uploads/best-knee-pads-for-hoverboard-image.jpg)
![Best Hoverboard for Beginners in [year] 36 Best Hoverboard for Beginners in 2026](https://www.gadgetreview.dev/wp-content/uploads/best-hoverboards-for-beginners-image.jpg)
![Best Helmets for Hoverboards in [year] 37 Best Helmets for Hoverboards in 2026](https://www.gadgetreview.dev/wp-content/uploads/best-helmet-for-hoverboard-image.jpg)
![Best Hoverboard Carrying Bags in [year] 38 Best Hoverboard Carrying Bags in 2026](https://www.gadgetreview.dev/wp-content/uploads/best-hoverboard-carrying-bag-image.jpg)
![Best Hoverboard Seats in [year] 39 Best Hoverboard Seats in 2026](https://www.gadgetreview.dev/wp-content/uploads/best-hoverboard-seat-image.jpg)
![Best Hoverboard in [year] ([month] Reviews) 40 Best Hoverboard in 2026 (January Reviews)](https://www.gadgetreview.dev/wp-content/uploads/best-hoverboard-image.jpg)
![Fastest Hoverboard in [year] ([month] Reviews) 41 Fastest Hoverboard in 2026 (January Reviews)](https://www.gadgetreview.dev/wp-content/uploads/fastest-hoverboard-epikgo.jpg)
![Best Hoverboard For Kids in [year] ([month] Reviews) 42 Best Hoverboard For Kids in 2026 (January Reviews)](https://www.gadgetreview.dev/wp-content/uploads/Best-Hoverboards-For-Kids.jpg)
![Best RV Battery in [year] ( [month] Reviews) 44 Best RV Battery in 2026 ( January Reviews)](https://www.gadgetreview.dev/wp-content/uploads/best-rv-battery.jpg)
![Razor Hovertrax 2.0 Hoverboard Review in [year] 54 Razor Hovertrax 2.0 Hoverboard Review in 2026](https://www.gadgetreview.dev/wp-content/uploads/Razor-Hovertrax-2.0-Hoverboard-Review.jpg)
