A hoverboard battery is one of the most common parts to cause issues with performance and operation. Fortunately, it’s easy to tell if your top-rated hoverboard needs a new battery by following a few simple steps that help you isolate the problem.
Tools Needed: Hoverboard, charger, electrical outlet, phone charger
How to Test Your Hoverboard Battery
STEP 1 Charge the Hoverboard
Charging your hoverboard is the primary way to test your hoverboard battery. This process will allow you to determine if the battery is dead entirely, losing charge too quickly, or an issue with the charger. Make sure that your hoverboard battery is dead before starting this process.
Instructions to charge the hoverboard
Charging the hoverboard is a simple process when you follow instructions. First, make sure that you have the right charger for the hoverboard you are looking to power. If you have multiple chargers, try matching the brand name on the charger to that on the hoverboard. Once you have the correct charger, you can go ahead and plug the charger into an electrical outlet. Do this before you connect the charger to the hoverboard.
How can you know whether the hoverboard is charging or not?
Once you have plugged the charger into an electrical outlet, the charger’s indicator light should turn green on most models. If it does not, make sure the plug is pushed into the outlet fully and securely. When you have ensured the plug is secure in the outlet, plug the other end of the charger into the hoverboard’s charging port. The charging port is often located on the underside of the hoverboard. When you have plugged the charger into the charging port, check the indicator light on the charger. It should turn from green to either red or blue. This indicates that the hoverboard is charging.
How long does it take to fully charge the hoverboard?
Generally, it takes no less than two hours to charge a hoverboard, though some models can take up to four hours to charge fully. The indicator light on your charger will turn from red or blue, which indicates the unit is still charging, to green. Once the light turns green, the battery is fully charged. It is recommended to unplug the charger once your hoverboard battery is fully charged, as leaving it connected continuously diminishes your hoverboard’s battery life.
STEP 2Isolate the Problem
Once you have fully charged your battery, you will isolate if there is an issue to fix. Generally, a power problem with your hoverboard can arise from an outlet, the charger, the charger cord, the charging port, or the battery itself.
How do you find if the hoverboard charger is working or not?
The easiest component to check first is the charger. When you plug the charger into an outlet, a green indicator light will turn on if it is receiving power. If it does not come on, make sure the plug is fully pushed into the outlet and secure. Try plugging it into a different outlet if the problem persists. Otherwise, you can go to plug the charger into the hoverboard’s charging port. The charger’s indicator light will turn to red or blue once you do this, which means the charger is operating correctly.
Determine your battery issue
Once you have tested to make sure that the charger is working correctly, you can begin to figure out the battery issue you’re having. After charging your battery for two to four hours, check the charger’s indicator light to see if it has turned green. If it is still red after the recommended charge period, unplug your hoverboard and see if it will turn on. If it does not, then the battery is dead and needs to be replaced.
If it does, replug-in the charger until it is charged completely. Then, operate the hoverboard until the battery dies entirely again. Make sure to note how long you could use the hoverboard on a full charge and compare that to the manufacturer’s suggested operation time. Generally, this is somewhere between two to six hours. If your battery is not lasting as long as that time or less than before, it is likely nearing the end of its lifecycle and will need to be replaced shortly.
What if I have a broken hoverboard charger instead?
If you have tested your charger in multiple outlets and are still not receiving a charge from it, then you will need to replace the charger. You can also try your electrical outlet with another charger, like a phone charger, to check if the outlet is receiving power. If it is, then the issue is with your hoverboard charger. When you replace the charger, make sure you do so from a reputable store or online seller, so you know that it is compatible with your hoverboard.
STEP 3Identify Parts to Replace
Once you have isolated the problem, you’ll need to identify which parts need replacing. The most important part of this process is ensuring that the replacement part you buy is compatible with your hoverboard and is reliably and safely built. It is recommended to refer to the manufacturer’s manual to check the exact specifications of the replacement part.
How do I fix a broken hoverboard battery?
If you have identified that you need a new battery, you will need to purchase a replacement. There is no way to fix or repair a dead or faulty battery. Luckily, replacement batteries are easy to find and readily available online. Most hoverboards operate on a 36-volt lithium-ion battery. However, you will need to make sure you purchase a replacement that is compatible with your hoverboard.
Basic Hoverboard Battery
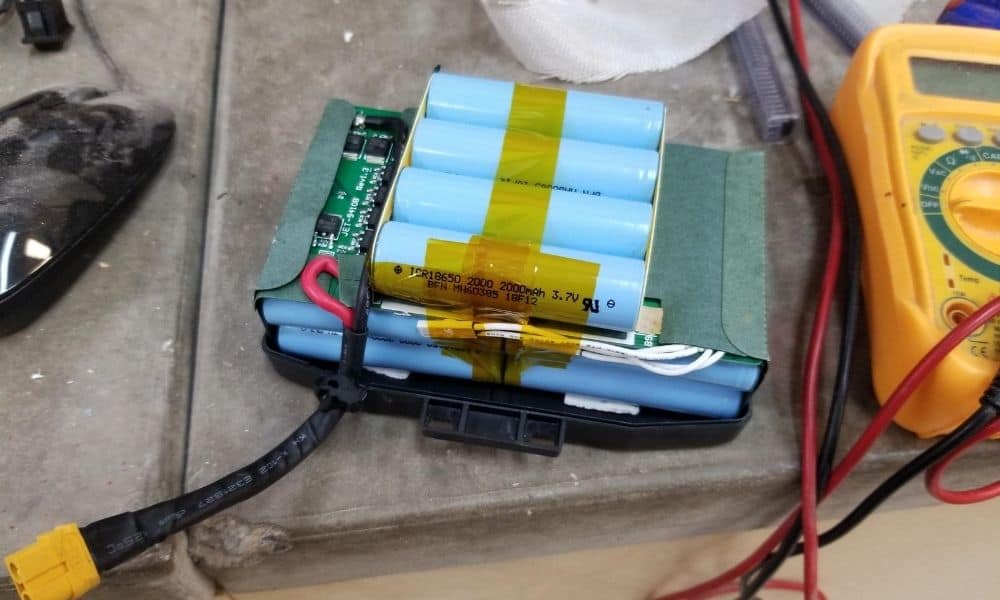
Because many hoverboards share a similar design and build, you may have the option to purchase a universal, generic replacement battery. The most common universal hoverboard battery is a 36-volt battery covered in blue shrink wrap. If your current battery has this, then it’s likely you can replace it with a generic lithium-ion battery of the same design.
Certified Hoverboard Battery
The safest and most tested batteries you can buy are UL-certified. These products undergo thorough standardized quality control testing. Typically, certified batteries are housed in non-conductive black plastic and feature additional thermal sensors to prevent overheating.
Tips
Drain the Battery
Before you do any testing, you’ll want to make sure that the battery is completely drained. This allows you to keep track of the charging time and battery life of the hoverboard more accurately. You will need that information to determine if your battery is functioning correctly or not.
Test Twice
Before you replace any parts on your hoverboard, you want to be sure you know what the problem is. The easiest way to do that is to go through the testing process multiple times. In doing so, you’ll be able to see which parts of the hoverboard are functioning consistently, which will enable you to isolate the problem area better.
Get the Right Replacement
Whether you need to replace the hoverboard battery or charger, make sure that you find a compatible part that is safely designed. Keep in mind that while high-quality batteries may be a little more expensive initially, they will last longer and possibly safer than the knockoffs.
Consult User Manual
Your hoverboard’s user manual is an important resource that you should refer to when troubleshooting a battery problem. Hoverboard features and parts vary from model to model. The user manual will tell you exactly how your specific device operates, what its specs are, and give you information on replacement parts.
Warnings
Safety measures while charging
All hoverboards sold in the U.S. currently go through a UL-certification process to ensure they meet a certain safety standard. Still, if you suspect parts of your hoverboard are not functioning properly, it is essential to test it out safely. If at any point you experience a shock, sparks, or overheating, stop testing immediately and consult a professional.
Consult the Manual
The best resource for understanding and replacing your hoverboard’s part is the owner’s manual that comes with the device. Keep the manual on hand throughout the testing process to make sure you are doing things correctly. The manual can help you better understand the hoverboard components and give you standard estimates for charging time, battery life, and other useful info.
Avoid Counterfeit Batteries
While many safety measures are in place to ensure that hoverboards and their replacement parts are safely built, you can still be at risk of finding a counterfeit battery online. The easiest way to avoid this is to purchase your replacement battery from a reputable seller or online store. Make sure the specs match with your old battery.
Charge Safely
It is important that you charge your hoverboard safely and follow instructions in the user manual. Generally, a self-balancing scooter’s battery will take anywhere from two to four hours to charge completely. When it does, the battery indicator light should turn green. Do not leave the device charging for much longer than that as you risk the battery and device overheating. However, if the hoverboard’s battery and power system is heavily damaged but you are short of cash, you may still get a new hoverboard online for free.
F.A.Q.S
How do I know if my hoverboard battery is bad?
If your hoverboard battery is bad, it won’t charge or can’t keep a charge. Test it through the charging process and see if it takes to charge. If it does, note how long you can operate your hoverboard before it dies. If it is less time than usual, your battery could be nearing the end of its life.
What do I do if my hoverboard won’t charge?
If your hoverboard doesn’t charge, you will want to test the hoverboard’s charger and its battery to identify which component is causing the issue. If the charger is working, then the problem may likely be with your battery.
How do you fix a hoverboard that does not turn on?
Fixing a hoverboard that does not turn on may involve replacing the battery. This is the most likely component of the hoverboard to need replacing. If it is not able to charge, then consider replacing the old battery with a new one.
How can you know if the hoverboard is charging or not?
You can tell if your hoverboard is charging by checking the indicator light on your hoverboard’s charger. On most hoverboard chargers, the indicator light will be red or blue during the charging process. When the hoverboard is fully charged, the indicator will switch to green.
How long does the battery of a hoverboard last after fully charged?
The battery life of a hoverboard varies from model to model but is generally between one to four hours. Usage factors, like speed, also determine a hoverboard’s battery life. You can check the user manual to find your specific model’s estimated battery life when fully charged.






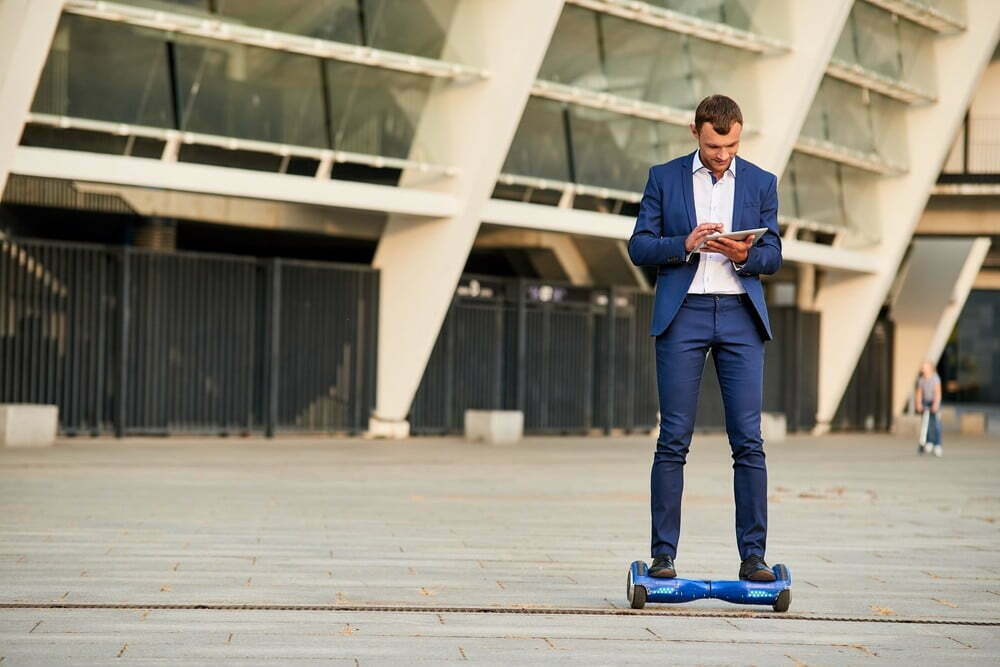
![Best 10 Inch Hoverboards in [year] 27 Best 10 Inch Hoverboards in 2026](https://www.gadgetreview.dev/wp-content/uploads/best-10-inch-hoverboard-image.jpg)
![Best Single Wheel Hoverboards in [year] 28 Best Single Wheel Hoverboards in 2026](https://www.gadgetreview.dev/wp-content/uploads/best-single-wheel-hoverboard-image.jpg)
![Best 8 Inch Hoverboards in [year] 29 Best 8 Inch Hoverboards in 2026](https://www.gadgetreview.dev/wp-content/uploads/best-8-inch-hoverboard-image.jpg)
![Best Hoverboards for Girls in [year] 30 Best Hoverboards for Girls in 2026](https://www.gadgetreview.dev/wp-content/uploads/best-hoverboards-for-girls-image.jpg)
![Best Hoverboards for Adults in [year] 31 Best Hoverboards for Adults in 2026](https://www.gadgetreview.dev/wp-content/uploads/best-hoverboard-for-adults-image.jpg)
![Best Hoverboard Accessories in [year] 32 Best Hoverboard Accessories in 2026](https://www.gadgetreview.dev/wp-content/uploads/best-hoverboard-accessories-image.jpg)
![Best 6.5 Inch Hoverboards in [year] 33 Best 6.5 Inch Hoverboards in 2026](https://www.gadgetreview.dev/wp-content/uploads/best-6.5-inch-hoverboard-image.jpg)
![Best Bluetooth Hoverboards in [year] 34 Best Bluetooth Hoverboards in 2026](https://www.gadgetreview.dev/wp-content/uploads/best-bluetooth-hoverboards-image.jpg)
![Best Knee Pads for Hoverboards in [year] 35 Best Knee Pads for Hoverboards in 2026](https://www.gadgetreview.dev/wp-content/uploads/best-knee-pads-for-hoverboard-image.jpg)
![Best Hoverboard for Beginners in [year] 36 Best Hoverboard for Beginners in 2026](https://www.gadgetreview.dev/wp-content/uploads/best-hoverboards-for-beginners-image.jpg)
![Best Helmets for Hoverboards in [year] 37 Best Helmets for Hoverboards in 2026](https://www.gadgetreview.dev/wp-content/uploads/best-helmet-for-hoverboard-image.jpg)
![Best Hoverboard Carrying Bags in [year] 38 Best Hoverboard Carrying Bags in 2026](https://www.gadgetreview.dev/wp-content/uploads/best-hoverboard-carrying-bag-image.jpg)
![Best Hoverboard Seats in [year] 39 Best Hoverboard Seats in 2026](https://www.gadgetreview.dev/wp-content/uploads/best-hoverboard-seat-image.jpg)
![Best Hoverboard in [year] ([month] Reviews) 40 Best Hoverboard in 2026 (January Reviews)](https://www.gadgetreview.dev/wp-content/uploads/best-hoverboard-image.jpg)
![Fastest Hoverboard in [year] ([month] Reviews) 41 Fastest Hoverboard in 2026 (January Reviews)](https://www.gadgetreview.dev/wp-content/uploads/fastest-hoverboard-epikgo.jpg)
![Best Hoverboard For Kids in [year] ([month] Reviews) 42 Best Hoverboard For Kids in 2026 (January Reviews)](https://www.gadgetreview.dev/wp-content/uploads/Best-Hoverboards-For-Kids.jpg)
![Best RV Battery in [year] ( [month] Reviews) 44 Best RV Battery in 2026 ( January Reviews)](https://www.gadgetreview.dev/wp-content/uploads/best-rv-battery.jpg)
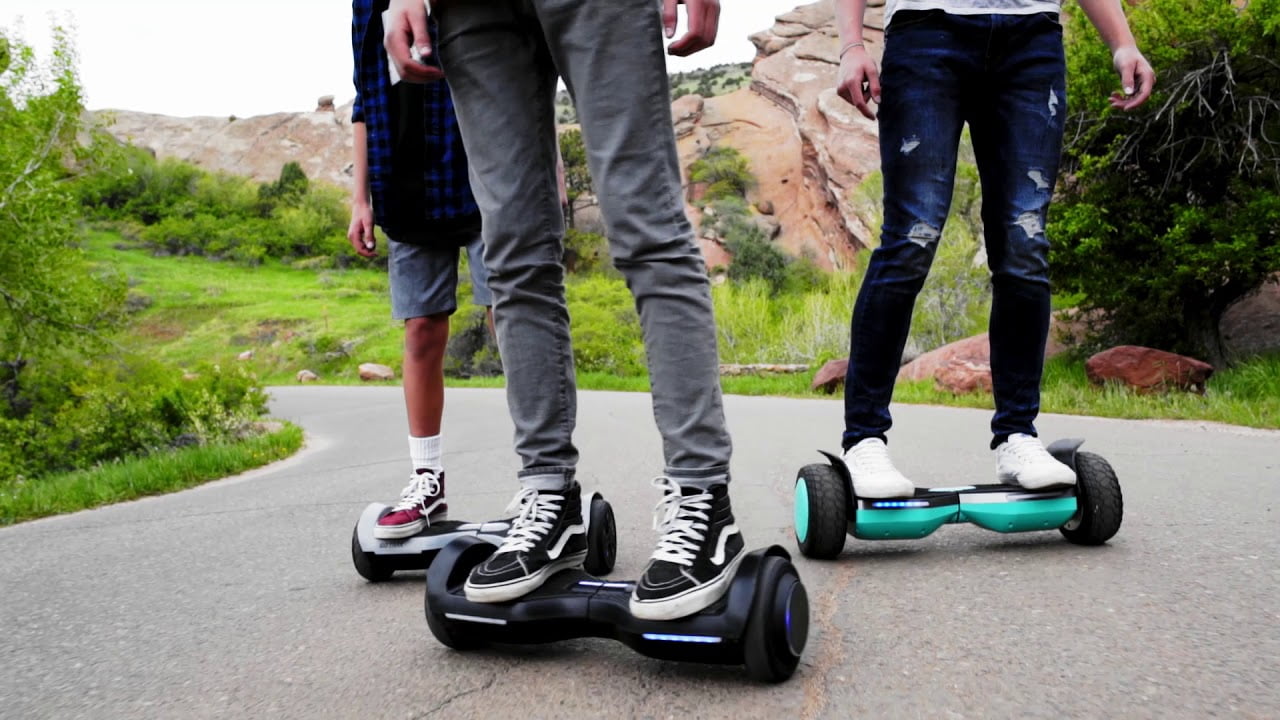
![Razor Hovertrax 2.0 Hoverboard Review in [year] 54 Razor Hovertrax 2.0 Hoverboard Review in 2026](https://www.gadgetreview.dev/wp-content/uploads/Razor-Hovertrax-2.0-Hoverboard-Review.jpg)
