If you are building the ultimate entertainment setup with all the bells and whistles, you may wonder how to connect a TV to a receiver. The best TVs, after all, connect to all kinds of interfaces, including AV receivers. So why use a receiver and how to connect it to your TV?? Keep reading to find out.
KEY TAKEAWAYS:
- Connecting a TV to a high-quality A/V receiver boosts your audio quality from the audio input and could upscale your picture.
- If you have a modern TV and a new receiver, a connection should be available via simple HDMI, so long as you choose the correct input.
- Otherwise, you’ll have to use RCA cables, an optical digital cable and optical audio cable, composite cable, components cable, a coaxial digital cable, or some other type of optical cable.
Why Use a Receiver?
Audio/video receivers, otherwise known as AV receivers, significantly increase the quality of the signal headed to your television. While this is typically reserved for audio, in the case of hooking a TV up to a robust stereo system, it is also useful for upscaling visuals. Using a top-notch receiver is a good way to make the most out of your viewing experience if you are learning how to connect a Blu-Ray player to a TV.
Insider Tip
Before you purchase a new TV or stereo receiver, ensure ARC HDMI integration for the best results.
How to Connect a Receiver to a Television
This process varies according to the outputs found on both TV and receiver, though not as much as when learning how to connect a VCR to a TV. With that in mind, we’ve kept these steps as universal as possible.
STEP 1 Prepare Your Gadgets
- If you have both a modern TV and a new receiver, they should both integrate with something called the Audio Return Channel, or ARC.
- This allows you to use a standard HDMI cable to make the necessary connections.
- If either of your gadgets lacks an ARC-enabled port, you’ll likely need to gather RCA cables, component cables, composite cables, or something similar depending on your needs.
STEP 2Make Those Connections
- Before connecting anything, power down both devices. As an extra precaution, unplug both devices from power.
- Make the necessary connections. Plug one end of the HDMI cable into the receiver and the other into the A/V port of your TV.
- If either device lacks HDMI, connect the RCA cables.
STEP 3 Power on and Test
- Power on the TV and the receiver.
- Adjust audio settings on the receiver and ensure the signal is being delivered from the TV.
- If necessary, plug in any speakers, soundbars, or related devices and give them a try.
F.A.Q.S
Where will the receiver go?
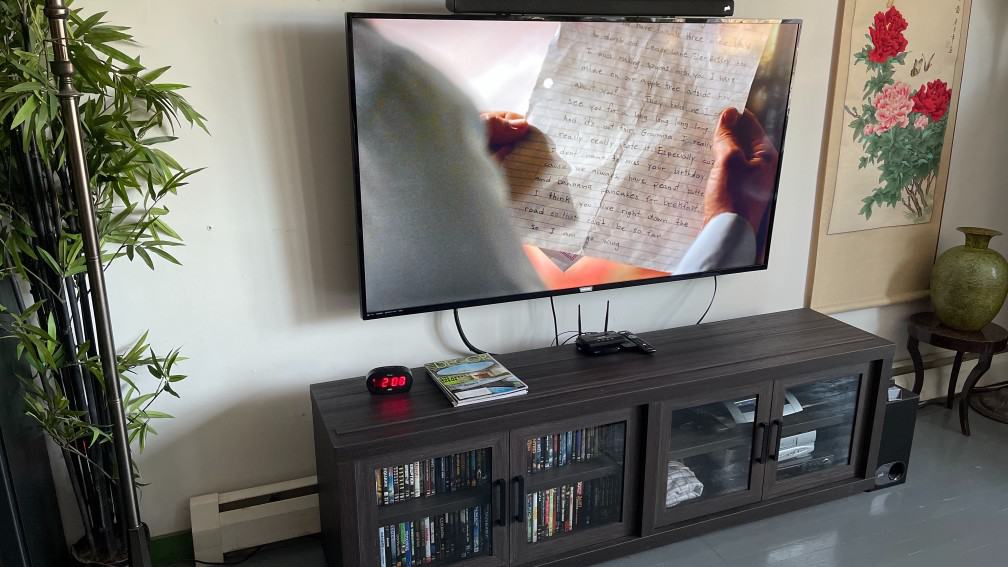
The stereo receiver typically goes underneath the TV, next to or underneath the remote control. This, of course, depends on your setup.
Where will the speakers go?
Depending on the type of speakers you are using (Dolby Atmos etc,) they would either go on either side of the TV, above the TV, or under the TV. Check the product manual.
What to do if the speakers don’t make a sound?
You’ll have to troubleshoot. Check to make sure your remote control hasn’t muted the audio. Also, check on the status of your optical digital cable, optical audio cable, coaxial digital cable, and any other cables you are using.
STAT: On October 25, 2011, the HDMI Forum was established by the HDMI founders to create an open organization so that interested companies can participate in the development of the HDMI specification. (source)
REFERENCES:
- https://www.samsung.com/my/support/tv-audio-video/how-to-use-hdmi-arc-on-samsung-smart-tv/
- https://www.sony.com/electronics/support/articles/00007061
- https://support.denon.com/app/answers/detail/a_id/3956/~/playing-tv-audio-through-the-av-receiverr
- https://support.apple.com/en-us/HT212714
- https://en.wikipedia.org/wiki/HDMI






![Best Drones Under the Cost of Ferrari in [year] 25 Best Drones Under the Cost of Ferrari in 2026](https://www.gadgetreview.dev/wp-content/uploads/image-test-3.jpg)
![Best LEDs & LCDs in [year] ([month] Reviews) 26 Best LEDs & LCDs in 2026 (January Reviews)](https://www.gadgetreview.dev/wp-content/uploads/Samsung-UN65RU7100FXZA.jpg)
![Best Streaming Services in [year] ([month] Reviews) 27 Best Streaming Services in 2026 (January Reviews)](https://www.gadgetreview.dev/wp-content/uploads/netflix-750x422-1.png)
![Best Streaming Movie and Shows in [year] ([month] Reviews) 28 Best Streaming Movie and Shows in 2026 (January Reviews)](https://www.gadgetreview.dev/wp-content/uploads/Streaming-reviews.jpg)
![Best TVs in [year] ([month] Reviews) 29 Best TVs in 2026 (January Reviews)](https://www.gadgetreview.dev/wp-content/uploads/Sony-XBR55X810C-TV-1.jpg)
![Best Shows on Amazon in [year] ([month] Reviews) 30 Best Shows on Amazon in 2026 (January Reviews)](https://www.gadgetreview.dev/wp-content/uploads/The-Boys-750x474-1.jpg)
![Best Small TVs in [year] 31 Best Small TVs in 2026](https://www.gadgetreview.dev/wp-content/uploads/best-small-tv-image.jpg)
![Best 60 Inch TVs in [year] 32 Best 60 Inch TVs in 2026](https://www.gadgetreview.dev/wp-content/uploads/best-60-inch-tv-image.jpg)
![Best 50 Inch TVs in [year] 33 Best 50 Inch TVs in 2026](https://www.gadgetreview.dev/wp-content/uploads/best-50-inch-tv-imgr.jpg)
![Most Energy Efficient TVs in [year] 34 Most Energy Efficient TVs in 2026](https://www.gadgetreview.dev/wp-content/uploads/most-energy-efficient-tv-image.jpg)
![Best TVs for Apple TV in [year] 35 Best TVs for Apple TV in 2026](https://www.gadgetreview.dev/wp-content/uploads/best-tv-for-apple-tv-image.jpg)
![Best TV Antennas in [year] ([month] Reviews) 36 Best TV Antennas in 2026 (January Reviews)](https://www.gadgetreview.dev/wp-content/uploads/best-tv-antennas-image.jpg)
![Best Mitsubishi TVs in [year] 37 Best Mitsubishi TVs in 2026](https://www.gadgetreview.dev/wp-content/uploads/best-mitsubishi-tv-image.jpg)
![Best Smart TVs in [year] ([month] Reviews) 38 Best Smart TVs in 2026 (January Reviews)](https://www.gadgetreview.dev/wp-content/uploads/best-smart-tvs-image.jpg)
![Best Conference Room TVs in [year] 39 Best Conference Room TVs in 2026](https://www.gadgetreview.dev/wp-content/uploads/best-conference-room-tv-image.jpg)
![Best Dumb TVs in [year] 40 Best Dumb TVs in 2026](https://www.gadgetreview.dev/wp-content/uploads/best-dumb-tv-image.jpg)
![Best 80 inch TVs in [year] 41 Best 80 inch TVs in 2026](https://www.gadgetreview.dev/wp-content/uploads/best-80-inch-tv-image.jpg)
![Best Shows on Hulu in [year] ([month] Reviews) 42 Best Shows on Hulu in 2026 (January Reviews)](https://www.gadgetreview.dev/wp-content/uploads/The-Handmaids-Tale-750x422-1.jpg)
