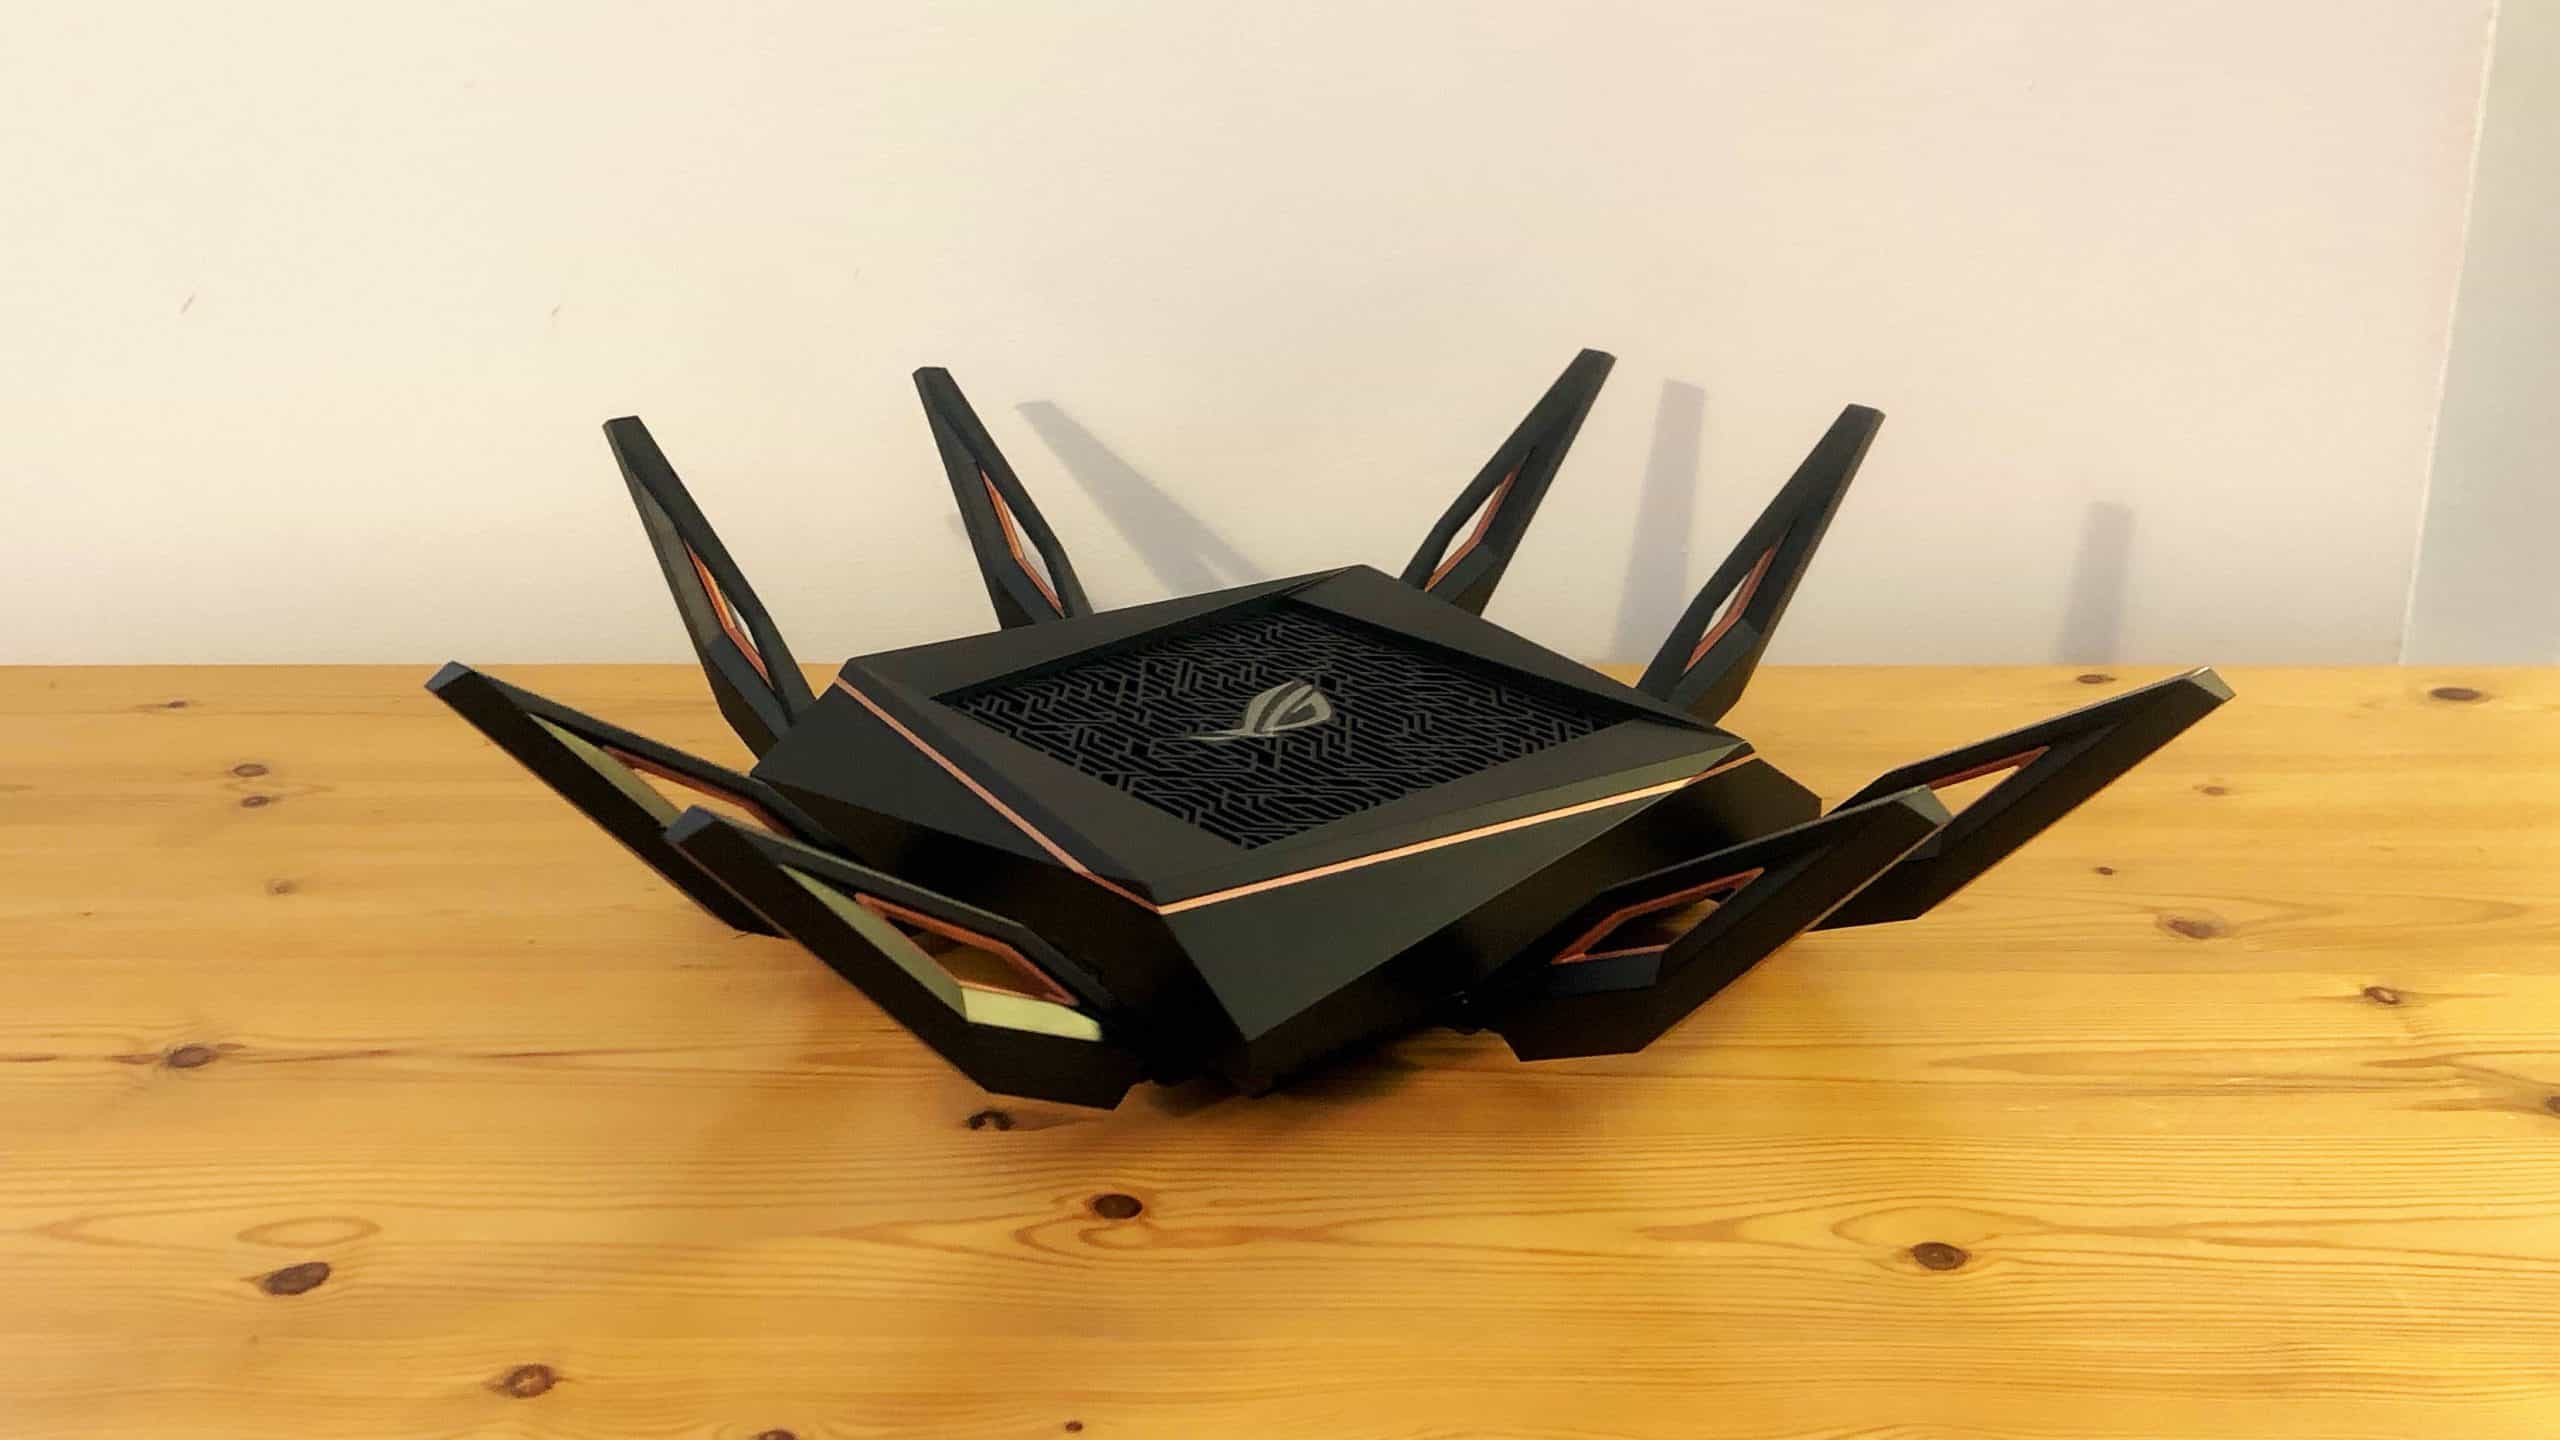
If you are experimenting with the many features of your wireless network, you may wonder how to enable DHCP on a router. The best routers, after all, integrate with a multitude of functionalities. What is DHCP, why is it used, and how do you enable it? Keep reading to find out.
KEY TAKEAWAYS:
- DHCP, otherwise known as Dynamic Host Configuration Protocol, is a mode that gives each connected device a unique IP address, DNS server, subnet mask, and default gateway.
- This helps to streamline the process of assigning a range of IP addresses to all of the gadgets connected to your IP network.
- You can enable a DHCP server mode in the settings tab of your admin panel or via firmware software.
What is DHCP and Why Enable it on a Router?
DHCP stands for Dynamic Host Configuration Protocol. DHCP automatically assigns a device-specific IP address to each connected device on your router’s network. This makes sure that no two devices share the same IP address. For that reason, it is extremely useful to enable DHCP when concerned about convenience, as DHCP streamlines the process of assigning IP addresses, though it does not help when wondering, say, why a router is not showing 5G.
Insider Tip
To access your admin panel, try entering your router’s IP address into a web browser address bar.
How to Enable DHCP on a Router
The process differs depending on the make and model of your router, such as when you are trying to learn how to connect two WiFi extenders. Still, we have tried to simplify the steps to make them universal to all router owners.
STEP 1
Enabling DHCP is done via router firmware, browser address bar, or a dedicated security app. Check the instructions on your router to find out the right way to enable DHCP with your specific product.
STEP 2
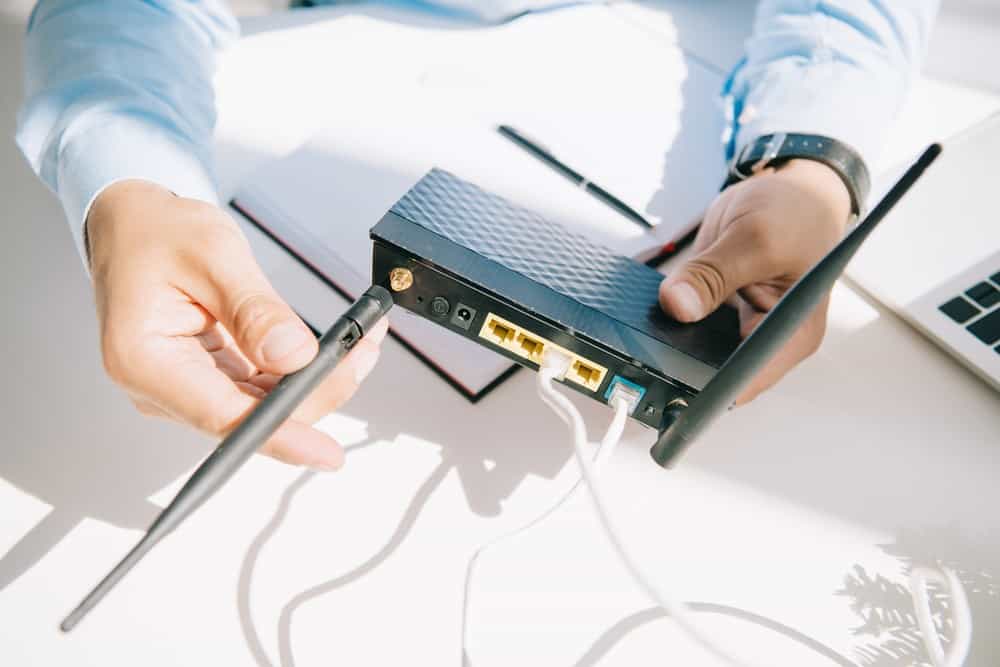
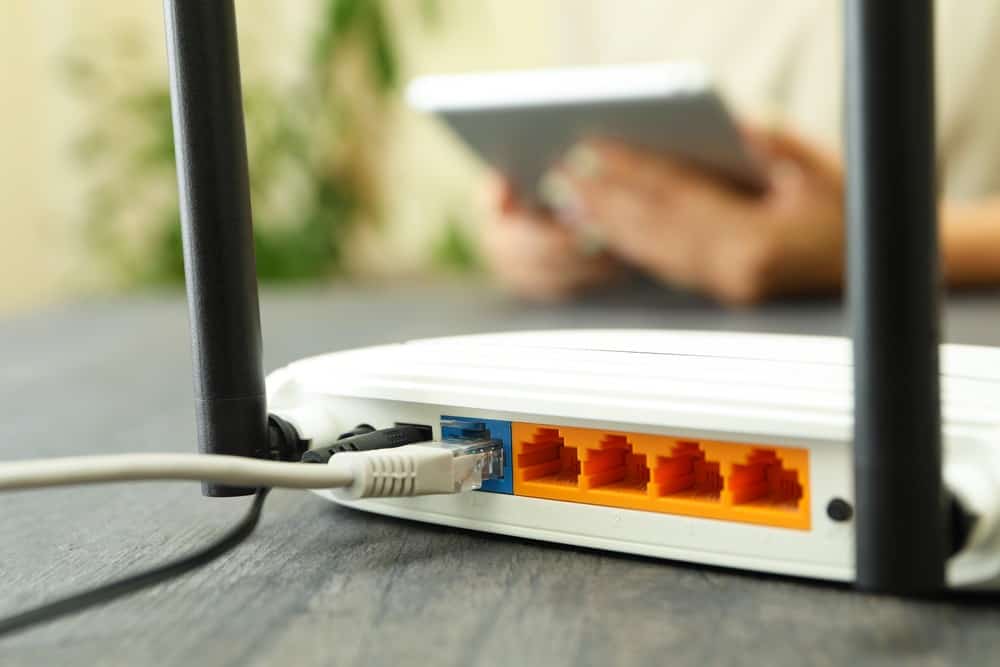
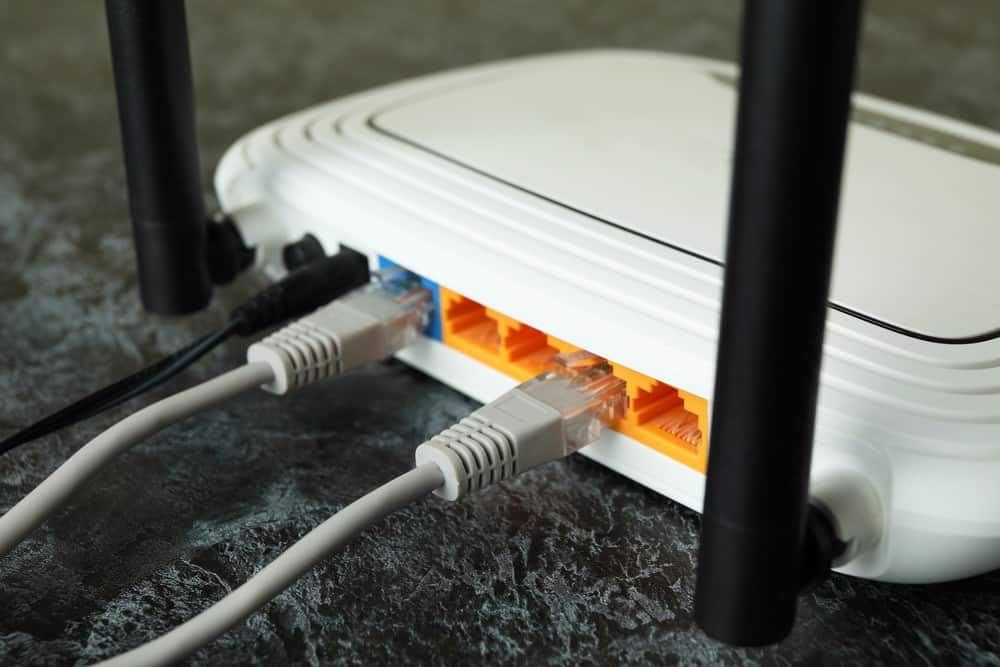
Before you start, make sure that the modem is transmitting a strong Internet signal and that it is connected to the router via Ethernet cable. Additionally, make sure the router is on and communicating a wireless signal to all connected devices.
STEP 3
Use the preferred method as indicated in your instructions to turn on DHCP. For instance, you may need to access your admin panel, find a settings tab for “Station Network Settings” and look for DHCP protocol settings. Follow the prompts to turn on DHCP.
STEP 4
After enabling DHCP on your wireless router, you may need to restart the device in order for the changes to take. Unplug your router and leave it unplugged for around a minute before plugging it back in. Your DHCP feature should be operating normally once the restart is complete.
F.A.Q.S
How to configure a DHCP server on a Cisco router?
This depends on which Cisco router you have, your current IP address, your static IP address, lease time, and a number of other options.
Where to find your model number?
The model number is typically on the body of the router itself via a sticker, along with the password, network name, and potentially the router’s IP address.
How to change DHCP settings on your modem?
In rare instances, you’ll need to switch up DHCP settings on your modem to accommodate a particular IP address, DNS domain name, lease duration, or IP address range. If so, this is done via the modem’s settings menu.
STAT: DHCP employs a client-server architecture; a DHCP client is configured to request network parameters from a DHCP server on the network. A DHCP server is configured with a pool of available IP addresses and assigns one of them to the DHCP client. (source)
REFERENCES:
- https://study-ccna.com/configure-cisco-router-as-dhcp-server/
- https://support.microsoft.com/en-us/windows/change-tcp-ip-settings-bd0a07af-15f5-cd6a-363f-ca2b6f391ace
- https://www.cisco.com/en/US/docs/ios/12_4t/ip_addr/configuration/guide/htdhcpsv.htmlr
- https://helpcenter.trendmicro.com/en-us/article/tmka-19729
- https://www.linksys.com/us/support-article?articleNum=135673





![Best BenQ Monitors in [year] 27 Best BenQ Monitors in 2026](https://www.gadgetreview.dev/wp-content/uploads/best-benq-monitor-image.jpg)
![Best Wifi Extenders For FiOS in [year] 28 Best Wifi Extenders For FiOS in 2026](https://www.gadgetreview.dev/wp-content/uploads/best-wifi-extender-for-fios-image.jpg)
![Best Fiber Optic Routers in [year] 29 Best Fiber Optic Routers in 2026](https://www.gadgetreview.dev/wp-content/uploads/best-fiber-optic-router-image.jpg)
![Best VoIP Routers in [year] 30 Best VoIP Routers in 2026](https://www.gadgetreview.dev/wp-content/uploads/best-voip-router-image.jpg)
![Best Routers for 200Mbps in [year] 31 Best Routers for 200Mbps in 2026](https://www.gadgetreview.dev/wp-content/uploads/best-router-for-200mbps-image.jpg)
![Best Routers for Optimum in [year] 32 Best Routers for Optimum in 2026](https://www.gadgetreview.dev/wp-content/uploads/best-router-for-optimum-image.jpg)
![Best Routers for Apple in [year] 33 Best Routers for Apple in 2026](https://www.gadgetreview.dev/wp-content/uploads/best-router-for-apple-image.jpg)
![Best Routers for Frontier FIOS in [year] 34 Best Routers for Frontier FIOS in 2026](https://www.gadgetreview.dev/wp-content/uploads/best-router-for-frontier-fios-image.jpg)
![Best Secure Routers in [year] 35 Best Secure Routers in 2026](https://www.gadgetreview.dev/wp-content/uploads/best-secure-router-image.jpg)
![Best Routers for Google Fiber in [year] 36 Best Routers for Google Fiber in 2026](https://www.gadgetreview.dev/wp-content/uploads/best-router-for-google-fiber-image.jpg)
![Best Routers for Cox in [year] 37 Best Routers for Cox in 2026](https://www.gadgetreview.dev/wp-content/uploads/best-router-for-cox-image.jpg)
![Best Asus Routers in [year] 38 Best Asus Routers in 2026](https://www.gadgetreview.dev/wp-content/uploads/best-asus-routers-image.jpg)
![Best Linksys Routers in [year] 39 Best Linksys Routers in 2026](https://www.gadgetreview.dev/wp-content/uploads/best-linksys-routers-image.jpg)
![Best Routers for CenturyLink in [year] 40 Best Routers for CenturyLink in 2026](https://www.gadgetreview.dev/wp-content/uploads/best-router-for-centurylink-image.jpg)
![Best WiFi Routers for Multiple Devices in [year] 41 Best WiFi Routers for Multiple Devices in 2026](https://www.gadgetreview.dev/wp-content/uploads/best-wifi-router-for-multiple-devices-image.jpg)
![Best Wired Routers in [year] 42 Best Wired Routers in 2026](https://www.gadgetreview.dev/wp-content/uploads/best-wired-router-image.jpg)
![Best Routers for 4K Streaming in [year] 43 Best Routers for 4K Streaming in 2026](https://www.gadgetreview.dev/wp-content/uploads/best-router-for-4k-streaming-image.jpg)
![Best Cisco Routers in [year] 44 Best Cisco Routers in 2026](https://www.gadgetreview.dev/wp-content/uploads/best-cisco-routers-image.jpg)
![Best eero Routers in [year] 45 Best eero Routers in 2026](https://www.gadgetreview.dev/wp-content/uploads/best-eero-routers-image.jpg)
