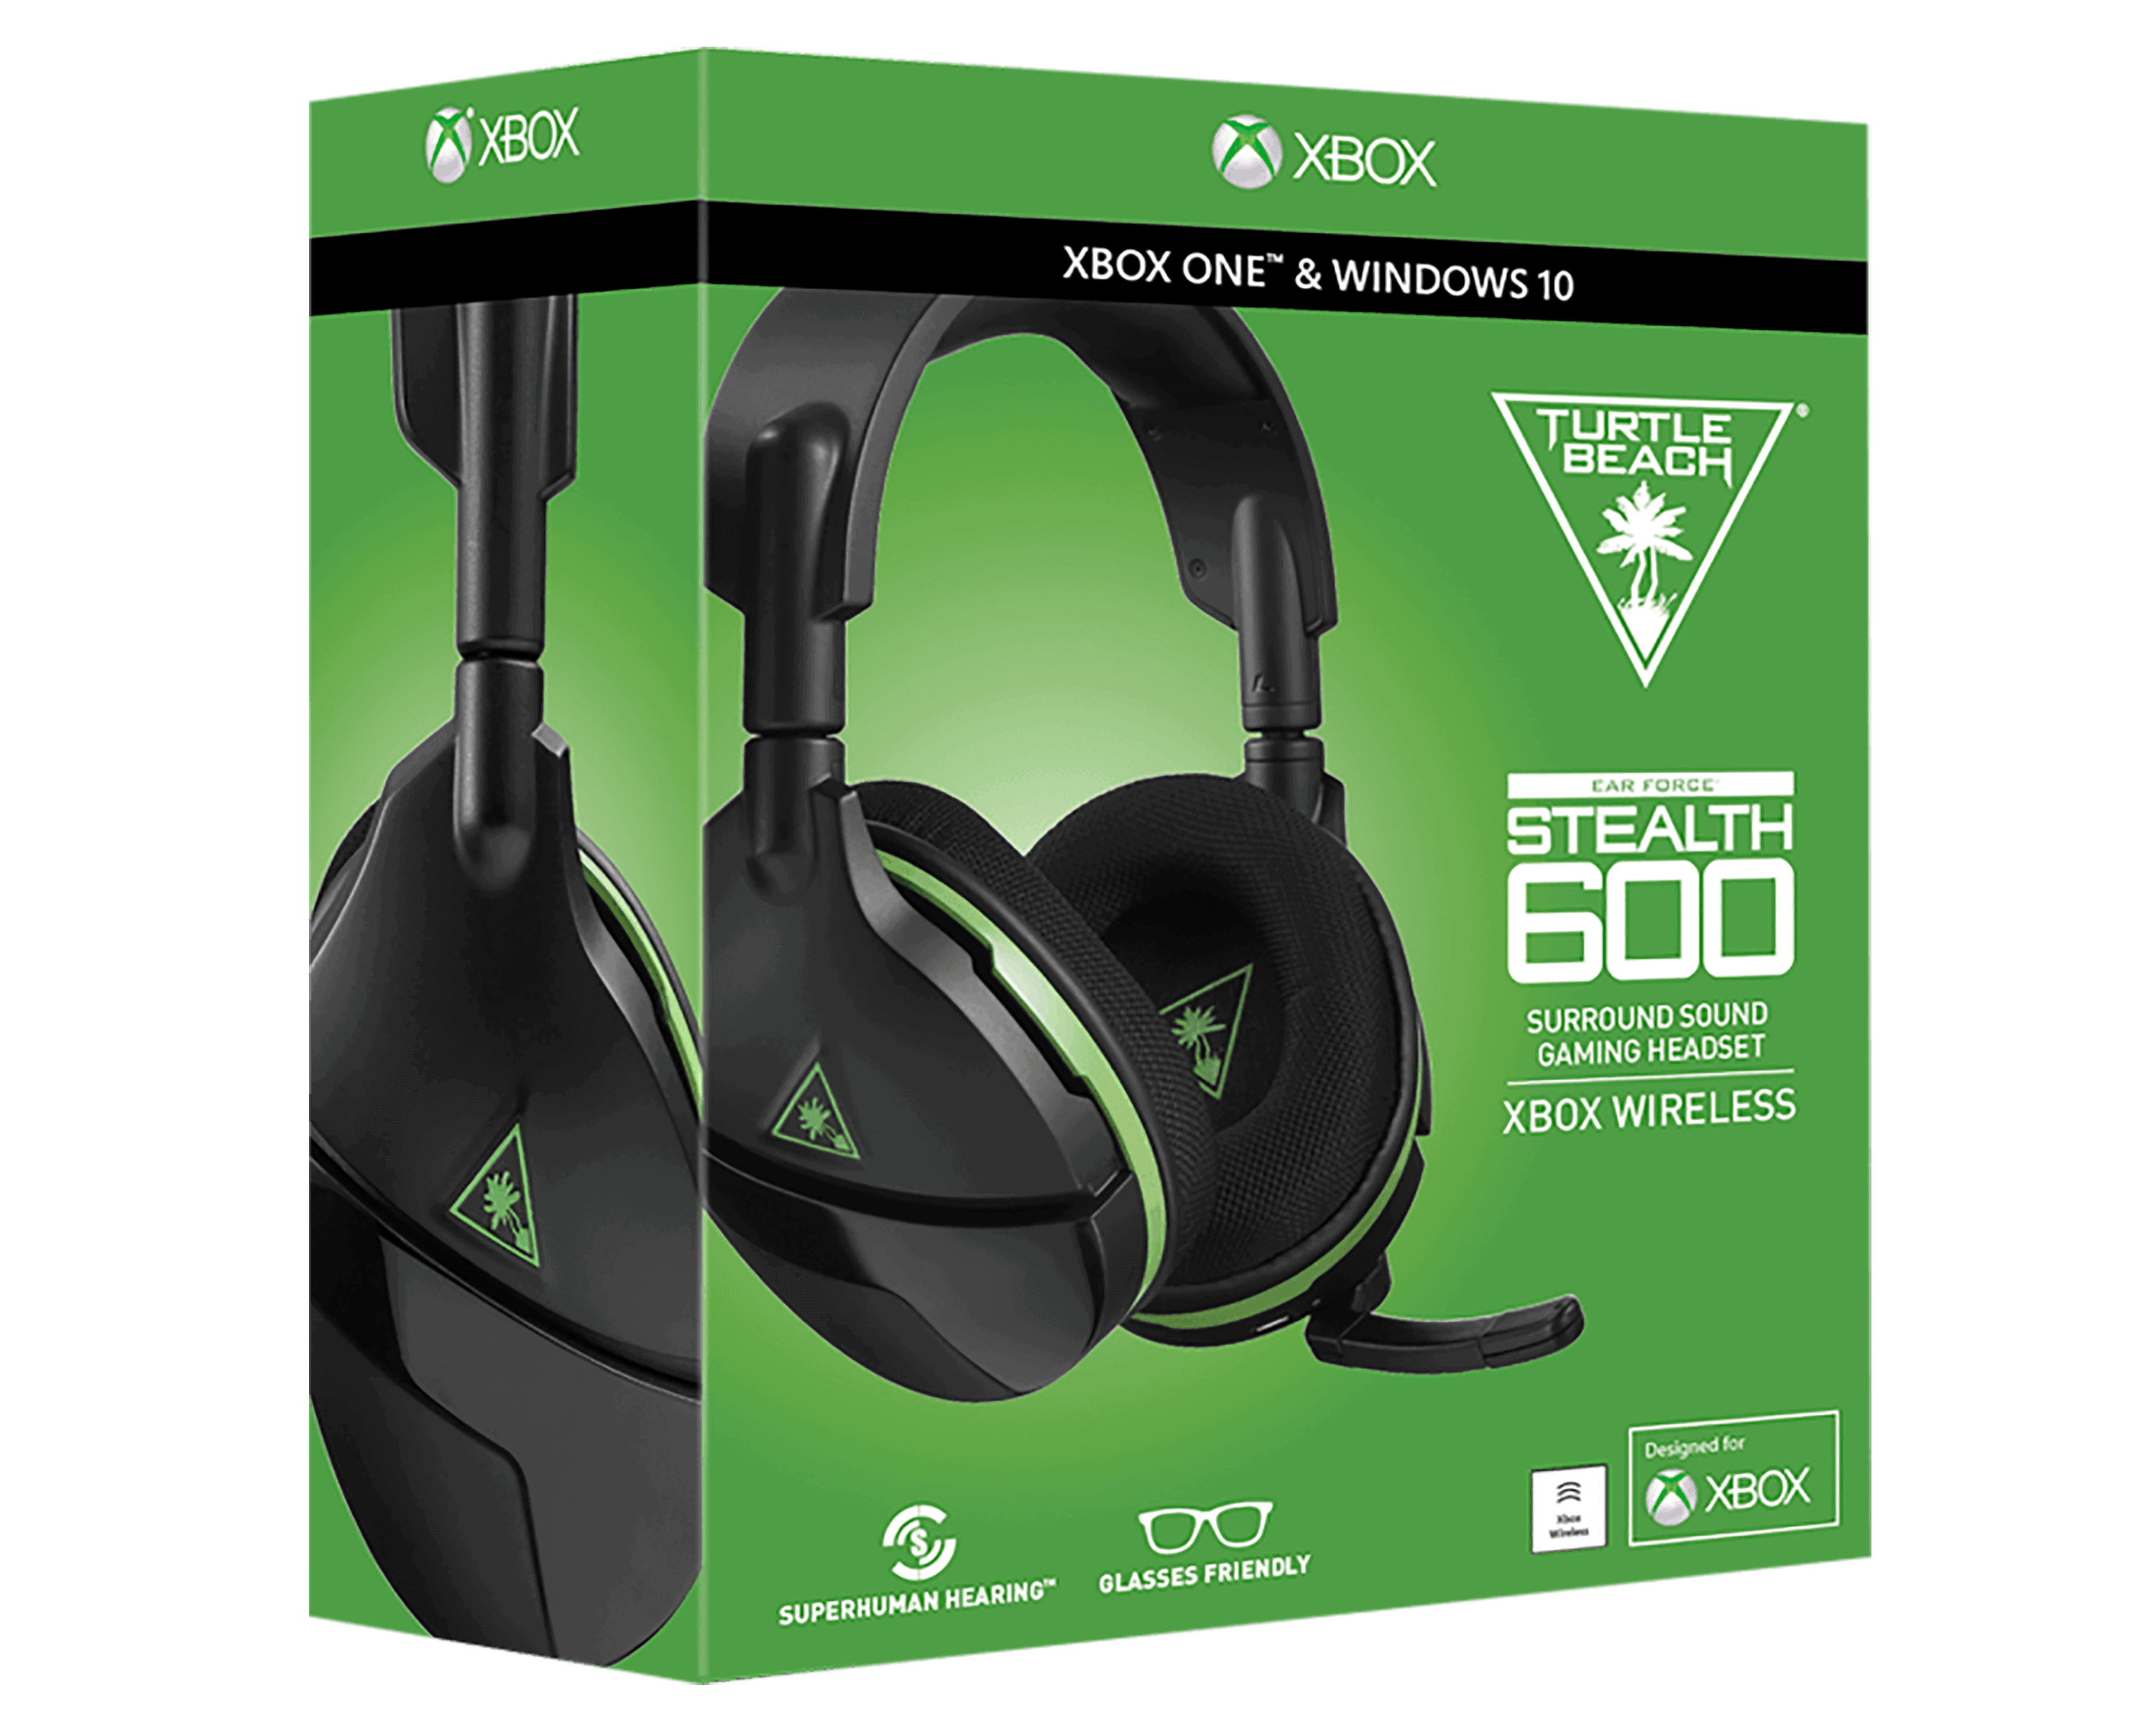
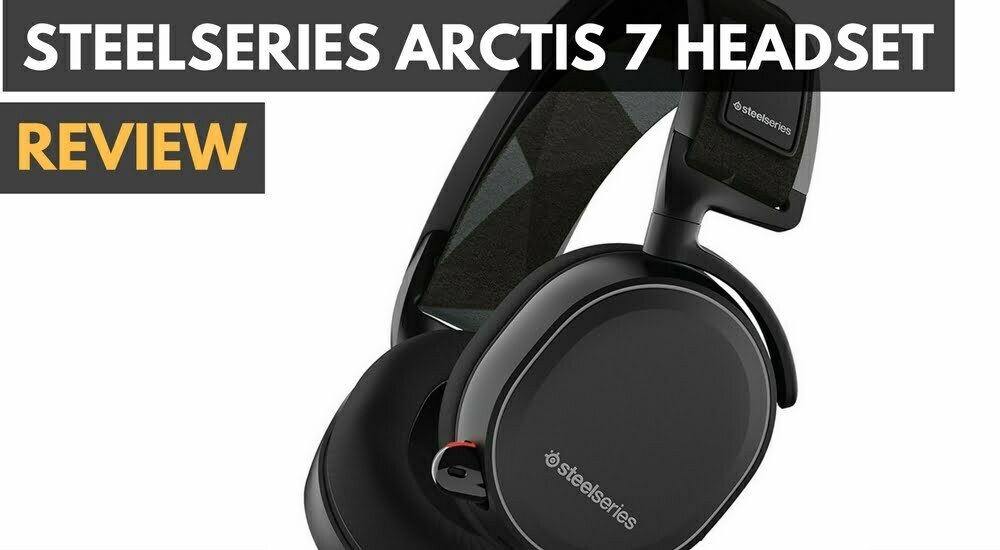
The LucidSound LS35X – Best Value Headset is a great value, but how do you connect it? We have the answers below. We know – you just got a new Xbox One wireless headset, and you can’t wait to try it out. Between you and all that sweet sound is just one thing – the setup process.
But with the variety of different wired and wireless headsets on the market, setup isn’t as easy as just plug-and-play; sometimes it can get pretty complicated. Fortunately, we have experience in setting up a number of different Xbox One headsets, from the simple to the confounding (and more than a few without much instruction at all), so allow us to break it down for you. Here’s how to connect your Xbox One headset, based on the kind of headset you’re unboxing!
Setting Up a Wired Headset
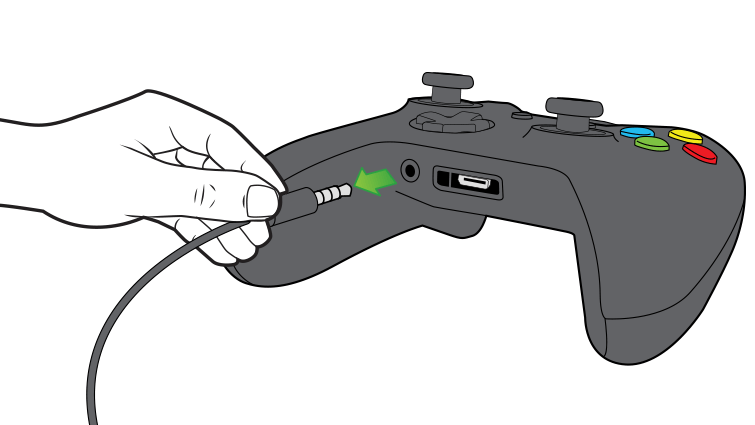
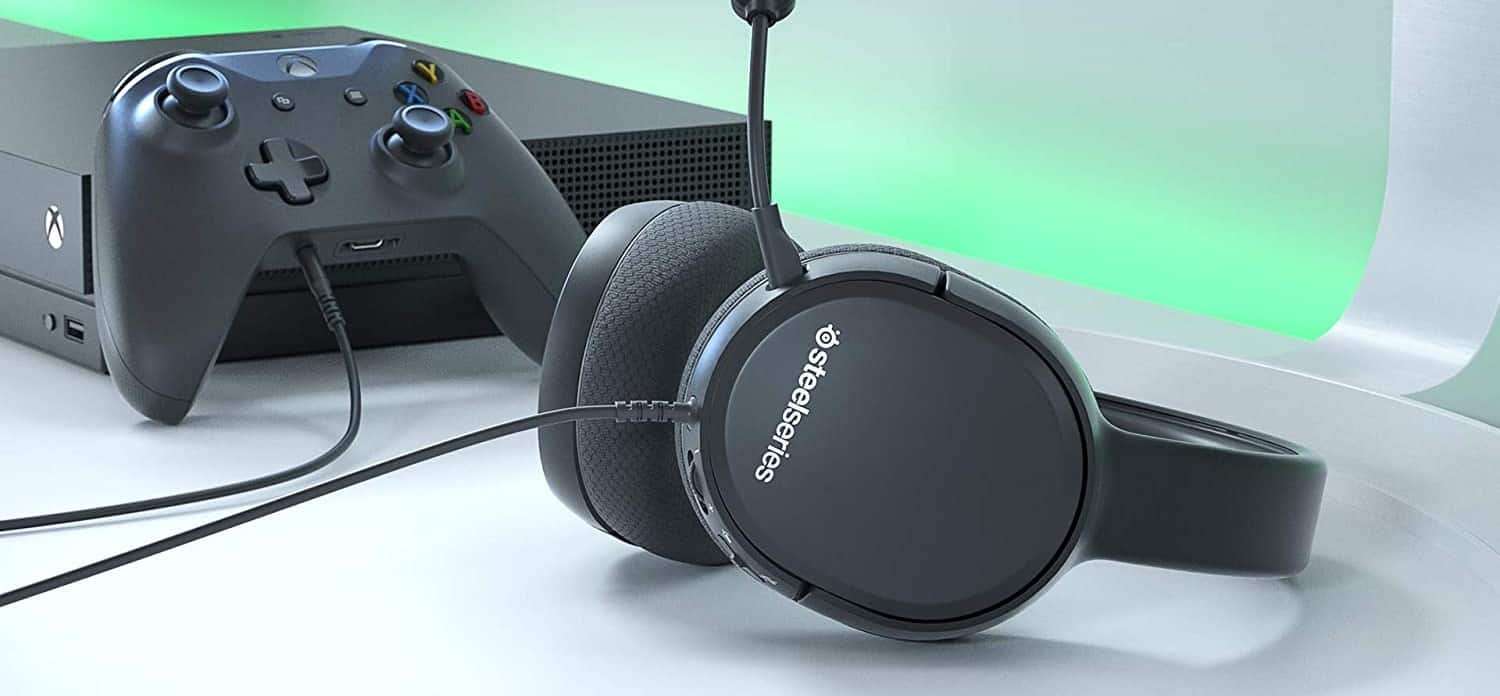
Don’t worry, these headsets typically use your controller as a source of power and are very easy to plug in and start using.
Step 1: Turn off your Xbox One. This isn’t always required, but it’s usually a good idea, and it prevents any unexpected problems.
Step 2: Check what kind of cable connection that your headset has. There are two basic connection options: the first is the classic 3.5mm jack, and your controller should have a small port for between the handles, toward the left. The second option is the full headset adapter for the controller, which plugs into the entire bottom of your controller. Note that there is some overlap here! Some headsets come with their own separate Xbox adapters that plug into the full port, but then end in a 3.5mm jack for the headset or another headset of your choice. There’s not much difference, except that the larger adapter option is sturdier and gives you some chat/mute options right there on the controller for faster changes.
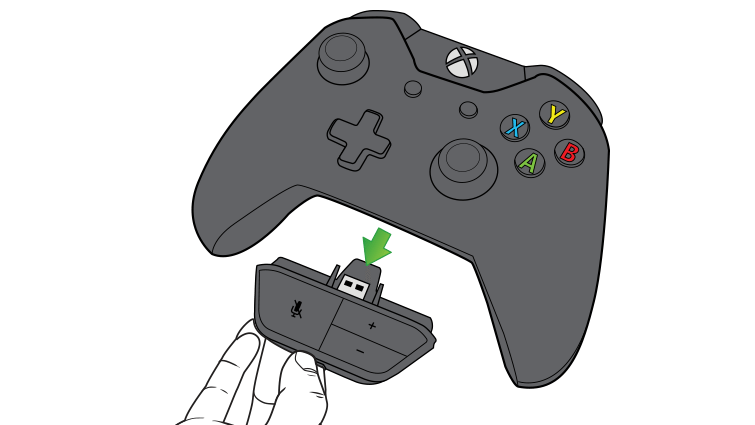
Note: Some headsets have RCA cables or stereo chat options that require a connection to your console or TV. Those headsets are pretty rare these days (we actually haven’t tried any in years), but keep in mind that, in some cases you may need a free USB port or RCA connection to get the headset to work.
Step 3: Plug your headset into the controller according to its cable, and then try the headset on! Take this time to make any adjustments so that the fit is just right. Take particularly notice of how to control the volume and where the mute button is.
Step 4: Turn on your Xbox One and the controller. Listen for the startup and menu sounds immediately. Adjust your volume and experiment with the mute button to find out how these controls work – and to make sure that you are picking up on sound properly.
Step 5: Start up a game and see how the headphones sound! If the headphones do not work, no matter how much you mess with the volume, then we have an important suggestion for you to try: go to the left sidebar menu in the Xbox One home screen and head down to Settings. Once there, look for Devices & accessories. Head over to controllers, and check to see if the controller that you are using can be updated. Controllers need firmware updates too, and a common reason for headsets to stop working is a lack of updates that make it compatible with a new headset, especially if haven’t updated the controller before.
Step 6: Try a multiplayer game to make sure that the chat function works. You can also record your own voice in a message, send it to yourself, and then listen to it to make sure that the mic is picking up your own words, but if you have a couple friends online it’s usually easier to just link with them on a game and test it out.
Note: If you are wondering how to connect Xbox 360 headsets to Xbox One…it might be tricky. The Xbox One 3.5mm controller jack isn’t present on the 360, and this Xbox One headphone jack may limit what older headsets will fit. The good news is that it’s easier to connect a new headset to Xbox One now, no matter where it comes from.
How to Connect a Wireless Headset to Xbox One
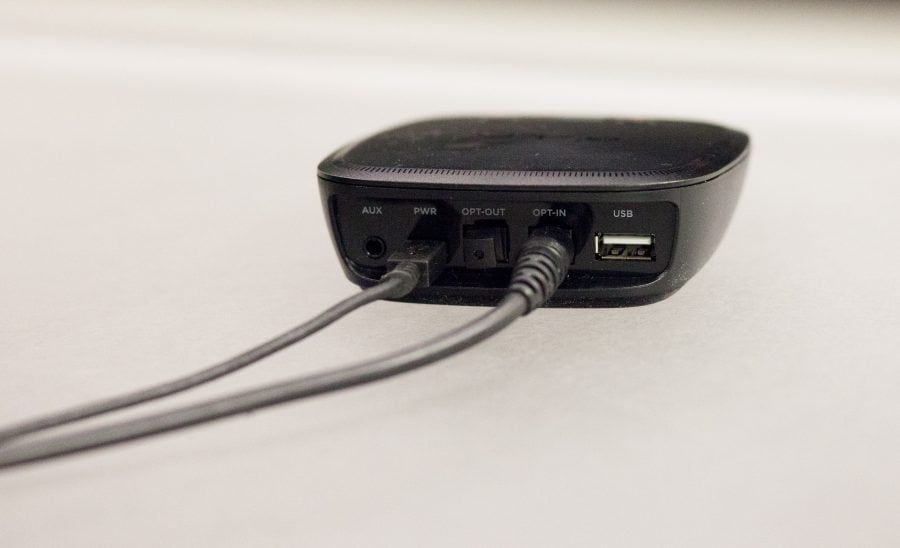
Wireless headsets are a little tricky, since Xbox One lacks true Bluetooth capabilities (no, you cannot connect a traditional Bluetooth headset to Xbox One) and developers find it difficult to create wireless headsets for the system. Adapters and workarounds have gotten better lately, and there’s hope that Scorpio will change this trend when the new console appears. For now, here’s what you need to know.
With a tether to the controller
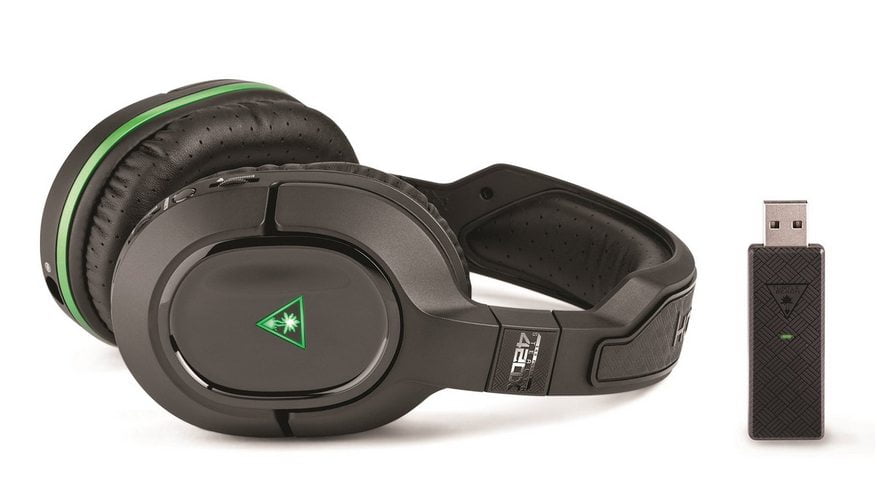
Step 1: Most current Xbox One compatible wireless headsets need a tether primarily for audio communication – in other words, you will have one wireless connection for audio-in, and one tethered connection for audio-out. The other option is a full controller adapter for audio comes in and goes out entirely through the controller, but we don’t see as many of these. So prepare both your tether cable, which is typically a 3.5mm jack, and your wireless connection, which should be a USB attachment or stick. Turn your Xbox One and controller on.
Step 2: Connect your USB connection and pair it with your headset. There should be a pairing command button on the USB connection or the wireless headset that allows the two to successfully connect. Once again, we suggest that you know exactly where your volume and mute buttons. Start up some audio content and experiment with these buttons so you understand the sound range of your headset and can get it working. Note that if you have a full controller adapter, you can skip this step and go right to step 3.
Step 3: Now plug your tethering cable into your Xbox One controller, either in the 3.5mm jack or with a full adapter. Make sure that your mic is attached, unmuted, and ready to go. Test this mic by jumping into a game with friends, or sending a voice message to yourself. Both ways work, your goal here is to make sure that the Xbox One headset connection is picking up your audio through the controller successfully.
Note: Is your controller running low on batteries? Careful! Many tethered wireless headsets really don’t like to be connected to controllers that are also charging their batteries. If you want to charge, disconnect the headset and switch to a controller with a full battery. Otherwise, you could be inviting audio issues or even disconnections.
With a base station or adapter (no tether)
Step 1: Because of the complications involved here, it’s best to check first to see if the controller needs any updates. Head to Settings, Devices & accessories, and then controllers. Try the Update option to search for any available updates.
Step 2: Make sure that your headset is charged and ready to go.
Step 3: Check to see if your station or adapter needs to be updated. In some cases, you may need to attach the base station to your computer via USB and search for any updates. Your headset instructions should let you know if this is necessary.
Step 4: Connect the base station to your Xbox One. There should be a microUSB cable included for this. It doesn’t matter which USB port on your Xbox that you use, but one of the back ports is probably best.
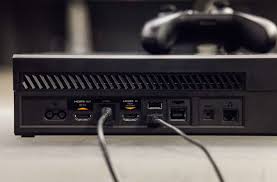
Step 5: Connect any additional cables. This isn’t always necessary, but some headsets include optical audio cables for additional sound quality improvements, and this is the best time to make these connections as well. Note: If you do connect an optical audio cable, then head over to Settings, go to Display & sound, and head over to audio output. Make sure that HDMI audio is off and Optical audio is set to bitstream out, so everything works properly.
Step 6: Turn your Xbox One on if necessary, and pair the wireless headset and the station/hub. There’s usually a “search” button on one or the other (sometimes it’s the power button) that allows them to connect. If everything is working properly, this should start up your headphones and you will begin hearing sound. Take a little time to experiment with the volume and muting controls to find out how everything works.
Note: Keep in mind that even fully wireless headsets may need tether cables for some things, like voice chat. This varies from headset to headset, so take a look at instructions for chatting before you throw anything away.
With an HDMI setup
We’ve seen a few HDMI wireless headsets appear, most notably the Tritton Katana headset, which use HDMI capabilities as part of their wireless capabilities. These are similar to the base station option, but involve a little more work to get things started.
The steps are largely the same, but when it comes to connect cables, you have a USB cable and an HDMI cable. Route your traditional Xbox One HDMI cable into the HDMI hub, and then use the new HDMI cable to route out and into your TV or receiver. Otherwise, you will get neither picture nor sound when you try using the headset.
Note on Xbox One Sound Settings
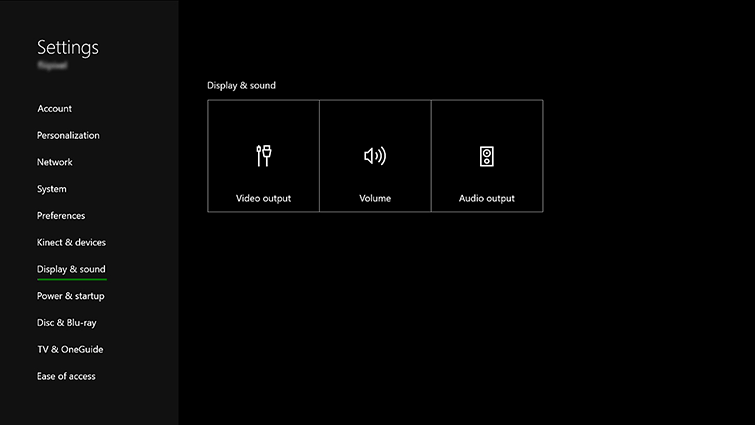
We know, nothing’s worse than setting up a great new Xbox headset, only to find out you can’t hear any audio. So let’s take a little bit to talk about some important Xbox One settings in addition to checking for updates. If something goes wrong and you can’t figure out what to do based on the directions, head to these settings and see if you need to tweak them as you set up.
- Audio output: We mentioned this section briefly, but if you head to Settings and then Display & sound, you can find the audio output section, which is divided into three parts. The first is HDMI audio, which can be either off or on. It’s usually fine left on as long as you are not using an optical audio cable, but if sound has suddenly shut down, try toggling this option. The second option is optical audio format, which you should try changing if your optical audio connection isn’t responding. The same is true of Bitstream format, which should usually be set on Dolby Digital – change it if your headset isn’t formatted for Dolby Digital sound.
- Volume: Right by the Audio output section is Volume. There are several sections here, but you want to pay attention to the first three. Sound mixer allows you to control how much sound enters the headphones – if volume is absent or very low, your sound mixer may need some adjustment while you are setting up. Second is the chat mixer, which balances sound between chat noise and normal game noise levels. Some headsets actually have recommendations on where to set the chat mixer at, but you can experiment at will with it to see what works. Finally, there’s the Party chat output. Some headsets don’t care about this setting, but some do: make sure that it is set to “headset” while you are using a headset.
- Kinect chat: If you have a Kinect, in the first sidebar menu where you go to Settings you should see an option to turn Kinect chat on or off. The Xbox One is pretty good about automatically turning this on or off, but if the Kinect keeps picking up sound instead of using your mix, you may have to adjust it manually.
- Party Chat: Your mic may have become accidentally muted here. Your physical mute button on the headset should reverse the problem, but this on-screen option is an easy way to check for issues.
- NAT Type: This is a more complicated, but in summary: your Internet connection needs to be “free” enough to connect with other people if you want to voice chat (with some variance from game to game and router to router). That’s what NAT type is about. You can find this by heading to Settings, Network, and then Set up wireless network. Your current net connection is shown here with a small section for NAT. If it is set to open or moderate, it should be fine. If it’s set to strict, this could be why you can’t chat. Take a look at how you can change NAT to be open. It helps if the rest of your party has an open or moderate NAT too – but be warned, this does involve some in-depth router work.
- Privacy & online safety: This is worth a mention if you have a kid’s account set up for a child or sibling. There’s an option here to control how to “communicate with voice and text” which can be limited to current friends – and is automatically restricted if the account holder’s age is under 17. To fully open up chat options, this needs to be changed using the “parent” account.
Related Articles:



![Best Gaming Keyboard in [year] ([month] Reviews) 31 Best Gaming Keyboard in 2026 (January Reviews)](https://www.gadgetreview.dev/wp-content/uploads/best-gaming-keyboard-image.jpg)
![Best CS:GO Headsets in [year] 32 Best CS:GO Headsets in 2026](https://www.gadgetreview.dev/wp-content/uploads/best-csgo-headset-image.jpg)
![Best Gaming Headset for Glasses Wearers in [year] 33 Best Gaming Headset for Glasses Wearers in 2026](https://www.gadgetreview.dev/wp-content/uploads/best-gaming-headset-for-glasses-wearers-image.jpg)
![Best Bose Gaming Headsets in [year] 34 Best Bose Gaming Headsets in 2026](https://www.gadgetreview.dev/wp-content/uploads/best-bose-gaming-headset-image.jpg)
![Best Gaming Headsets for Big Heads in [year] 35 Best Gaming Headsets for Big Heads in 2026](https://www.gadgetreview.dev/wp-content/uploads/best-gaming-headset-for-big-heads-image.jpg)
![Best Open Back Gaming Headphones in [year] 36 Best Open Back Gaming Headphones in 2026](https://www.gadgetreview.dev/wp-content/uploads/best-open-back-gaming-headphones-image.jpg)
![Best HyperX Headsets in [year] 37 Best HyperX Headsets in 2026](https://www.gadgetreview.dev/wp-content/uploads/best-hyperx-headset-image.jpg)
![Best Audiophile Gaming Headphones in [year] 38 Best Audiophile Gaming Headphones in 2026](https://www.gadgetreview.dev/wp-content/uploads/best-audiophile-gaming-headphones-image.jpg)
![Best Alienware Gaming Headsets in [year] 39 Best Alienware Gaming Headsets in 2026](https://www.gadgetreview.dev/wp-content/uploads/best-alienware-gaming-headset-image.jpg)
![Best Mics for PC Gaming in [year] 40 Best Mics for PC Gaming in 2026](https://www.gadgetreview.dev/wp-content/uploads/best-mic-for-pc-gaming-image.jpg)
![Best Gaming Headsets for Kids in [year] 41 Best Gaming Headsets for Kids in 2026](https://www.gadgetreview.dev/wp-content/uploads/best-gaming-headset-for-kids-image.jpg)
![Best USB Gaming Headsets in [year] 42 Best USB Gaming Headsets in 2026](https://www.gadgetreview.dev/wp-content/uploads/best-usb-gaming-headset-image.jpg)
![Best Headsets for Streaming in [year] 43 Best Headsets for Streaming in 2026](https://www.gadgetreview.dev/wp-content/uploads/best-headset-for-streaming-image.jpg)
![Best Headsets for Nintendo Switch in [year] 44 Best Headsets for Nintendo Switch in 2026](https://www.gadgetreview.dev/wp-content/uploads/best-headset-for-nintendo-switch-image.jpg)
![Best Headsets for Call of Duty in [year] 45 Best Headsets for Call of Duty in 2026](https://www.gadgetreview.dev/wp-content/uploads/best-headset-for-call-of-duty-image.jpg)
![Best Headsets for Fortnite in [year] 46 Best Headsets for Fortnite in 2026](https://www.gadgetreview.dev/wp-content/uploads/best-headset-for-fortnite-image.jpg)
![Best Logitech Headsets in [year] 47 Best Logitech Headsets in 2026](https://www.gadgetreview.dev/wp-content/uploads/best-logitech-headset-image.jpg)
![Best PS5 Headsets in [year] 48 Best PS5 Headsets in 2026](https://www.gadgetreview.dev/wp-content/uploads/best-ps5-headset-image.jpg)
![Best Sony Gaming Headsets in [year] 49 Best Sony Gaming Headsets in 2026](https://www.gadgetreview.dev/wp-content/uploads/best-sony-gaming-headset-image.jpg)
