The idea of a portable device that can show a 3D image isn’t new, but (with the exception of the Nintendo 3DS) the failed attempts in the past have been due to 1)lack of screen brightness and 2)the bulky construction necessary to contain the 3D imaging technology. EyeFly 3D aims to remove both of these problems by being, in essence, a “screen protector” that places hundreds of thousands of mini lens in front of the eye so as to create a stereoscopic view, and works by taking advantage of the technology already in play on an Apple smartphone. If you want a way to keep the camera stable while you’re taking pictures, check out our Phocus iPhone lens system review. And if you want to take great pictures, get the best iPhone around.
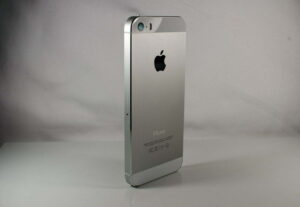
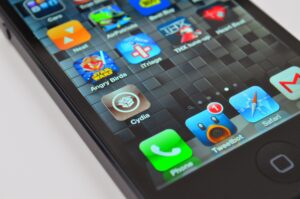
The EyeFly 3D consists of a special strip of scratch resistant material that goes over the iPhone’s screen (sized specifically for the 5/S/C) and which holds on through a friction/adhesion as is similar in the case with standard screen protectors. The other component consists of two iOS 7 apps — one for video and one for photos. EyeFly 3D can otherwise be ignored since there aren’t any Apple or other 3rd party apps that work with it — the normal 2D appearance of the apps on the screen not being impacted nor is there any loss of brightness to speak of (however the level of brightness can be raised a bit if desired). There is, however, a bit of a “shimmy” to the screen if the viewer looks a bit to the side as opposed to straight on, but this effect varies from person to person and as for myself, I got used to it very quickly and then stopped being bothered by it.
Related: If you need more space on your iPhone, you might be interested in our I Flashhdrive HD review.
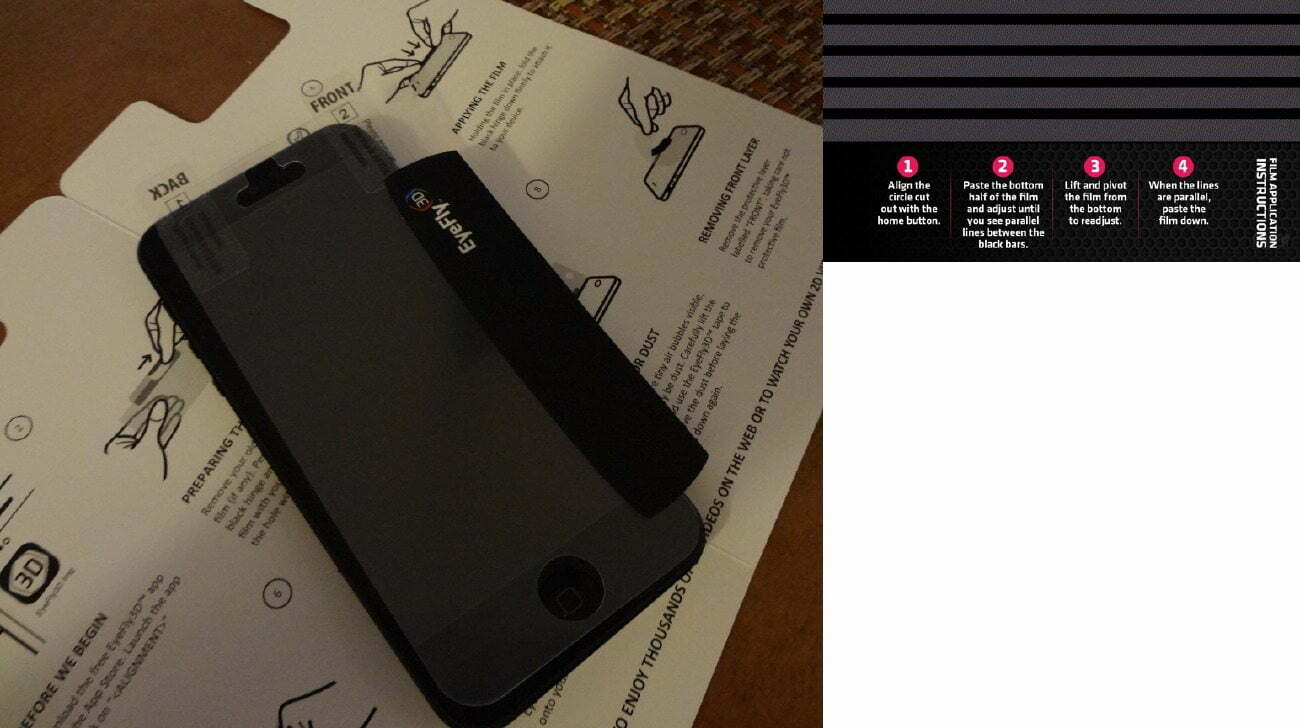
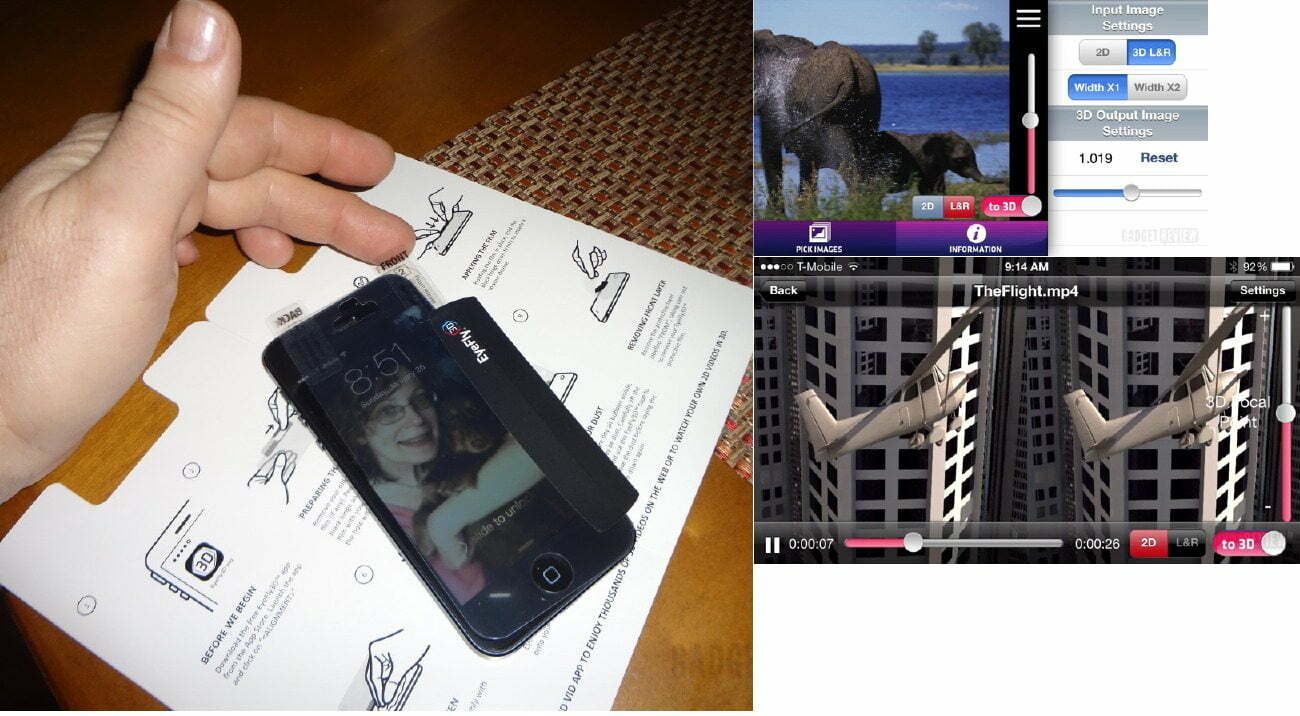
Properly positioning the EyeFly 3D is paramount and there are detailed instructions — in fact too detailed as I found viewing a video found online that showed how to do it was the better approach. Basically you first clean the iPhone’s screen, remove a protective layer from the back of the EyeFly 3D and then position it on the screen so as to remove any air bubbles by sliding it on. The strip can be re-positioned as necessary till it looks good, at which time you press it down firmly onto the screen and remove a front protective layer. Additionally both of the apps have an alignment setting that visually indicates when the EyeFly 3D has been positioned on the screen correctly. That’s it. I should add that the cutouts for the iPhone’s front-facing camera at top, and the Home button at the bottom (along with text-named attached tags) make it pretty hard to put it on wrong. Of course the whole process is more difficult if the iPhone is left in a case or bumper, so have the iPhone “nude” first. The EyeFly 3D is very durable and so adds another layer of protection to the iPhone’s screen while not impeding touch controls. Additionally, it can be cleaned in the conventional manner used for any screen protector (i.e., cleaning fluid applied to a microfiber cloth).
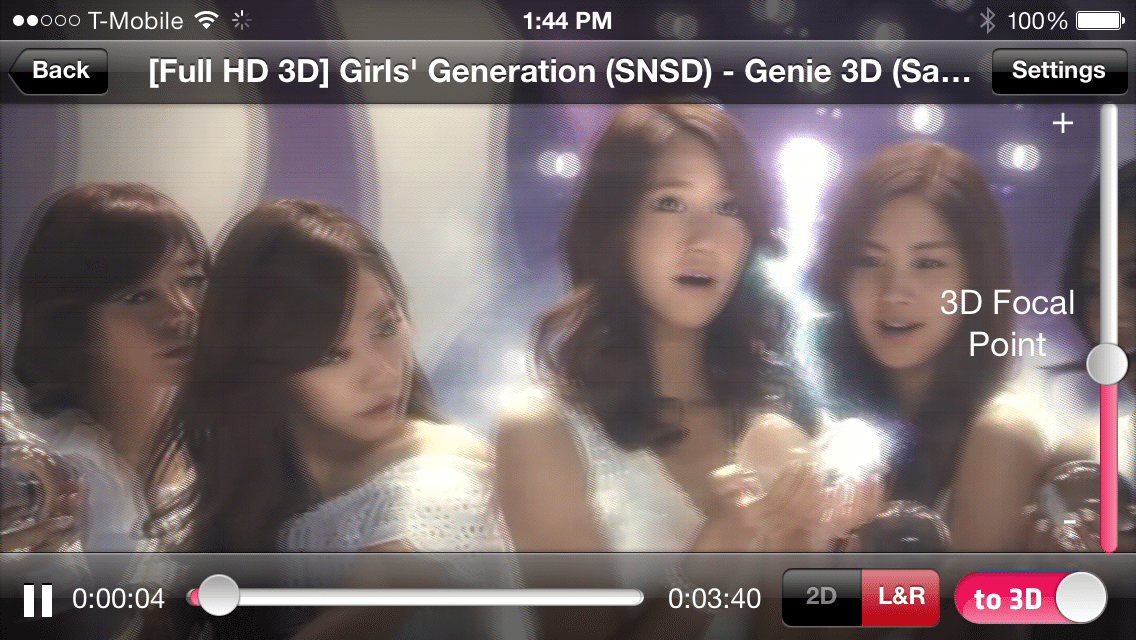
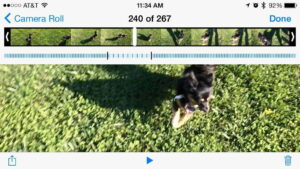
To view 3D, access either the EyeFly video or photo app, both of which are free downloads from the Apple store. Both have included video/photos but can take images from the phone’s Camera Roll. Both can also “convert” a 2D image into 3D, with a variable control altering the effect — I found this more useful with video since a moving image is more forgiving and there are more opportunities for objects to attempt a 3D effect. But viewing true 3D is why the EyeFly 3D is there in the first place, and the default video of a plane flying through the sky and then past an ocean liner displays a realistic 3D view as you hold the phone in front of you (either horizontally or vertically). The only caveat is that the 3D format being employed for viewing utilizes the side-by-side method standard. Among the video controls, besides displaying the image in 2D instead of 3D, there is a “3D Focal Point” control for tweaking the way the 3D effect appears. Videos also tend to look better than 3D still photos, due to the motion obviating the slight artifact glitches that can appear in the image at times. Solid colors seem to look the most stable, which means animation over that of live-action, so perhaps that is why the plane/ocean liner is an animation. Also it’s important to view the screen from dead-center, but since mobile device screens are small to begin with, this isn’t an issue as most users are already adept at keeping the screen fairly dead-center to their eyes. This eliminates the problem of off-axis viewing, which downgrades, if not altogether negating the 3D effect.
Related: Also check out our Desk Pets Carbot RC review.
I also tried loading in the the 3D version of Disney’s Little Mermaid, which I had transferred to the iPhone’s media library, only to discover that the EyeFly 3D video app can’t access files from the phone’s library (only the Camera roll so it’s what you have shot yourself). So, for at least now, 3D imaging is limited to the large number of 3D YouTube videos, which can be accessed in-app, or 2D YouTube videos converted.
Bottom line: The EyeFly 3D efficiently displays 3D on an iPhone without introducing bulk or negatively impacting 2D use. If you want to be able to watch 3D on an iPhone without bulky glasses getting in the way, this is the most sensible way to do it — especially since the $26.95 retail price is minor compared to the cost of a stand-alone 3D device.
