Having cut my teeth, as it were, on a Novabeam which, for all practical purposes was a front projector for the 1980s — I always turn to a projector with a sense of wonder and excitement. For those who need to know, a front projector offers the opportunity for a much larger screen than is currently available for TV sets. But what I like best about front projection, besides that big image, is the simplicity they require for setup. Now, this might seem strange since you have to set up a projector across from a screen, as compared to a TV which is an all-in-one box, but bear with me. You’ll see, as I do, that it’s so much easier to set up a projector to follow your particular requirements for having an image worth viewing. Also, see the Sony VPL-VW665ES 4k 3D projector. Or, check out our list of the best projectors.
(update: now checkout the ViewSonic PX747-4K 4K Projector, our #2 pick).
I’ve got what I consider a happy compromise between a “dedicated” theater space in that the front projector sits on a table, with all the wiring hidden beneath carpeting for a non-cluttered appearance. I move my existing projector away, after removing the HDMI cable and power plug in its back, and place the Mitsubishi HC7800D there instead. Then I plug the HDMI cable into the first of its 2 HDMI sockets and the power plug into the obvious.
See also: Our BENQ TH671ST review.
So let’s get the rest of the inputs/outputs on the back out of the way. Besides there being a Component input should you need it, the most useful is the computer socket for connecting to a PC (wired or wirelessly, unless you use the other HDMI socket for that). For the more traditional among us, there’s 2 triggers for auto activating screens and drapes, along with an RS-232 for control. The Ethernet plug in the back isn’t for accessing streaming video online — no it’s for accessing control over the Mitsubishi through a PC using a program provided on a disc (along with an electronic version of the manual). This ties in with setup features in the Network settings, should you wish to do any of this.
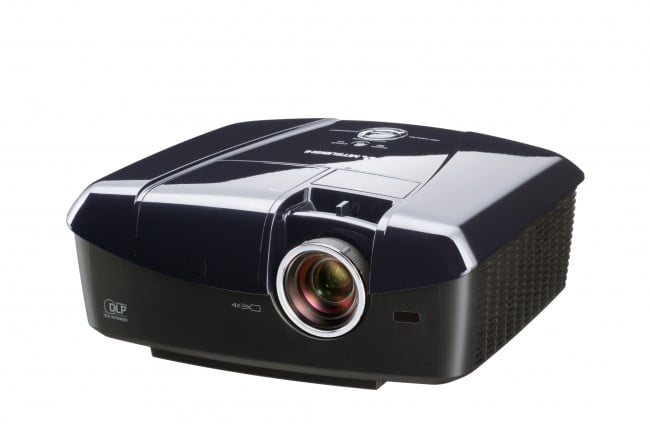
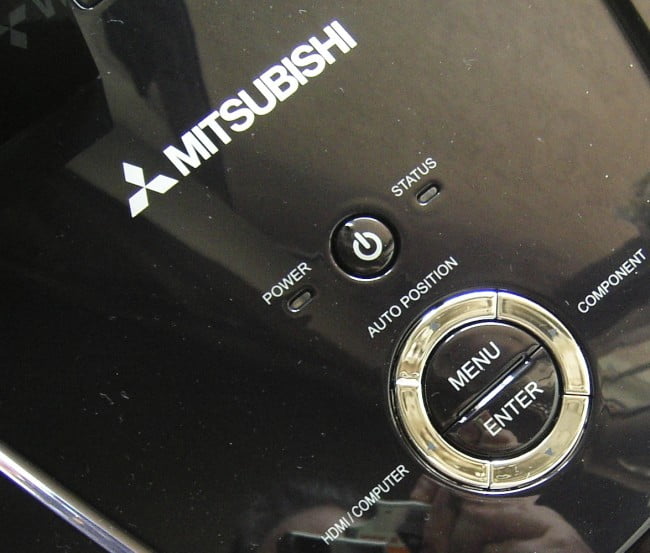
The lens is a short throw, which means that you don‘t have to be horrendously back from the screen in order to get a large image. The overall design is compact (12 pounds), with the lens recessed and so not jutting out. The Zoom is tab-controlled on the top, with the focus ring taking care of the focus — both manually operated. Leveling feet on the bottom will help in leveling the projector (use a standard level for this), as will a test pattern that can be brought up. There’s also a manual lens shift to help in fine-tuning the lens projection onto the screen vertically. Those who might think to try the keystone feature — enabling a digital squaring of the image — should be aware that the resolution will be severely affected. Why someone would want to lower their 1080p Full HD image is beyond me — but different strokes for different folks, I guess. A top-mounted control ring and an air input grill on the left with an output grill on the right almost complete what you can readily see; the exceptions being the front and back panel IR receiver to use with the remote, and the top-mounted, but covered, lamp module cover.
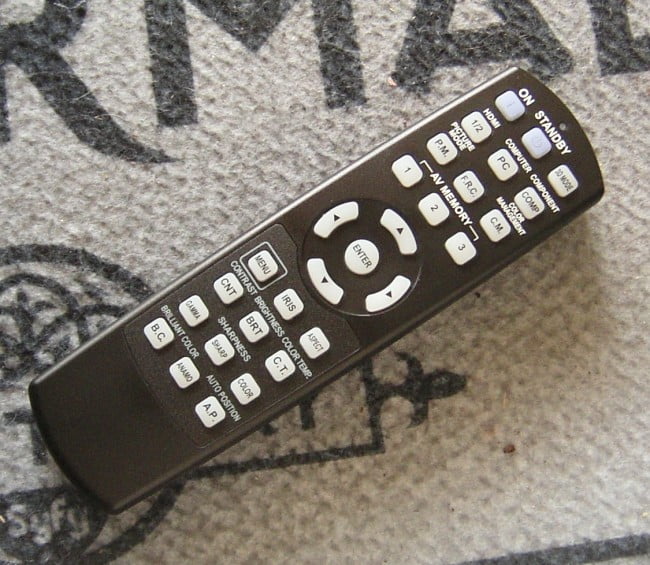
In general, once you’ve taken care of lining the image up to the screen (obviously you’ve turned the projector on to use the light as your guide), leave the projector alone and work the rest of what’s needed from the remote. It’s normal-sized (bless Mitsubishi for it being backlit) and can activate all of the needed controls used on a daily basis — along with giving you quick and complete access to those features you might want to “tweak” whenever. That includes activating the projector’s 3D mode as well.
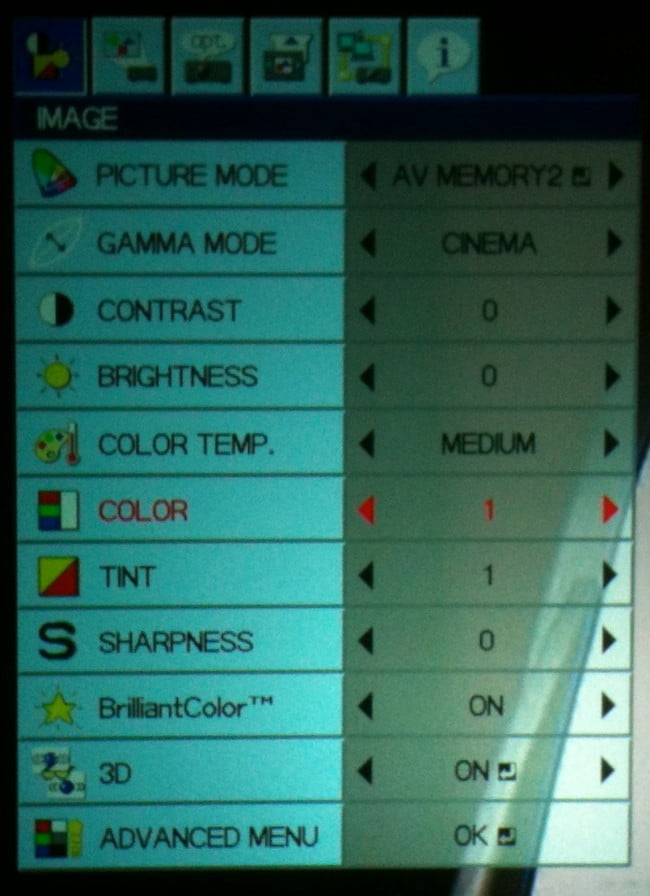
So turning the projector on, I’ll go through the “usual suspects” in order to have an image that will suit my needs. It’s a short wait for the warm-up (top-mounted indicator lights giving you a visual on this), and the fan briefly is loud before settling down. The menus are straightforward (aided by the back-lit remote). I’ll set the aspect ratio to 16:9 as that’s my screen and there is no anamorphic lens working here, and the input to HDMI. I go with a “warm” color temperature as that’s my preference in general and deactivate any digital enhancements modes — I don’t like them and if they’re needed, that means the video source isn’t worth watching anyway. I’m also using the “Cinema” settings since that tends to look the best from my past experiences with Mitsubishi projectors (and is later borne out by switching from it to other modes).
Related: Also check out our LG HU85LA review.
Some tweaking of the gamma and color along with brightness and contrast can be done but I tend to leave them at the “normal” or “neutral” setting. The only thing I will be adjusting “on the fly” will be the frame conversion rate the first time I run a movie and the “Depth” setting when using the 2D to 3D conversion — since setting the “3D depth” isn’t standardized but peculiar to any 2D source. Mitsubishi notes, by the way, that some blurring occurs of the image when you use conversion — they’re right, but in most cases, this won’t bother you all that much providing the 3D ‘effect” has caught your attention.
And while I never use the “extended” mode that puts out less light but makes the bulb last longer, I can see the value for those intimidated by the high price of replacement lamps. For those who do this — my suggestion is to dim the lighting in the room more than you might normally (even if you use the 100,000:1 contrast variable iris to “pump” up the picture, this will help a lot), as this will aid the image’s overall brightness when in 2D as well as 3D. Looking at our Optoma HD27 3D DLP review, you’ll also find 3D capabilities with this projector.
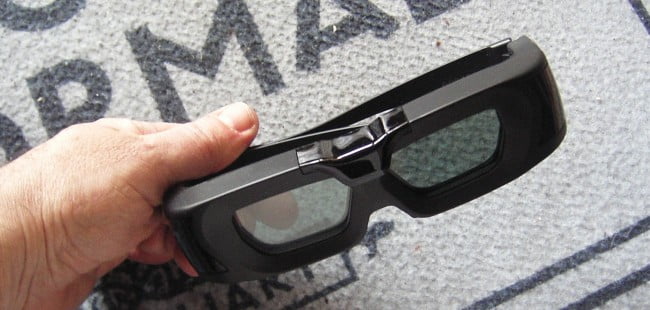
Maybe this is a good place to pause and consider the 3D capabilities of the projector. First, Mitsubishi sells 3D glasses as an option and recommends that you use theirs — I am and didn’t find any problems or aggravation with weight issues while wearing them (they use a button battery which cuts down on the weight). But since my wife also wants to watch 3D with me — the family that watches 3D together stays together — I deferred the Mitsu to her and used an IR universal 3D pair with no difficulties.
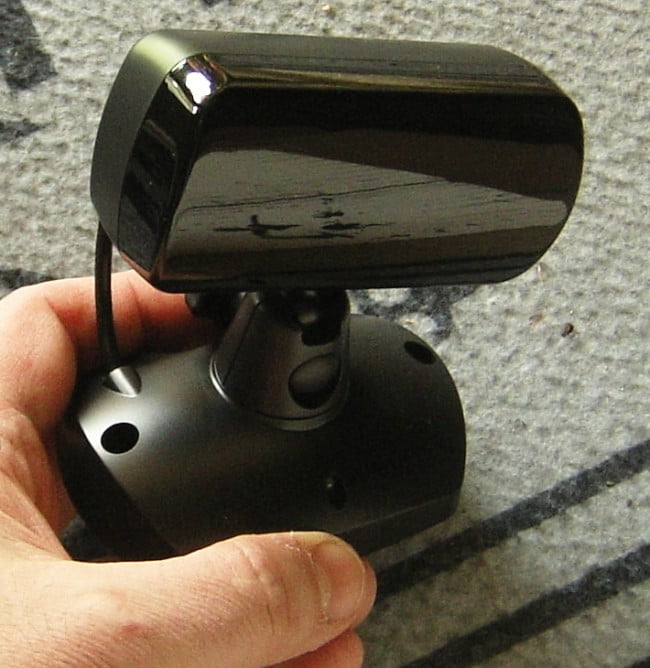
To use 3D, you need to set the included IR emitter so that it will project a signal to the 3D glasses. The included cable attaches between the emitter and a socket on the back of the projector. Now I don’t recommend putting the emitter close to where you and any others will be sitting — despite what some might say. An IR (infrared) emitter may not have the widest of beams, but it is more than sufficient for “spreading out” if given some room. While placing it so that the IR bounces off the screen and back to you seems a sensible way to proceed, all too often the distance will negatively affect the signal, regardless of how close together the viewers sit. When you consider how that BD player across the room responds easily enough to your hand holding its remote control, placing the emitter next to the screen and aimed towards you works better in my estimation. Of course you do need to take the height and positioning of the table or rack the emitter is on and whether the projector is on a table or there’s any objects between the screen and you into account. But you can do that, right? That the emitter can be angled and then locked into position definitely helps.
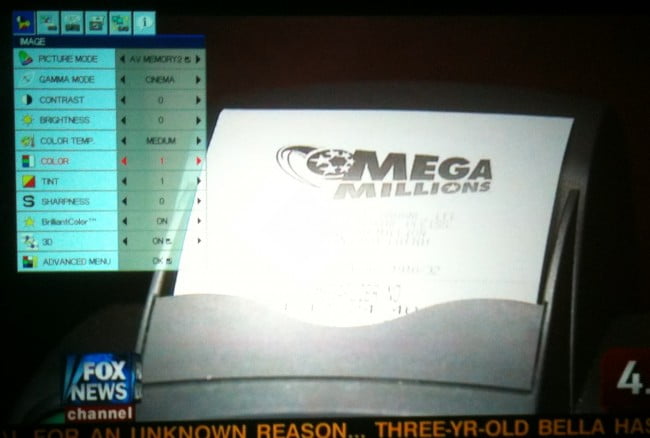
So with that done, I ran through my Blu-ray library, which is fairly extensive, popping discs in and out of my Sony BD player — even some black and white classics. Other than some minor tweaks along the way that I could have left out, there was nothing to complain about. I did notice that in comparison to my own LCD front projector, the Mitsubishi HC7800D seems to have a bit more of a contrasty “bite” that translates into sharper outlines. And for a new model in comparison to mine which is over 4 years old now, no surprise that deeper black and a more visible and wider color palette were evident. I also found that the “BrilliantColor” setting worked best with television broadcasts, as it seems to “clean” up the whites being presented. And that using one of the remote’s memory settings would let me switch to this quickly, rather than having to go through the menus each time.
As for 3D, the Mitsubishi seems to cycle the image so quickly that any chance of flickering seems highly unlikely. In that, I or my wife didn’t see any as we watched a few titles from the collection (mostly IMAX conversions). What can I say other than 3D looks best on a really big screen — and there was more than enough brightness to allow detail to pop out at us.
Although, if you need something you can tote around with you, you’ll want to check out our Kodak ultra mini portable projector review.
Editor’s Rating:
[rating:4.5/5]
Excellent
Bottom line: You get what you pay for with this Mitsubishi HC7800D DLP Projector — and then some. The retail translates to a MAP (minimum advertised price) of $2999 — that might dent the pocketbook a bit, especially since you’ll need a quality projection screen to take advantage of what this projector offers. But if you’re looking for a big image on a big screen that looks pretty much superb no matter the source — including 3D — then you’ll be very happy with what Mitsubishi is letting you buy.
Pros
- Very bright Full HD image
- Short-throw lens
- 3D compatible
Cons
- No horizontal shift
- Manual Focus/Zoom
- Cost may be high for some
Related Articles:
