If you’re shopping for the best coffee maker, you may wonder if a camping percolator is suitable for you. The beauty of a camping percolator is that it makes strong coffee and doesn’t require a power source. In addition, you only need a fire or camp stove to heat water for your cowboy coffee. However, while the brewing process isn’t overly complicated, it isn’t as convenient as instant coffee or a drip maker. So, if you want a cup of coffee for your next camping trip, read our guide. We will teach you how to use a camp coffee percolator.
KEY TAKEAWAYS:
- Get some freshly ground coffee and fill your percolator with fresh water.
- Fill the upper chamber with coffee and place it in the percolator pot.
- Allow 10 minutes for the coffee to percolate before removing it from the burner.
What is a Camp Coffee Percolator?
A percolator consists of three parts: the percolator pot, filter basket, and pump stem. We’ll want a stainless steel model and possibly a camping stove for a cup of camp coffee. That said, this brewing method is just acceptable over a campfire. Consider learning how to use a coffee maker if you want a more straightforward method of coffee brewing.
If you’re interested in percolator coffee at home, consider learning how to use an electric percolator. It won’t have the smokey taste of a cup of percolator coffee. Still, it will be stronger than the average brew from a drip coffee maker.
Insider Tip
Do not use too few tablespoons of coffee, or else you’ll end up with a drink that only tastes of hot water.
How to Make Coffee with a Camp Percolator
Tools: Gas stove (optional), fire, coarse ground coffee, camping coffee percolator
STEP 1 Fill the Camping Coffee Pot
Fill the boiling chamber with water. Use enough cups of water to fill it, but do not go past the fill line.
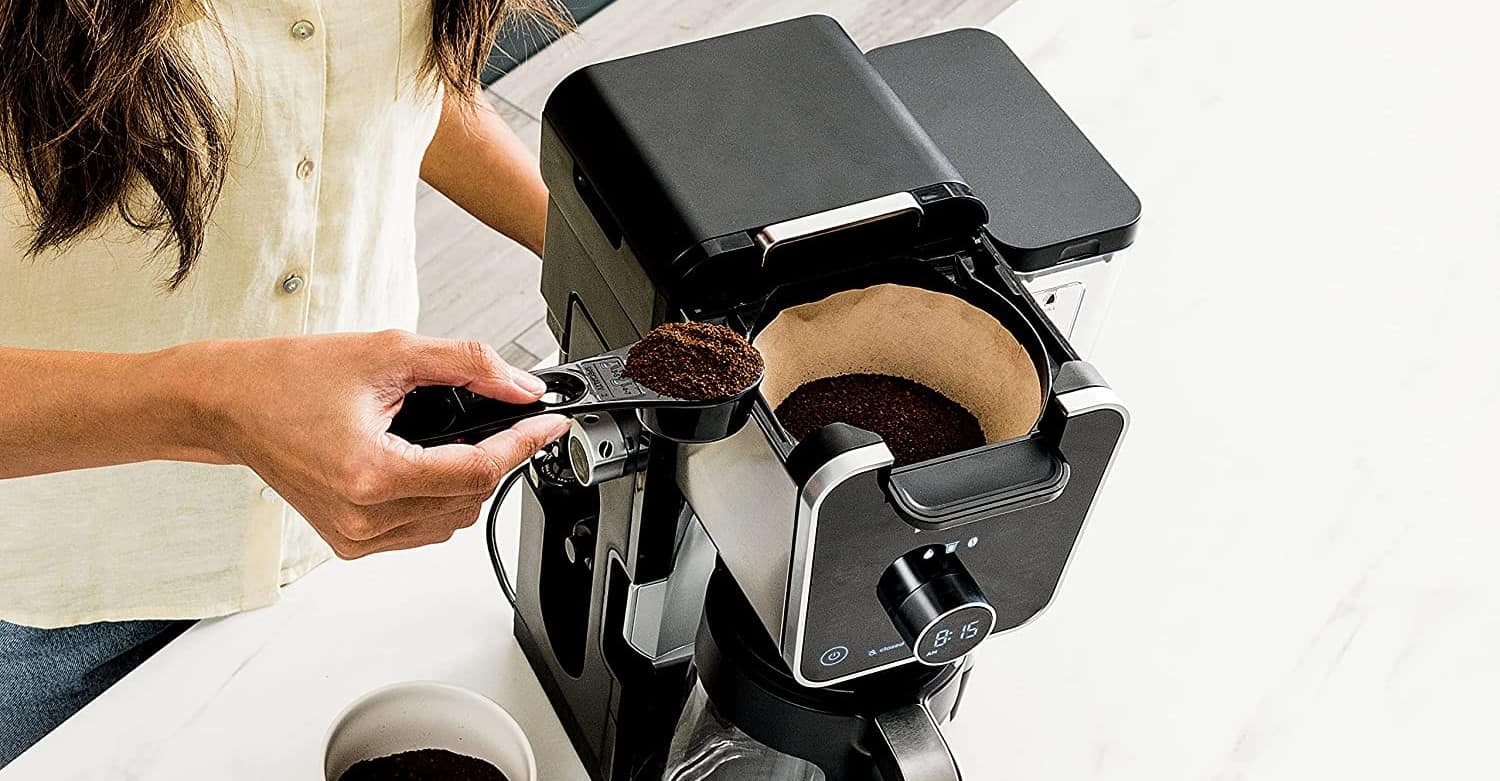
STEP 2 Fill Brew Basket with Coffee Grounds
Fill the grounds basket, but do not tamp down the beans. If you’re using pre-ground coffee, use a paper filter to avoid a cloudy drink. Once you have enough coffee, slide the basket assembly into the percolator and close the basket lid.
STEP 3 Boil Water
Place the percolator in the fire or on the camping stove and wait for the water to bubble. Do not let the water boil, or it will affect the taste of your drink.
STEP 4 Move the Camping Percolator
Once you notice bubbling water, remove the percolator from the flame. Set the pot of coffee to the edge of the fire or off the stove.
STEP 5 Let the Pot of Coffee Brew
Your coffee should brew in about 10-15 minutes. That said, watch the bubble spot for a change of color. When the glass is a brown color, the coffee is made.
STEP 6 Serve and Enjoy
Now you can serve the drinks, but be careful of the steam from the hot coffee.
Warning
Be careful when dealing with boiling water. Exposure to the steam can cause burns to your hands.
F.A.Q.S
What kind of coffee do you use in a camping percolator?
For flavorful cups of coffee, use medium-roast coffee beans and use coarser grounds than if you were making regular ground coffee.
How long do you let coffee percolate in a percolator?
You should remove the brewing chamber from the hot coals after about 10 minutes. Pay close attention to the bubble spot and when it changes color.
How do you make iced coffee when camping?
The best way to enjoy iced coffee on a camping trip is to make it before you go. That said, if you are in a pinch, use any coffee brewing method and let it cool before adding ice.
STAT: According to a survey from Gallup, Americans making $30,000 or less per year reported drinking 58% more coffee than the wealthiest respondents. (source)



![Best Keurig Alternatives in [year] 27 Best Keurig Alternatives in 2025](https://www.gadgetreview.dev/wp-content/uploads/best-keurig-alternative-image.jpg)
![Best Semi Automatic Espresso Machines in [year] 28 Best Semi Automatic Espresso Machines in 2025](https://www.gadgetreview.dev/wp-content/uploads/best-semi-automatic-espresso-machine-image.jpg)
![Best Coffee and Espresso Makers in [year] 29 Best Coffee and Espresso Makers in 2025](https://www.gadgetreview.dev/wp-content/uploads/best-coffee-and-espresso-maker-image.jpg)
![Best Kitchen Appliances in [year] ([month] Reviews) 30 Best Kitchen Appliances in 2025 (December Reviews)](https://www.gadgetreview.dev/wp-content/uploads/best-kitchen-appliances.jpg)
![Quietest Coffee Makers in [year] 31 Quietest Coffee Makers in 2025](https://www.gadgetreview.dev/wp-content/uploads/quietest-coffee-maker-image.jpg)
![Best Prosumer Espresso Machines in [year] 32 Best Prosumer Espresso Machines in 2025](https://www.gadgetreview.dev/wp-content/uploads/71ytF6efAlL._AC_SL1500_.jpg)
![Best Single Serve Coffee Maker No Pods in [year] 33 Best Single Serve Coffee Maker No Pods in 2025](https://www.gadgetreview.dev/wp-content/uploads/best-k-pod-coffee-image-1.jpg)
![Best Coffee Makers for Hard Water in [year] 34 Best Coffee Makers for Hard Water in 2025](https://www.gadgetreview.dev/wp-content/uploads/best-coffee-maker-for-hard-water-image.jpg)
![Best Dual Boiler Espresso Machines in [year] 35 Best Dual Boiler Espresso Machines in 2025](https://www.gadgetreview.dev/wp-content/uploads/best-dual-boiler-espresso-machine-image.jpg)
![Best Coffee Makers for RV in [year] 36 Best Coffee Makers for RV in 2025](https://www.gadgetreview.dev/wp-content/uploads/best-coffee-maker-for-rv-image.jpg)
![Best Ninja Coffee Makers in [year] 37 Best Ninja Coffee Makers in 2025](https://www.gadgetreview.dev/wp-content/uploads/best-ninja-coffee-maker-image.jpg)
![Best Breville Espresso Machines in [year] 38 Best Breville Espresso Machines in 2025](https://www.gadgetreview.dev/wp-content/uploads/best-breville-espresso-machine-image.jpg)
![Best 5 Cup Coffee Makers in [year] 39 Best 5 Cup Coffee Makers in 2025](https://www.gadgetreview.dev/wp-content/uploads/best-5-cup-coffee-maker-image.jpg)
![Best Commercial Coffee Makers in [year] 40 Best Commercial Coffee Makers in 2025](https://www.gadgetreview.dev/wp-content/uploads/best-commercial-coffee-maker-image.jpg)
![Best Commercial Espresso Machine for a Small Coffee Shop in [year] 41 Best Commercial Espresso Machine for a Small Coffee Shop in 2025](https://www.gadgetreview.dev/wp-content/uploads/best-commercial-espresso-machine-small-coffee-shop-image.jpg)
![Best Coffee for Moka Pot in [year] 42 Best Coffee for Moka Pot in 2025](https://www.gadgetreview.dev/wp-content/uploads/best-coffee-for-moka-pot-image.jpg)
![Best USA Made Coffee Makers in [year] 43 Best USA Made Coffee Makers in 2025](https://www.gadgetreview.dev/wp-content/uploads/best-usa-made-coffee-makers-image.jpg)
![Fastest Coffee Makers in [year] 44 Fastest Coffee Makers in 2025](https://www.gadgetreview.dev/wp-content/uploads/fastest-coffee-maker-image.jpg)
![Best SCAA Certified Coffee Makers in [year] 45 Best SCAA Certified Coffee Makers in 2025](https://www.gadgetreview.dev/wp-content/uploads/best-scaa-certified-coffee-maker-image.jpg)
![Best Smart Coffee Makers in [year] 46 Best Smart Coffee Makers in 2025](https://www.gadgetreview.dev/wp-content/uploads/best-smart-coffee-maker-image.jpg)
