If you are new to digital photography, learning how to use a digital SLR camera will take time and practice. To help you get the most out of your DSLR, we’ve put together some valuable tips. Additionally, you can check out the best digital cameras if you are thinking about purchasing a new one.
KEY TAKEAWAYS:
- Hold the DSLR camera properly to reduce camera movement, which can result in blurred images.
- Familiarize yourself with your camera’s settings and various photography techniques, then compose your shot.
- Practice often.
A Simple Guide to Get You Started
STEP 1 LEARN HOW TO HOLD YOUR DSLR CAMERA PROPERLY
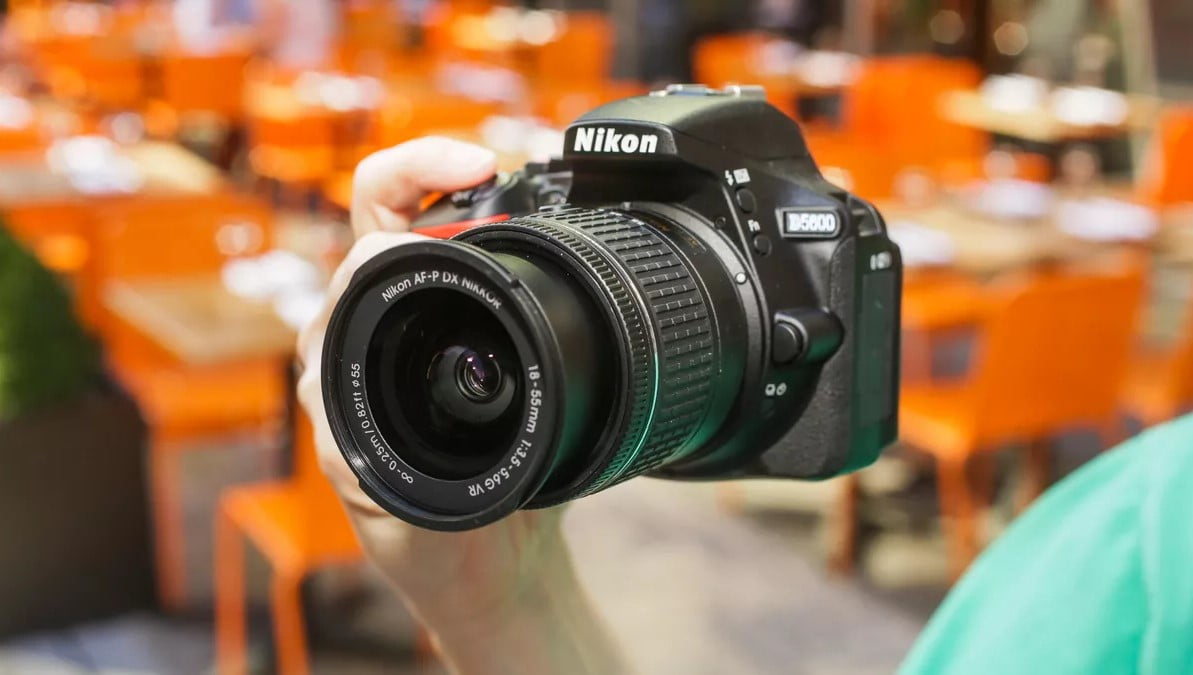
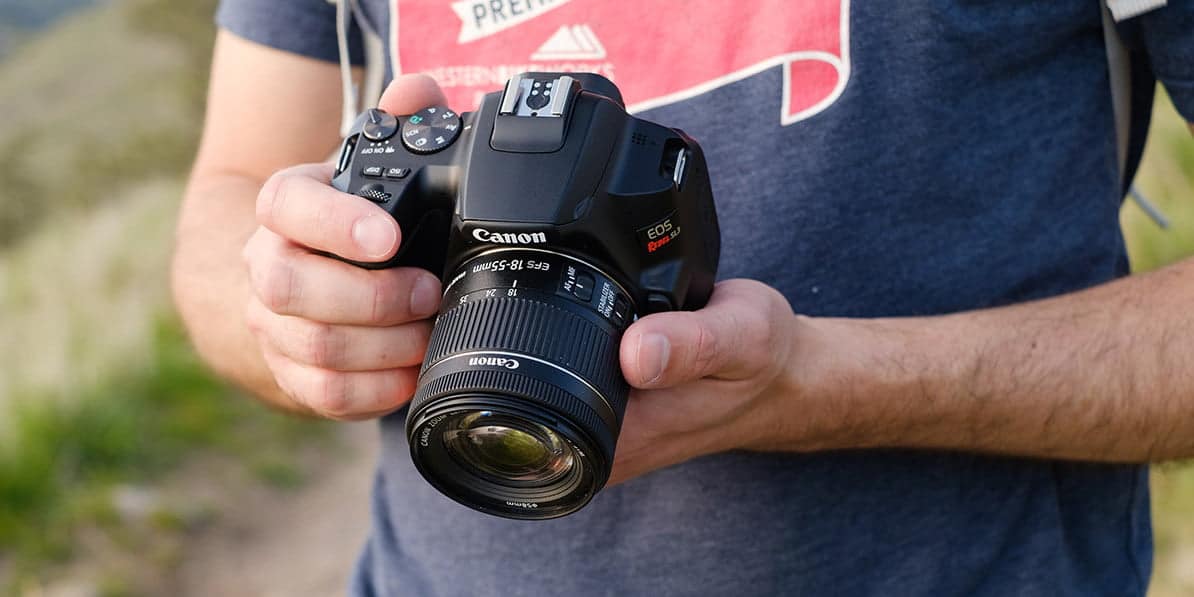
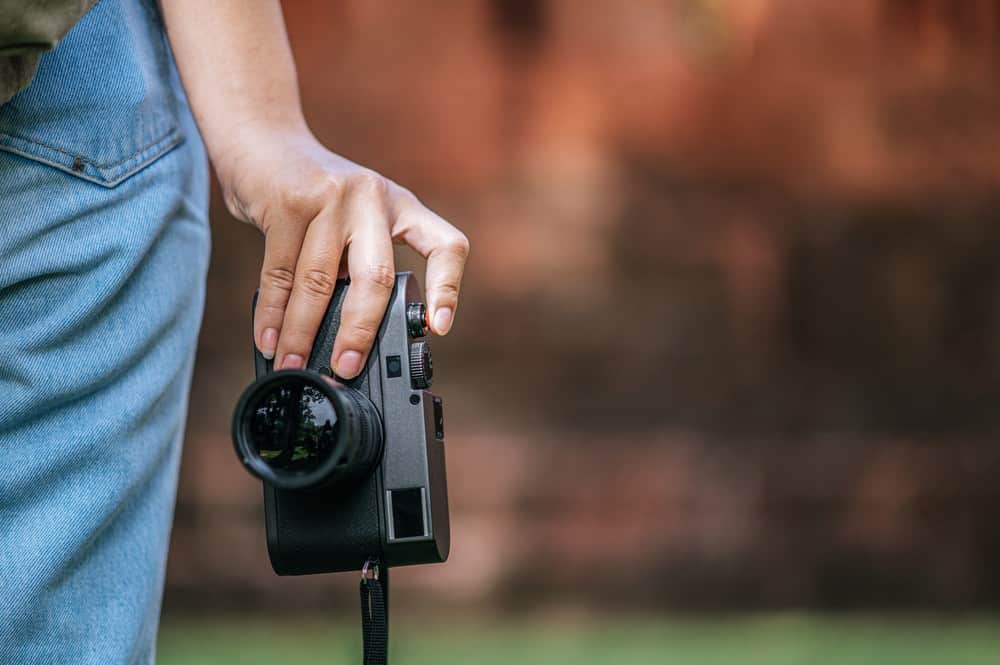
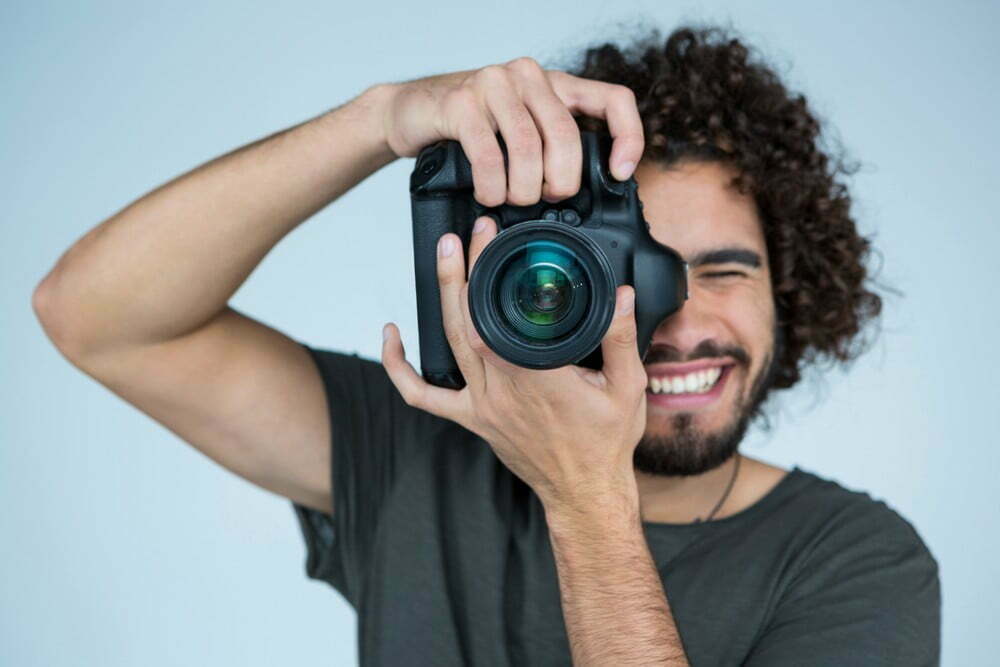
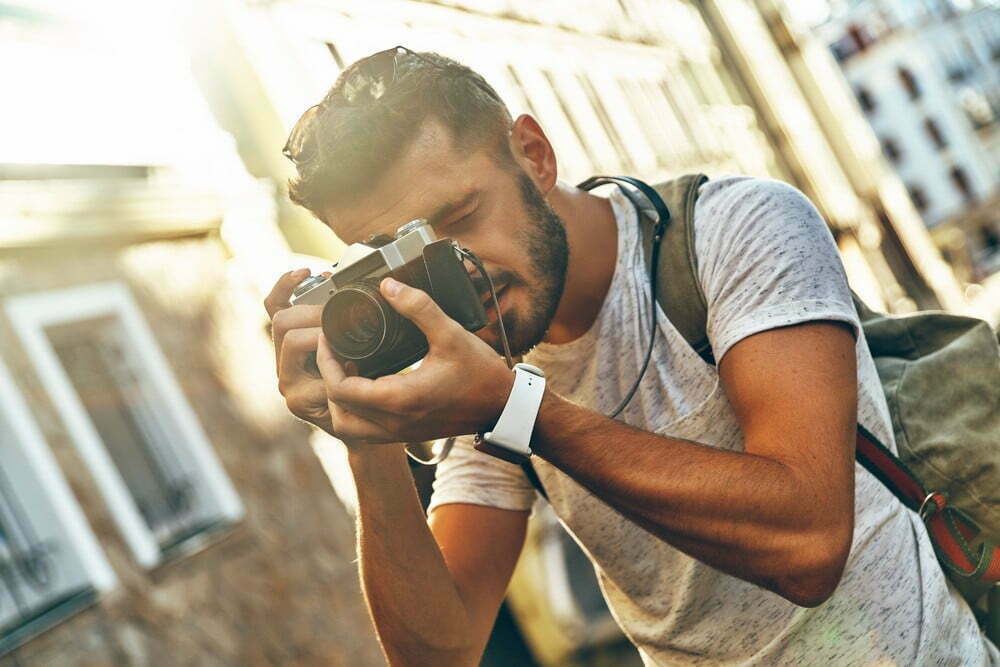
If you are right-handed, wrap your right hand around the camera’s handgrip, placing the index finger over the shutter button. Then, hold the camera lens with your left hand.
The main objective of learning how to hold your DSLR camera is to avoid camera movement when shooting. If you shake when taking a picture, you will end up with blurry images. In addition, most DSLRs are relatively heavy, so you need to use both hands to stabilize it. You may also want to check out how to use a manual lens on a digital camera if you are into the vintage life.
STEP 2LEARN HOW TO COMPOSE YOUR SHOTS
Most digital cameras give you the option of displaying grid markers inside the optical viewfinder. To turn this setting on, go to your camera’s menu and select the grid display. The grid markers will appear on your LCD screen or in your electronic viewfinder.
The following techniques will provide you with creative control over composing: the rules of thirds, framing, color use, and leading lines.
The Rule of Thirds
The rule of thirds is a composition guideline that divides the scene into vertical and horizontal thirds, leaving you with nine squares and four grid lines. Use gridlines to help you identify where to position your subject, background, and foreground.
Focus Point
The focus point is the subject on which your camera is focusing. When shooting portraits, keep the key aspects of your subject in sharp focus, and the background blurred out.
The Positioning of the Subject
You can achieve different effects depending on how you position your subject in relation to the camera. The general rule of thumb is to place the subject off-center to attract the viewer’s interest.
Framing
Framing is the art of drawing focus to your subject by using other elements of the scene to create a natural frame around it. For example, in his famous image, Wawona Tunnel View, Ansel Adams used the mouth of a cave to frame the mountains for dramatic effect.
Leading Lines
Use leading lines like roads, train tracks, or electric cables to direct the viewer’s attention to the image’s focal point.
Color Use
Use color to highlight your subject, or use complementary colors to depict emotion.
STEP 3 FAMILIARIZE YOURSELF WITH THE EXPOSURE SETTINGS
Learning to configure the settings on your camera will help you achieve the correct exposure for each image. Exposure refers to the amount of light reaching your camera’s sensor to determine how bright or dark your photo will turn out. Since a balanced exposure is one key to excellent image quality, keep the following general guidelines in mind when adjusting your exposure settings.
Insider Tip
Camera software or firmware updates ideally comes with feature enhancement, additional functions, or bug fixes. However, it is essential to note that firmware updates aren’t always necessary, and depending on the make and model of your camera, it might not need or have updates.
Shutter Speed
If you are shooting a moving object, avoid using a slower shutter speed (e.g., 1 second) because you will end up with blurry or poor image quality. So, always ensure that your shutter speed is a bit higher than your focal length.
Aperture
The smaller the aperture value, the larger the opening that allows incoming light into the camera sensor. Generally, large openings are f/1.2 to f/2.8, and small openings are f/22 to f36.
ISO Settings
The larger the ISO value, the more sensitive the image sensor is to the light coming in through the lens. So, for entry-level photographers, keep the ISO below 1600.
White Balance
The white balance setting is used to adjust how natural the colors in a photo will appear under different lighting conditions by balancing the red, green, and blue (RGB) channels. Depending on your camera, you’ll find white balance presets like auto, daylight, cloudy, and shade.
STEP 4 PRACTICE
Practice these concepts and you’ll soon understand how to use these different settings to your advantage. However, you should first know how to update your digital camera if you are to get the most out of it.
Insider Tip
It is essential to note that all cameras are designed differently, but updating firmware across all camera makes and models is the same.
F.A.Q.
How should I service my DSLR?
Take your DSLR to a qualified technician for proper lens cleaning. For example, you can choose a time of the year when to service your camera at a certified dealership store.
So, which DSLR should I buy?
It all depends on your budget, the genre of photography you want to dive into, and the experience you have. A beginner photographer will find there’s a range of affordable entry-level DSLRs, but a professional photographer will pick a camera by determining the size of the sensor, lens type, megapixel count, and more.
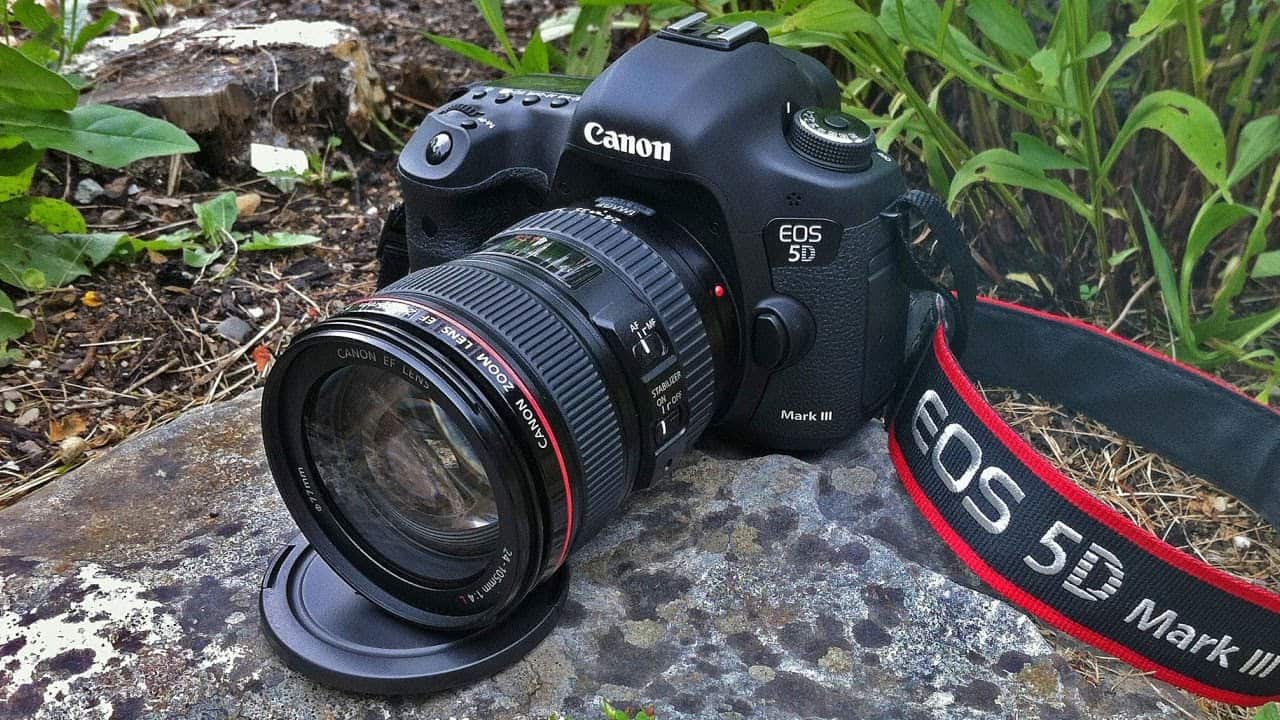
What does EOS mean in camera?
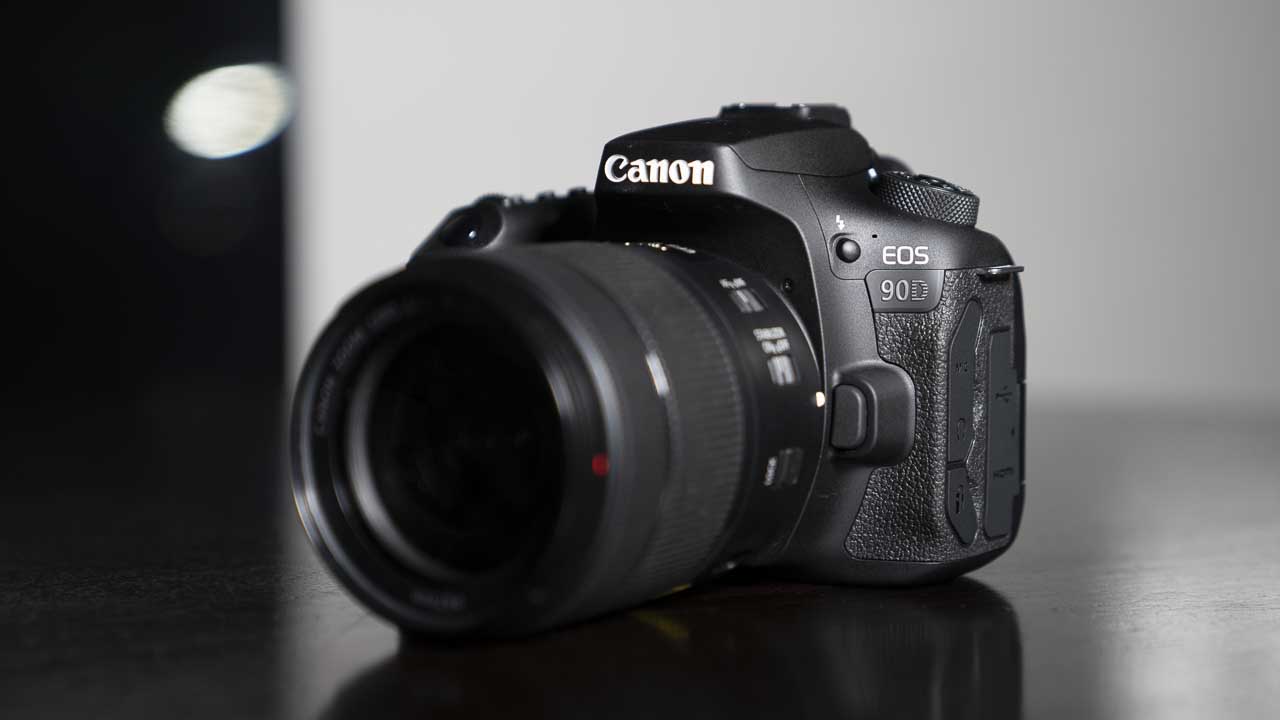
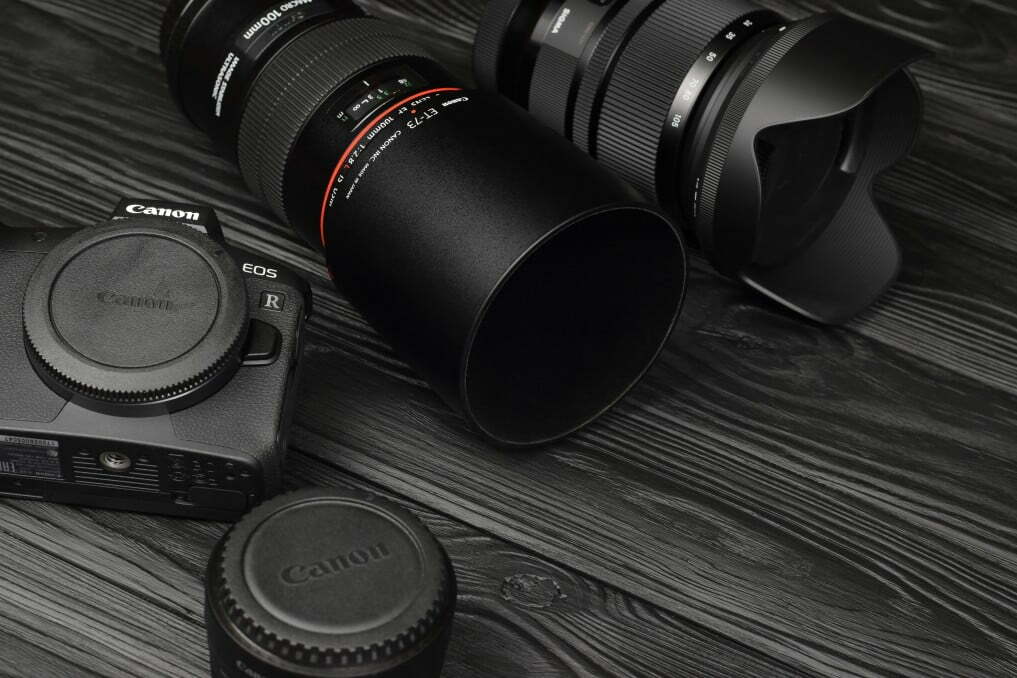
EOS stands for Electro-Optical System; Canon introduced the concept in 1987 when launching their autofocus SLR cameras i.e., Canon EOS.
STAT: In most DSLR cameras, the auto mode will work well in 80% of situations. (source)
REFERENCES:
- https://en.wikipedia.org/wiki/Digital_single-lens_reflex_camera
- https://multimedia.journalism.berkeley.edu/tutorials/stillcams/
- https://www.ncbi.nlm.nih.gov/pmc/articles/PMC4028365/r
- https://www.youtube.com/watch?v=9DQXlRpY2qc&ab_channel=ScienceFilmmakingTips
- https://cdn-10.nikon-cdn.com/pdf/manuals/dslr/D50_en.pdf




![Best Point and Shoot Camera in [year] ([month] Reviews) 27 Best Point and Shoot Camera in 2026 (January Reviews)](https://www.gadgetreview.dev/wp-content/uploads/Nikon-Coolpix-B500.jpg)
![Best Underwater Camera in [year] ([month] Reviews) 28 Best Underwater Camera in 2026 (January Reviews)](https://www.gadgetreview.dev/wp-content/uploads/best-underwater-camera-image.jpg)
![Best Digital Cameras in [year] ([month] Reviews) 29 Best Digital Cameras in 2026 (January Reviews)](https://www.gadgetreview.dev/wp-content/uploads/what-is-resolution-on-digital-camera-1.jpg)
![Best Digital Camera Docking Stations in [year] 30 Best Digital Camera Docking Stations in 2026](https://www.gadgetreview.dev/wp-content/uploads/best-digital-camera-docking-stations-image.jpg)
![Best Vlogging Camera in [year] ([month] Reviews) 31 Best Vlogging Camera in 2026 (January Reviews)](https://www.gadgetreview.dev/wp-content/uploads/best-vlogging-camera-image.jpg)
![Best Mirrorless Camera in [year] ([month] Reviews) 32 Best Mirrorless Camera in 2026 (January Reviews)](https://www.gadgetreview.dev/wp-content/uploads/best-mirrorless-camera-image.jpg)
![Best GoPro in [year] ([month] Reviews) 33 Best GoPro in 2026 (January Reviews)](https://www.gadgetreview.dev/wp-content/uploads/best-gopro-image.jpg)
![Best Digital Camera Tripods in [year] 34 Best Digital Camera Tripods in 2026](https://www.gadgetreview.dev/wp-content/uploads/best-digital-camera-tripods-image.jpg)
![Best Canon Digital Cameras in [year] 35 Best Canon Digital Cameras in 2026](https://www.gadgetreview.dev/wp-content/uploads/best-canon-digital-cameras-image.jpg)
![Best Polaroid Digital Cameras in [year] 36 Best Polaroid Digital Cameras in 2026](https://www.gadgetreview.dev/wp-content/uploads/best-polaroid-digital-cameras-image.jpg)
![Best Small Digital Camera Cases in [year] 37 Best Small Digital Camera Cases in 2026](https://www.gadgetreview.dev/wp-content/uploads/best-small-digital-camera-case-image.jpg)
![Best Digital Camera USB Cables in [year] 38 Best Digital Camera USB Cables in 2026](https://www.gadgetreview.dev/wp-content/uploads/best-digital-camera-usb-cable-image.jpg)
![Best Digital Camera Bags in [year] 39 Best Digital Camera Bags in 2026](https://www.gadgetreview.dev/wp-content/uploads/best-digital-camera-bag-image.jpg)
![Best Sony Digital Cameras in [year] 40 Best Sony Digital Cameras in 2026](https://www.gadgetreview.dev/wp-content/uploads/best-sony-digital-cameras-image.jpg)
![Best Panasonic Digital Cameras in [year] 41 Best Panasonic Digital Cameras in 2026](https://www.gadgetreview.dev/wp-content/uploads/best-panasonic-digital-cameras-image.jpg)
![Best Digital Camera Accessories in [year] 42 Best Digital Camera Accessories in 2026](https://www.gadgetreview.dev/wp-content/uploads/best-digital-camera-accessories-image.jpg)
![Best Kodak Digital Cameras in [year] 43 Best Kodak Digital Cameras in 2026](https://www.gadgetreview.dev/wp-content/uploads/best-kodak-digital-cameras-images.jpg)
![Best Video Cameras in [year] ([month] Reviews) 44 Best Video Cameras in 2026 (January Reviews)](https://www.gadgetreview.dev/wp-content/uploads/best-video-cameras-image.jpg)
![Best Compact Cameras in [year] 45 Best Compact Cameras in 2026](https://www.gadgetreview.dev/wp-content/uploads/best-compact-camera-image.jpg)
![Best Digital Cameras with Wifi in [year] 46 Best Digital Cameras with Wifi in 2026](https://www.gadgetreview.dev/wp-content/uploads/best-digital-camera-with-wifi-image.jpg)
