Knowing how to test your gaming headset microphone keeps your gaming sessions running smoothly. Whether using wired or wireless gaming headsets, they all need their audio settings checked.
KEY TAKEAWAYS:
- Right-click the sound icon to navigate to the sound properties. Ensure you set the correct device as your default recording device.
- Test the audio quality of your wireless or wired headsets in this panel. This will help figure out if your microphone quality is passable or not.
- Hardware issues or excessive background noise can also cause trouble, but you can’t fix that in device properties.
Even the best gaming headset microphones can run into problems. Keep reading to find out how you can use sound settings to make sure you won’t sound like the mute button is on at all times.
Should I Test My Headset Mic before Gaming Sessions?
You should always test gaming headset mics before playing video games in multiplayer. Audio devices often run into problems, whether you’re using wired or wireless headsets.
Your pair of headphones are only as good as the headset ports you plug them into. Check for damage there to ensure that it isn’t causing issues with the microphone quality.
Testing Microphone Volume and Quality
Sound devices should have a thorough testing process before usage. Learning how to test a gaming headset will help you make sure chat and audio volume levels are good to go.
Insider Tip
Instead of using an uncomfortable in-ear headset, you can use comfortable headsets for gaming with a mobile device.
STEP 1
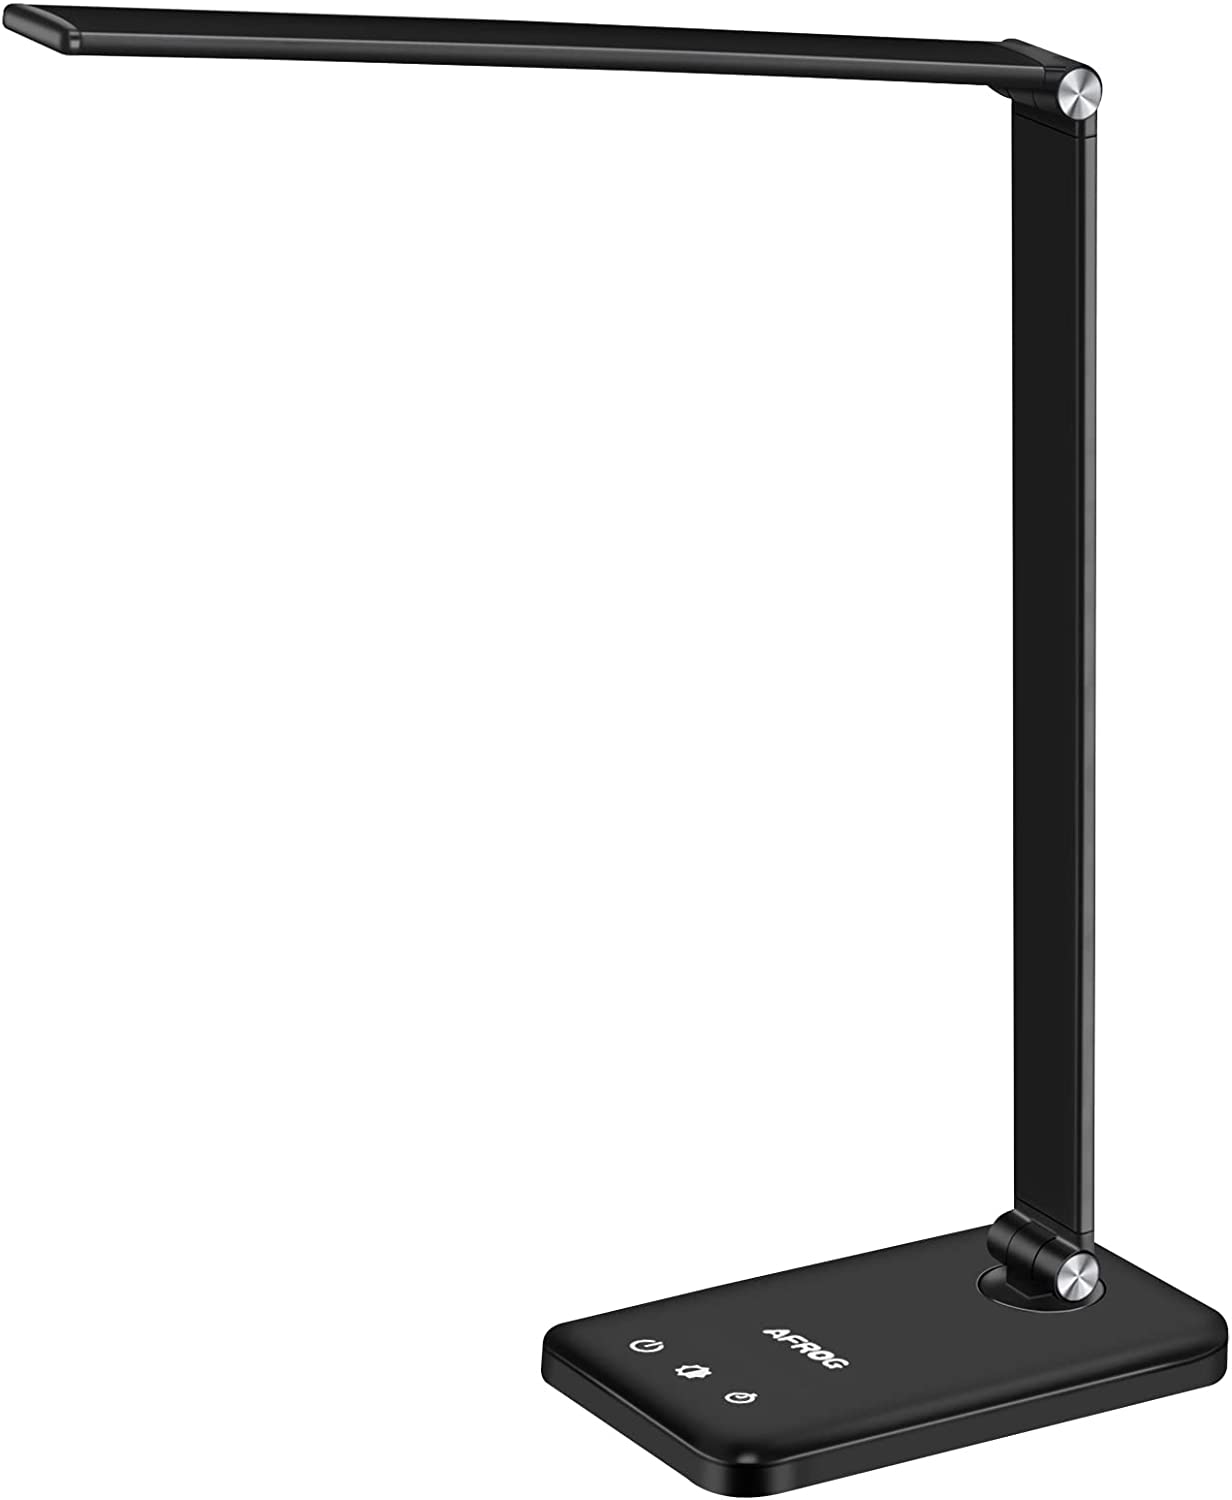
Open the control panel on your computer, or right-click the sound icon. Once you’re in “Sound Settings,” click the “Recording Tab.” If it’s dark, learning how to turn on a gaming headset LED light will help you test sound quality.
STEP 2
Check if your default recording device is your built-in microphone or the microphone jack. Set the default recording device to the connected headset if necessary.
STEP 3
Once the input devices are correctly set, check the input volume using the built-in microphone level checker. This will alert you to any microphone issues.
STEP 4
If there’s no sound output, slide around the bars in the sound levels tab. If the audio output is low, maxing it out will reveal this. In that case, check the audio ports and headphone jack connector for damage.
STEP 5
When audio quality is an issue, it might be because of your cheap headset. Almost every cheap headset has poor mic quality. In that case, upgrade your cheap headset as soon as possible for better mic audio.
STEP 6
You should now have acceptable audio quality for your wireless or wireless headsets.
Warning
Be careful not to damage the audio cable when using a pair of headphones with your mobile device.
F.A.Q.S
What causes computer volume to go mute suddenly?
First, make sure you didn’t accidentally decrease volume by checking the sound output. If not, it may be an issue with your sound card or audio driver software.
How can I get the most out of my mic audio quality?
To get the best microphone quality, do the following:
- Check the mic audio quality in your mic settings
- Protect the audio cable from damage
- Purchase the best mic in your price range
Can I make my mic audio quality sound better?
Adjust sound quality by playing with mic settings. Keeping the mic clean is another way to ensure the best mic audio quality possible.
Where can I run a mic test online?
A few websites allow you to check the mic quality of your pair of headphones. Simply search for reputable sites and read reviews to see which one is best.
STAT: Studies show that only about 30 to 45 percent of English language can be understood by lipreading alone. (source)
REFERENCES:
- https://www.camesawireline.com/Portals/0/Documents/Technical/Common-Field-Troubleshooting/New-Cable-Care-&-Treatment.pdf
- https://www.researchgate.net/publication/11804724_Virtual_acoustics_aeronautics_and_communications
- https://www.commscope.com/globalassets/digizuite/1695-cable-technician-pocket-guide.pdfr
- https://www.researchgate.net/publication/2362457_A_New_Nonstationary_Test_Procedure_For_Improved_Loudspeaker_Fault_Detection
- https://www.gore.com/sites/g/files/ypyipe116/files/2016-04/Top-10-tips-MSD_WLGORE_Eprint.pdf




![Best CS:GO Headsets in [year] 27 Best CS:GO Headsets in 2026](https://www.gadgetreview.dev/wp-content/uploads/best-csgo-headset-image.jpg)
![Best Gaming Headset for Glasses Wearers in [year] 28 Best Gaming Headset for Glasses Wearers in 2026](https://www.gadgetreview.dev/wp-content/uploads/best-gaming-headset-for-glasses-wearers-image.jpg)
![Best Bose Gaming Headsets in [year] 29 Best Bose Gaming Headsets in 2026](https://www.gadgetreview.dev/wp-content/uploads/best-bose-gaming-headset-image.jpg)
![Best Gaming Headsets for Big Heads in [year] 30 Best Gaming Headsets for Big Heads in 2026](https://www.gadgetreview.dev/wp-content/uploads/best-gaming-headset-for-big-heads-image.jpg)
![Best HyperX Headsets in [year] 31 Best HyperX Headsets in 2026](https://www.gadgetreview.dev/wp-content/uploads/best-hyperx-headset-image.jpg)
![Best Open Back Gaming Headphones in [year] 32 Best Open Back Gaming Headphones in 2026](https://www.gadgetreview.dev/wp-content/uploads/best-open-back-gaming-headphones-image.jpg)
![Best Alienware Gaming Headsets in [year] 33 Best Alienware Gaming Headsets in 2026](https://www.gadgetreview.dev/wp-content/uploads/best-alienware-gaming-headset-image.jpg)
![Best Audiophile Gaming Headphones in [year] 34 Best Audiophile Gaming Headphones in 2026](https://www.gadgetreview.dev/wp-content/uploads/best-audiophile-gaming-headphones-image.jpg)
![Best Mics for PC Gaming in [year] 35 Best Mics for PC Gaming in 2026](https://www.gadgetreview.dev/wp-content/uploads/best-mic-for-pc-gaming-image.jpg)
![Best Gaming Headsets for Kids in [year] 36 Best Gaming Headsets for Kids in 2026](https://www.gadgetreview.dev/wp-content/uploads/best-gaming-headset-for-kids-image.jpg)
![Best USB Gaming Headsets in [year] 37 Best USB Gaming Headsets in 2026](https://www.gadgetreview.dev/wp-content/uploads/best-usb-gaming-headset-image.jpg)
![Best Headsets for Streaming in [year] 38 Best Headsets for Streaming in 2026](https://www.gadgetreview.dev/wp-content/uploads/best-headset-for-streaming-image.jpg)
![Best Headsets for Nintendo Switch in [year] 39 Best Headsets for Nintendo Switch in 2026](https://www.gadgetreview.dev/wp-content/uploads/best-headset-for-nintendo-switch-image.jpg)
![Best Headsets for Call of Duty in [year] 40 Best Headsets for Call of Duty in 2026](https://www.gadgetreview.dev/wp-content/uploads/best-headset-for-call-of-duty-image.jpg)
![Best Headsets for Fortnite in [year] 41 Best Headsets for Fortnite in 2026](https://www.gadgetreview.dev/wp-content/uploads/best-headset-for-fortnite-image.jpg)
![Best Logitech Headsets in [year] 42 Best Logitech Headsets in 2026](https://www.gadgetreview.dev/wp-content/uploads/best-logitech-headset-image.jpg)
![Best PS5 Headsets in [year] 43 Best PS5 Headsets in 2026](https://www.gadgetreview.dev/wp-content/uploads/best-ps5-headset-image.jpg)
![Best Sony Gaming Headsets in [year] 44 Best Sony Gaming Headsets in 2026](https://www.gadgetreview.dev/wp-content/uploads/best-sony-gaming-headset-image.jpg)
![Best LucidSound Gaming Headsets in [year] 45 Best LucidSound Gaming Headsets in 2026](https://www.gadgetreview.dev/wp-content/uploads/best-lucidsound-gaming-headset-image.jpg)
![Best Razer Gaming Headsets in [year] 46 Best Razer Gaming Headsets in 2026](https://www.gadgetreview.dev/wp-content/uploads/best-razer-gaming-headset-image.jpg)
