If you’re looking for a top-tier coffee maker, you may have considered a coffee percolator. It’s relatively easy to use, and the lack of moving parts makes it a simple coffee brewing method. So, if you’d like to learn how to use a coffee percolator, read on.
KEY TAKEAWAYS:
- Fill your percolator with fresh water and get some freshly ground coffee.
- Put your coffee in the upper chamber and place it in the percolator pot.
- Let the coffee percolate for about 10 minutes and remove it from heat.
To begin, there are different types of percolators on the market. Electric percolators are the most common, but stovetop coffee machines will last longer and require less maintenance. Additionally, while traditional percolators are associated with camping, a stovetop will provide a more consistent heat source for boiling water. If you want an iced cup of coffee, read our guide to using a cold brew coffee maker.
Stovetop Percolator Basics
Tools: A heat source, coffee grounds, coffee filter, percolator
Insider Tip
While cold water is fine, you can brew coffee using hot water to speed the process up a bit.
STEP 1 FILL PERCOLATOR WITH WATER
Fill the water chamber with clean water. Use a cup of water for every cup of coffee you wish to make. For a simplified process, you can learn how to use a coffee machine with pods.
STEP 2PLACE FILTER IN PERFORATED BASKET
Your percolator’s upper basket should have holes in it, but some models use a permanent mesh filter. We recommend using an additional filter to avoid loose grounds in your cups of coffee.
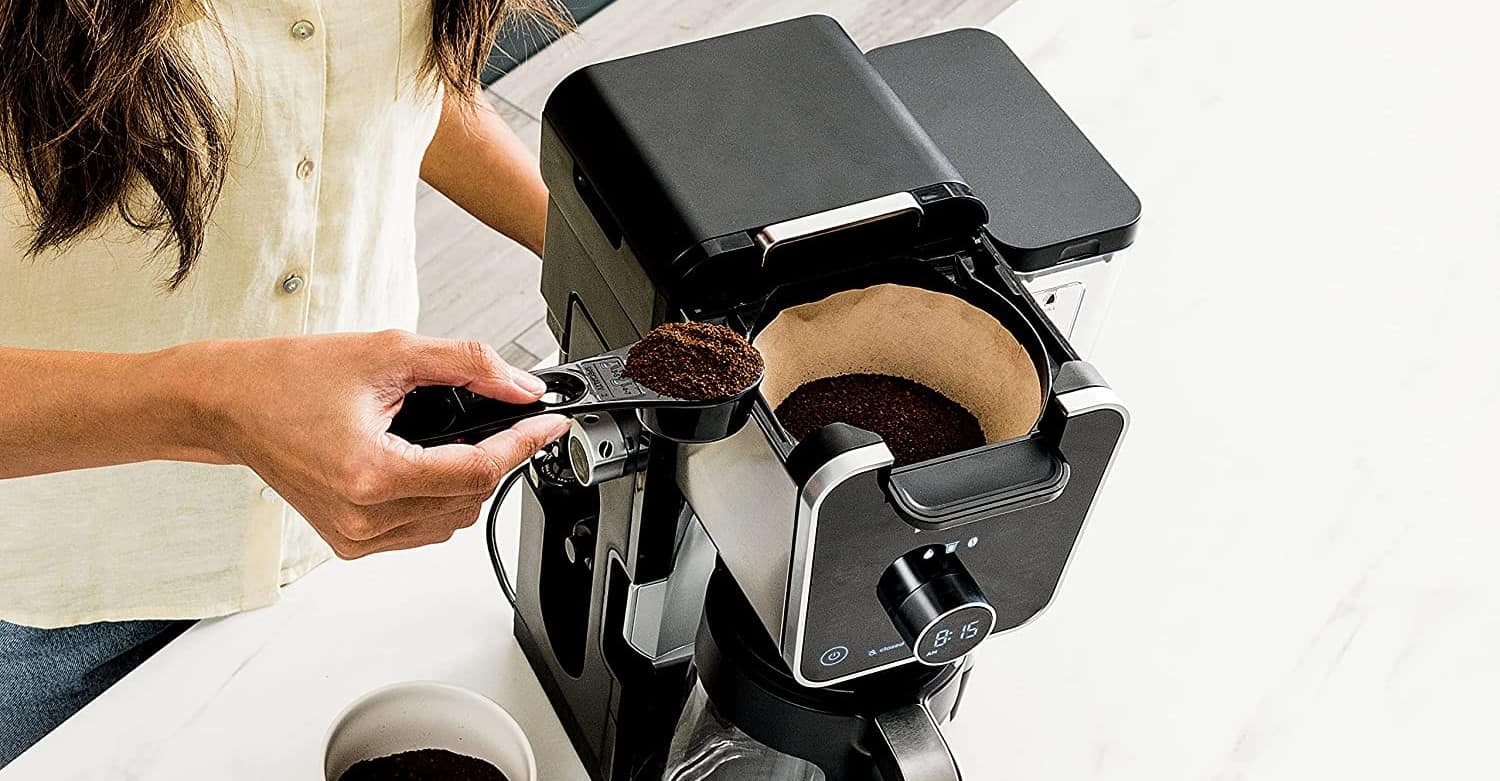
STEP 3FILL COFFEE GROUNDS BASKET
The amount of coffee grounds you use is a matter of taste, but the more you use, the higher your caffeine content will be. In addition, if you use too little, you’ll get a lighter coffee in color and taste. For flavorful coffee, use a tablespoon of ground coffee per cup of water. Lastly, slide the basket into the percolator coffee pot and secure the lid.
STEP 4PLACE PERCOLATOR ON STOVE
Turn your stove to medium heat and place the percolator on the hob. We want hot coffee, but you do not let the water boil because it will ruin the flavor.
STEP 5WATCH THE CENTRAL TUBE
You should start to notice coffee bubbling up through the vertical tube. Keep in mind that we want almost-boiling water, but it is too hot if you see steam. The heat should finish your coffee within 10 minutes.
STEP 6TAKE PERCOLATOR OFF OF STOVE
Once you notice the globe on top of the basket lid change color, you can remove the percolator from the stove.
STEP 7REMOVE FILTER BASKET AND SERVE
Let your coffee cool for a few minutes and remove the grounds basket from the percolator. Then, dispose of your used coffee and serve your fresh cup of coffee using the spout.
Warning
Be careful while removing the grounds basket. It will get exceedingly hot throughout the percolating process.
F.A.Q.S
Is percolated coffee better than drip coffee?
A drip coffee maker produces a lighter and smoother brew than a percolator. The average cup of percolator coffee is a strong brew that borders on a bitter taste. So, if you want stronger coffee, use a percolator.
What is the best kind of coffee to use in a campfire percolator?
Use medium roast ground coffee beans for a smooth but flavorful cup of coffee. If, instead, you want strong coffee, dark roast is your best choice. That said, you may get bitter coffee if it percolates for too long.
How does an electric percolator know when to stop?
Like an electric coffee maker, electric percolators use an internal thermometer that automatically shuts off the electric heating element. Keep in mind, you can manually shut it off to shorten your brew time.
STAT: In a survey of 1,009 adults aged 18 and older, women reported drinking 11% more coffee than men. (source)


![Best Keurig Alternatives in [year] 27 Best Keurig Alternatives in 2026](https://www.gadgetreview.dev/wp-content/uploads/best-keurig-alternative-image.jpg)
![Best Semi Automatic Espresso Machines in [year] 28 Best Semi Automatic Espresso Machines in 2026](https://www.gadgetreview.dev/wp-content/uploads/best-semi-automatic-espresso-machine-image.jpg)
![Best Coffee and Espresso Makers in [year] 29 Best Coffee and Espresso Makers in 2026](https://www.gadgetreview.dev/wp-content/uploads/best-coffee-and-espresso-maker-image.jpg)
![Best Kitchen Appliances in [year] ([month] Reviews) 30 Best Kitchen Appliances in 2026 (January Reviews)](https://www.gadgetreview.dev/wp-content/uploads/best-kitchen-appliances.jpg)
![Quietest Coffee Makers in [year] 31 Quietest Coffee Makers in 2026](https://www.gadgetreview.dev/wp-content/uploads/quietest-coffee-maker-image.jpg)
![Best Prosumer Espresso Machines in [year] 32 Best Prosumer Espresso Machines in 2026](https://www.gadgetreview.dev/wp-content/uploads/71ytF6efAlL._AC_SL1500_.jpg)
![Best Single Serve Coffee Maker No Pods in [year] 33 Best Single Serve Coffee Maker No Pods in 2026](https://www.gadgetreview.dev/wp-content/uploads/best-k-pod-coffee-image-1.jpg)
![Best Coffee Makers for Hard Water in [year] 34 Best Coffee Makers for Hard Water in 2026](https://www.gadgetreview.dev/wp-content/uploads/best-coffee-maker-for-hard-water-image.jpg)
![Best Dual Boiler Espresso Machines in [year] 35 Best Dual Boiler Espresso Machines in 2026](https://www.gadgetreview.dev/wp-content/uploads/best-dual-boiler-espresso-machine-image.jpg)
![Best Coffee Makers for RV in [year] 36 Best Coffee Makers for RV in 2026](https://www.gadgetreview.dev/wp-content/uploads/best-coffee-maker-for-rv-image.jpg)
![Best Ninja Coffee Makers in [year] 37 Best Ninja Coffee Makers in 2026](https://www.gadgetreview.dev/wp-content/uploads/best-ninja-coffee-maker-image.jpg)
![Best Breville Espresso Machines in [year] 38 Best Breville Espresso Machines in 2026](https://www.gadgetreview.dev/wp-content/uploads/best-breville-espresso-machine-image.jpg)
![Best 5 Cup Coffee Makers in [year] 39 Best 5 Cup Coffee Makers in 2026](https://www.gadgetreview.dev/wp-content/uploads/best-5-cup-coffee-maker-image.jpg)
![Best Commercial Coffee Makers in [year] 40 Best Commercial Coffee Makers in 2026](https://www.gadgetreview.dev/wp-content/uploads/best-commercial-coffee-maker-image.jpg)
![Best Commercial Espresso Machine for a Small Coffee Shop in [year] 41 Best Commercial Espresso Machine for a Small Coffee Shop in 2026](https://www.gadgetreview.dev/wp-content/uploads/best-commercial-espresso-machine-small-coffee-shop-image.jpg)
![Best Coffee for Moka Pot in [year] 42 Best Coffee for Moka Pot in 2026](https://www.gadgetreview.dev/wp-content/uploads/best-coffee-for-moka-pot-image.jpg)
![Best USA Made Coffee Makers in [year] 43 Best USA Made Coffee Makers in 2026](https://www.gadgetreview.dev/wp-content/uploads/best-usa-made-coffee-makers-image.jpg)
![Fastest Coffee Makers in [year] 44 Fastest Coffee Makers in 2026](https://www.gadgetreview.dev/wp-content/uploads/fastest-coffee-maker-image.jpg)
![Best SCAA Certified Coffee Makers in [year] 45 Best SCAA Certified Coffee Makers in 2026](https://www.gadgetreview.dev/wp-content/uploads/best-scaa-certified-coffee-maker-image.jpg)
![Best Smart Coffee Makers in [year] 46 Best Smart Coffee Makers in 2026](https://www.gadgetreview.dev/wp-content/uploads/best-smart-coffee-maker-image.jpg)
