Transmitting video wirelessly has been one of the “Holy Grails” of the home theater world. The idea of sending a video wirelessly from a video source device (be that for television or from a disc) means you lose the need for gauging how long a video cable must be, what kind to use and how to place it in position. The negatives to all this have been inconstant signals being sent from the transmitter to the receiver – coupled with tedious and confusing technologies requiring babying in order to function at near or almost peak efficiently. If you want to use this device with another system, check out our best home theater systems.
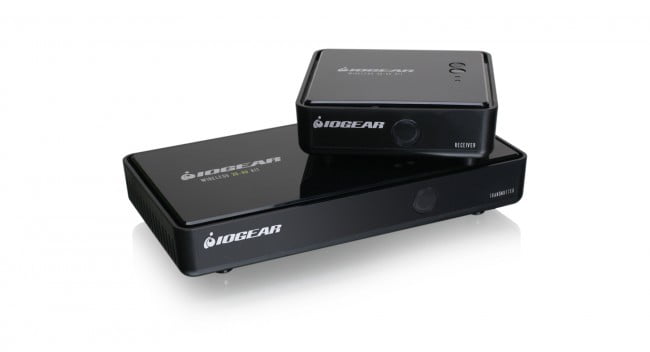
That was then, and the IOGEAR GW3DHDKIT Wireless 3D Digital Kit is now. Here WDHI technology at 5 GHz is being employed to transmit/receive the signal and, as you will see as I did, interference issues that used to have to be taken into account (i.e, wireless home networks, microwaves and even cellular phones) is no longer an issue. Additionally, the procedure has been streamlined to the point that if the person can plug in cables, the IOGEAR GW3DHDKIT Wireless 3D Digital Kit will work. Since I can do that, let’s give it a go.
Related: Find out more about this product with our involve Audio Surround Master SM 465 review
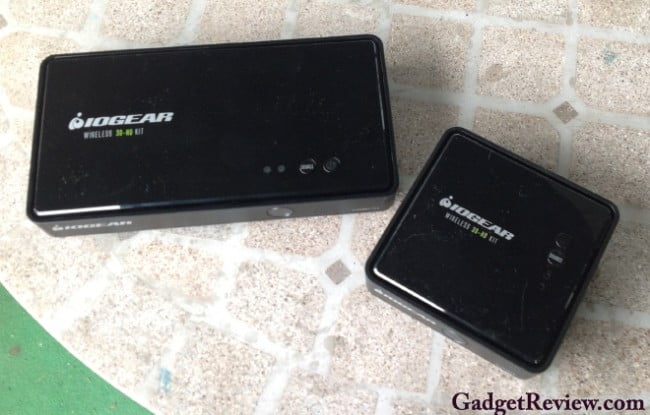
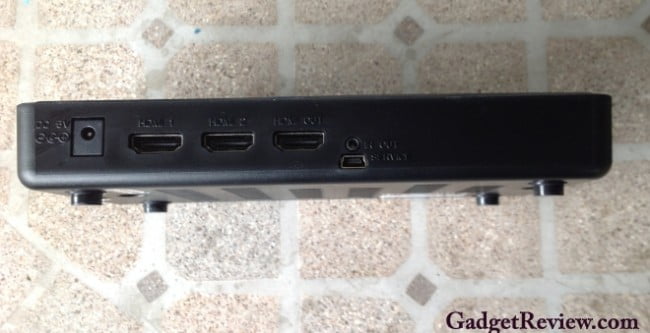
The transmitter is a small horizontal box — it could have been even smaller, as small as the receiver but it isn’t. The reason for this is that there is more than a single video input on its back — in fact there’s two. This means that you can plug two separate devices into the transmitter and then switch between them. That there will be a short delay as the receiver catches up with things would seem evident, but again we’ll see from a practical test.
The back of the transmitter also features an IR port: an IR cable (“Blaster” if you will) can plug in here. You then run the ends from the cable so each IR nub is able to make “contact” with the IR panel of the device you’re going to stream. Then you can just point the normal remote control and the IR panel of the receiver and have it transmit the IR signal back to the transmitter and then through the IR cable. This is a nice convenience, even if you don’t need to use it: if you’ve only one device being streamed, it has no purpose and if you’re doing the streaming within a space where line-of-sight with any/all of the video source devices exists, again just aim the appropriate remote as you normally do.
Related: Check out our Ivanky Auxiliary Compatible headphone speaker review
In this case, I’m going to use the IOGEAR GW3DHDKIT Wireless 3D Digital Kit to stream the video signal that normally would exit my amplifier and then make its 25 foot way over to the front projector opposite the projection screen mounted above the amp (which is on a cabinet itself). By getting rid of the cable, I can remove the possibility of someone stepping on the cable which, until now, has required me to place a rubber rider over. It will make for a “cleaner” looking floor and my wife should appreciate that.
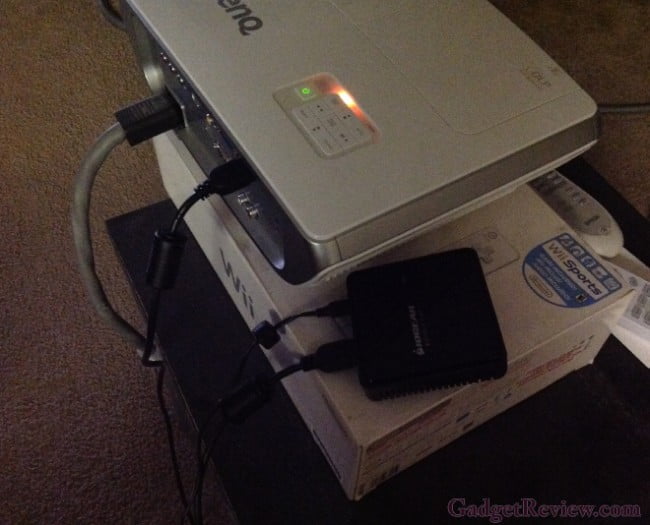
So I take the transmitter and place it on the cabinet next to the amplifier. I remove the HDMI cable coming out of the amp’s HDMI output and then plug a new HDMI cable into this port and then into HDMI port #1 of the IOGEAR’s transmitter. I also plug in the power supply to the transmitter and then into an open, unswitched AC socket on the back of the amp. There’s also a pass-through HDMI output for going into a TV or such, but it’s nothing something I can see being of much use — although I applaud the option of it being there.
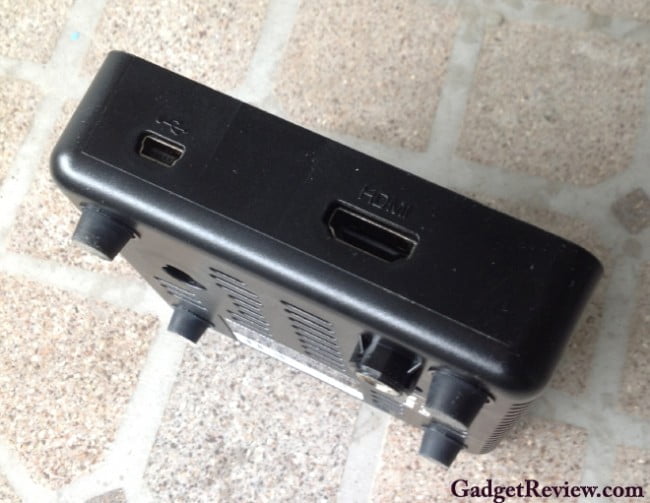
The next, and final step is to set up the receiver. I’ll put it next to my projector and use the same power strip it is plugged into to power the receiver. I then plug in a HDMI cable to the second HDMI input on the projector and the other end into the HDMI output on the receiver. That’s that.
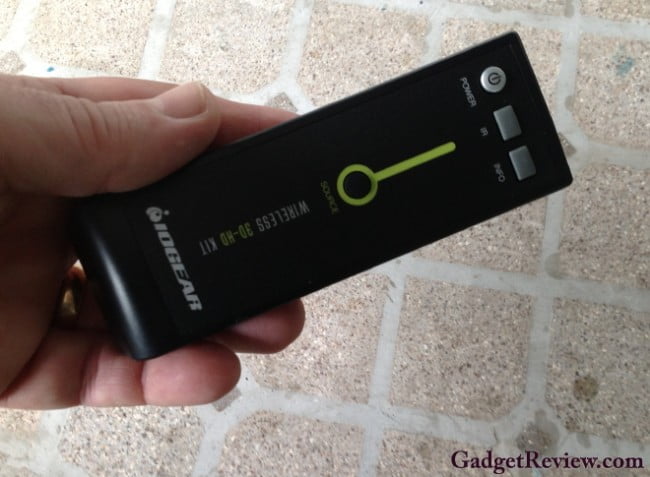
With both transmitter/receiver ready to go, I’ll now need to turn them on. That’s easiest done using the remote IOGEAR includes, although there is a power button on both the transmitter and receiver you can use (the transmitter also displays lights to indicate which input is in use). The remote will let you switch video sources (should you have an additional device connected) and pop up information onto the display being used (OSD). The IR button switches the “Blaster” frequency so that it can match that needed for the devices at the other end. In most cases you won’t have to do a thing to use it, while in others you will need to consult that dusty manual of the video source device.
With both transmitter/receiver powered up, I wait for the blinking LEDs on each to go solid blue. This indicates that they’re synced with each other — no button to press to make it happen. I’ve already got the projector turned on and so now use the amp’s remote (which I can aim directly at it) to turn it on. I then use my Dish Network remote to turn on the satellite receiver and — there you go — I’ve a high-resolution video image playing on the projection screen; one that looks for all practical purposes as good as that were it cabled.
I used the IOGEAR GW3DHDKIT Wireless 3D Digital Kit over the course of a few days and for many hours of viewing. While the TV broadcasts varied wildly in quality, the quality of the video signal coming through care of the IOGEAR didn’t — it was stable and solid. That’s good stuff.
Now IOGEAR says the system will work up to 100 feet. Of course that doesn’t taken such things into consideration as interference from a metal cabinet “getting” in the way or other barriers that could deflect/deaden the signal. The video is playing fine here, but to see if I can “pull a bit more distance, I turn everything off, disconnect the receiver and reconnect it to the 32-inch HDTV in the corner where the exercise bike is located. I turn everything back on in the necessary order and yes, I’m getting a video signal from the satellite receiver. That’s a good 85+ feet. And this also let me try out the audio transmission into the 32-inch as well. Nothing special to say about the audio other than It was fine and no hiss or other crud in the sound that I could hear.
And yes, I did try adding my Blu-ray player to the transmitter and used its remote through the IOGEAR receiver, after first using the IOGEAR’s remote to switch to the HDMI port for the player (using my front projector setup). I played some Netflix streaming video (standard-definition) and couldn’t see any difference as if there had been a cable attached. The level of sharpness and color quality looked the same to me. And yes the 3D film I tried on Blu-ray also showed up correctly (the recent Ghost Rider, for those who wonder). And yes, the same can be said for 2D Blu-ray films that I tried playing. And yes I am getting up to 1080p resolution with the Blu-ray discs, which is a really nice thing to have. That’s a lot of “yeses” for sure.
Now here’s something to consider: both the transmitter and receiver use electricity and so must have a stable and consistent flow of power to maintain the data stream. Considering the state of the power grid these days, outages and even momentary glitches are not uncommon. If you can’t run the power plugs of both devices off a uninterruptible power supply (UPS), you are always taking a chance of losing the signal. For some this will never be an issue, but for others it’s worth taking preventative action .
Editor’s Rating:
[rating:4.5/5]
Excellent
Bottom line: The value of the IOGEAR GW3DHDKIT Wireless 3D Digital Kit is to provide a consistent and stable wireless video signal to your display (be that a TV or front projector). It does the job, making the $279 retail money well spent (“street” price takes a fair bite out of the MSRP). The addition of the IR remote transmission means you can use the distance available with the transmitter/receiver to your advantage and say goodbye to ugly cables.
Pros
- Automatic syncing of the transmitter/receiver
- Transmits 5.1 multichannel audio
- Tripod brackets on both transmitter/receiver
Cons
- Both transmitter/receiver need power and so an AC socket is required
