Not everyone has the money to invest in a pre-built electric bike. However, that doesn’t mean that you have to be stuck with a traditional bike. If you’ve got the need for speed, think about modifying your regular bike by installing an electric motor. Especially if you have a rear suspension bike, this hack might be the best way to create the best e-bike, if standard electric bike models are outside of your budget.
KEY TAKEAWAYS:
- Match your motor selection to your riding style and habits
- Installing a motor on a standard bike usually takes anywhere from 30 minutes to an hour.
- Conversion kits are great ways to upgrade your bike without buying an expensive ebike
Think About Your Riding Habits
While adding an electric motor to an existing mountain or road bike is a fairly common modification, you need to think about your riding habits as this will impact which motor you should select.
People who tend to ride on more difficult terrain will want to invest in a more powerful motor while those who want to upgrade a bike for commutes around town might not need as much power. Also, keep in mind that some motors may require additional attachments so that the motor and battery can be safely mounted on your bike. And here are the best ways to add a battery pack to your ride.
Consider the Modification Kit
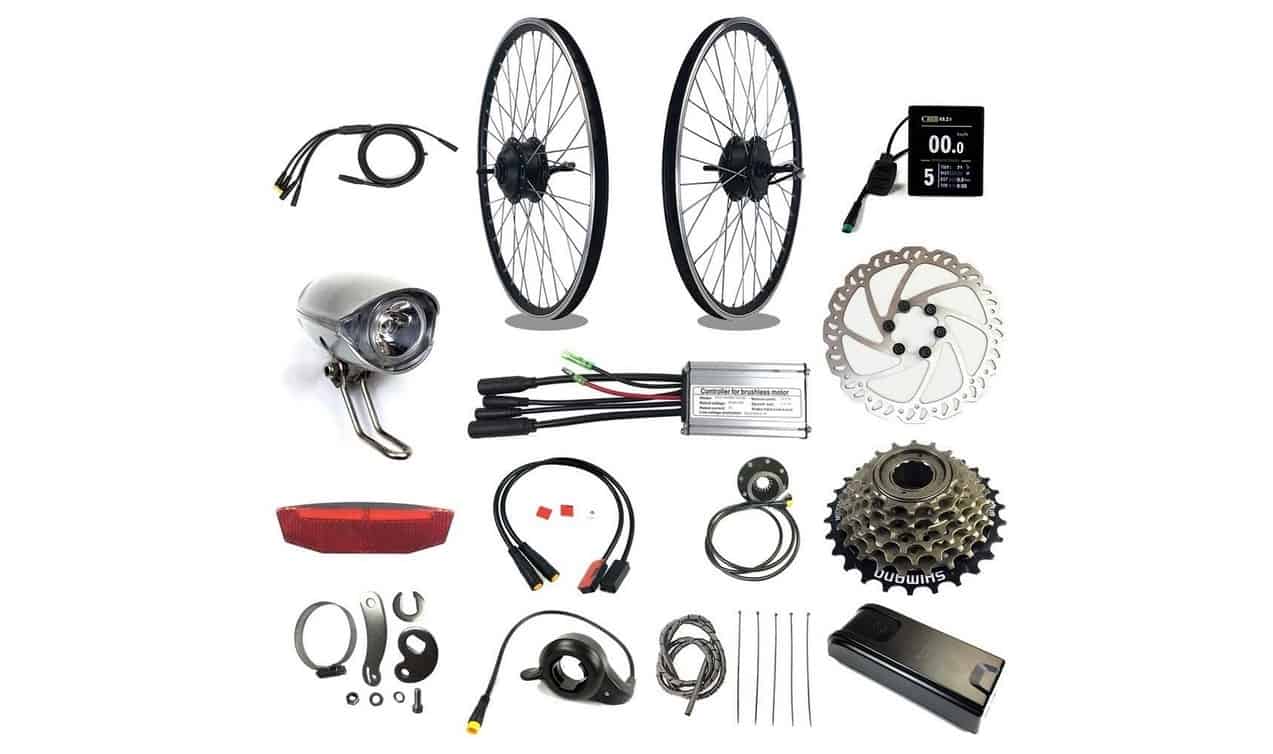
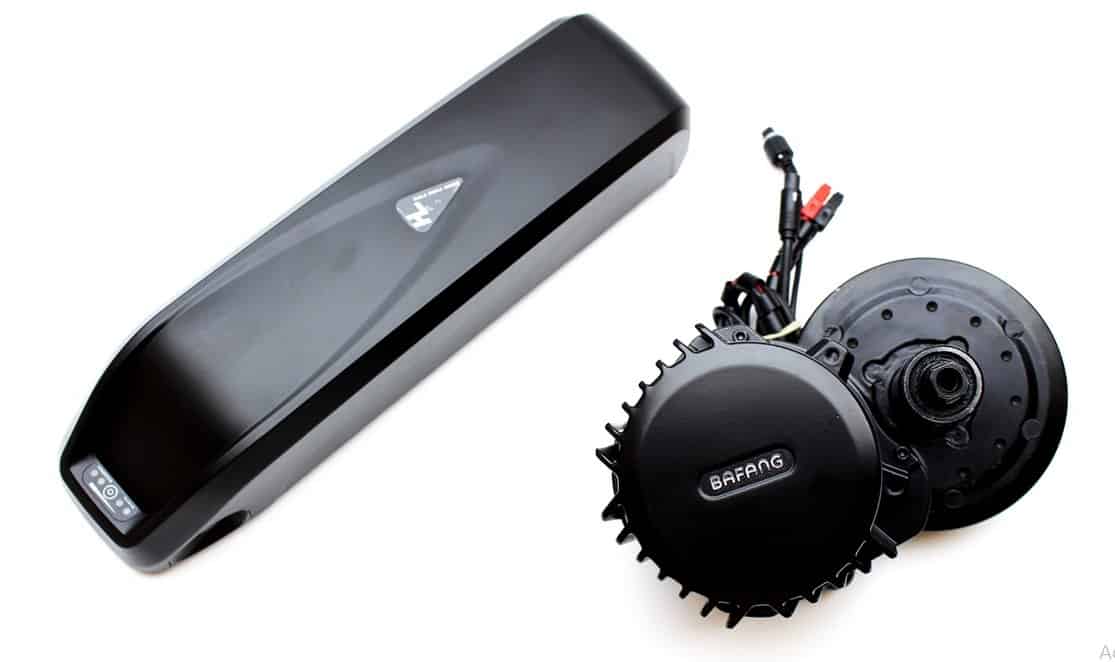
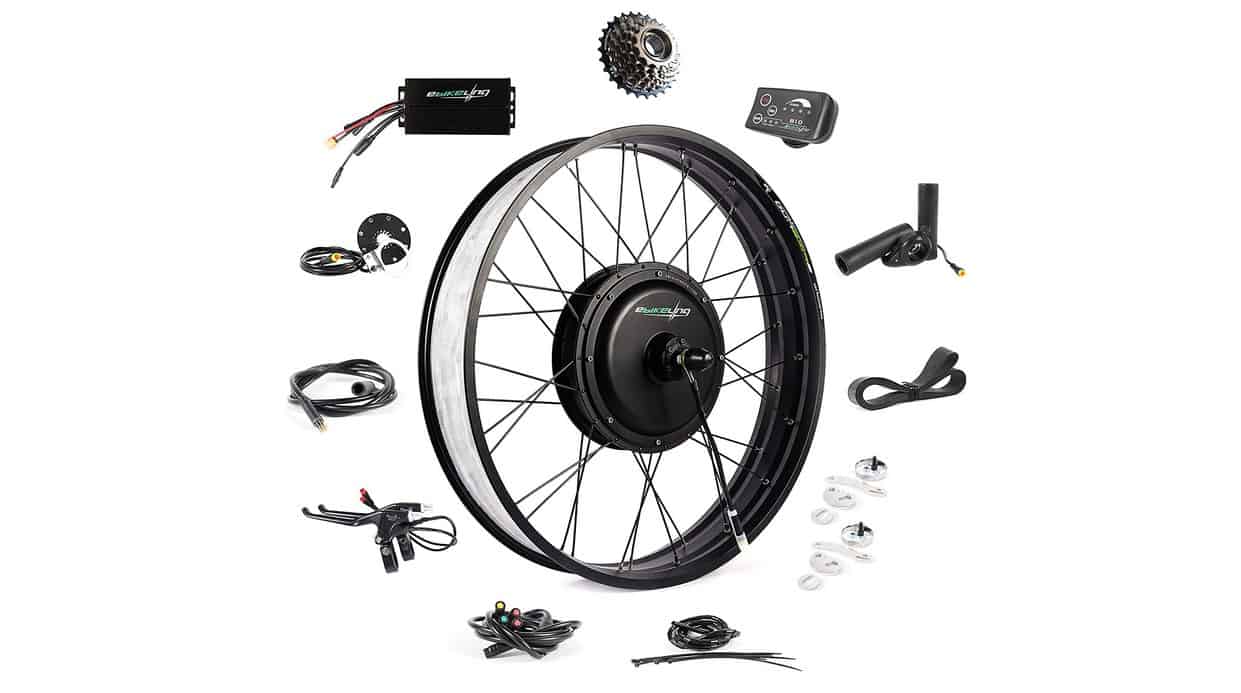
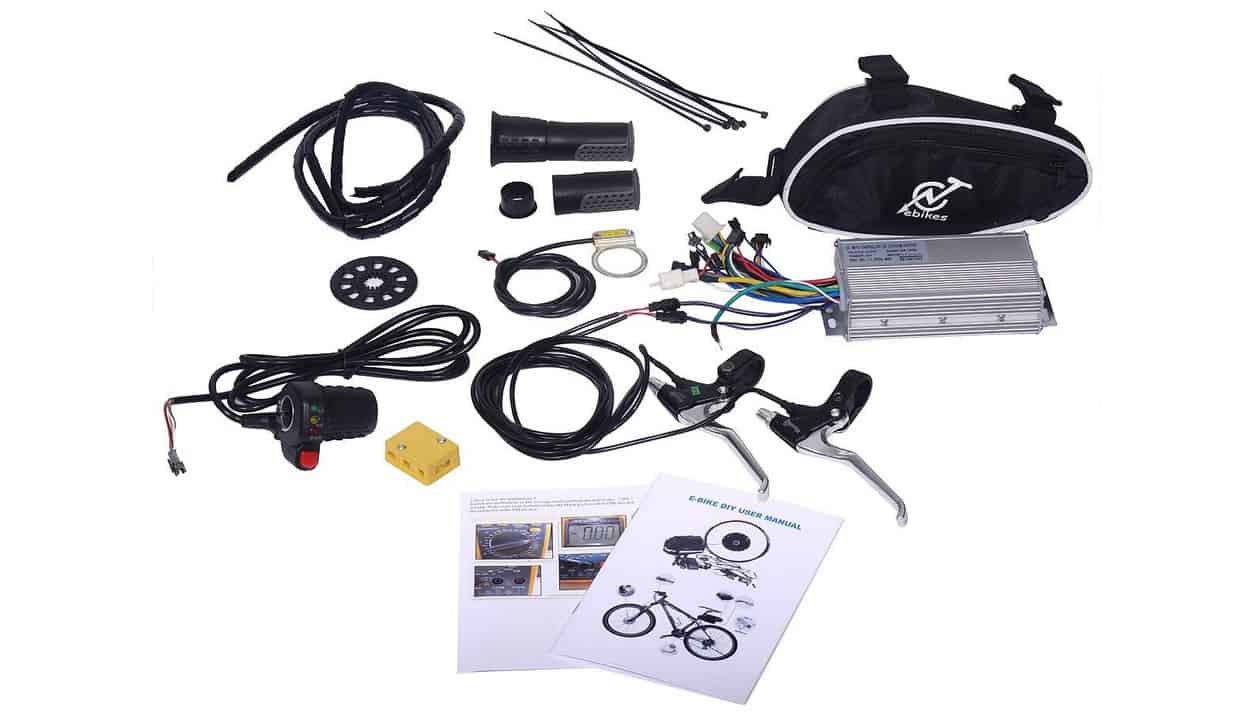
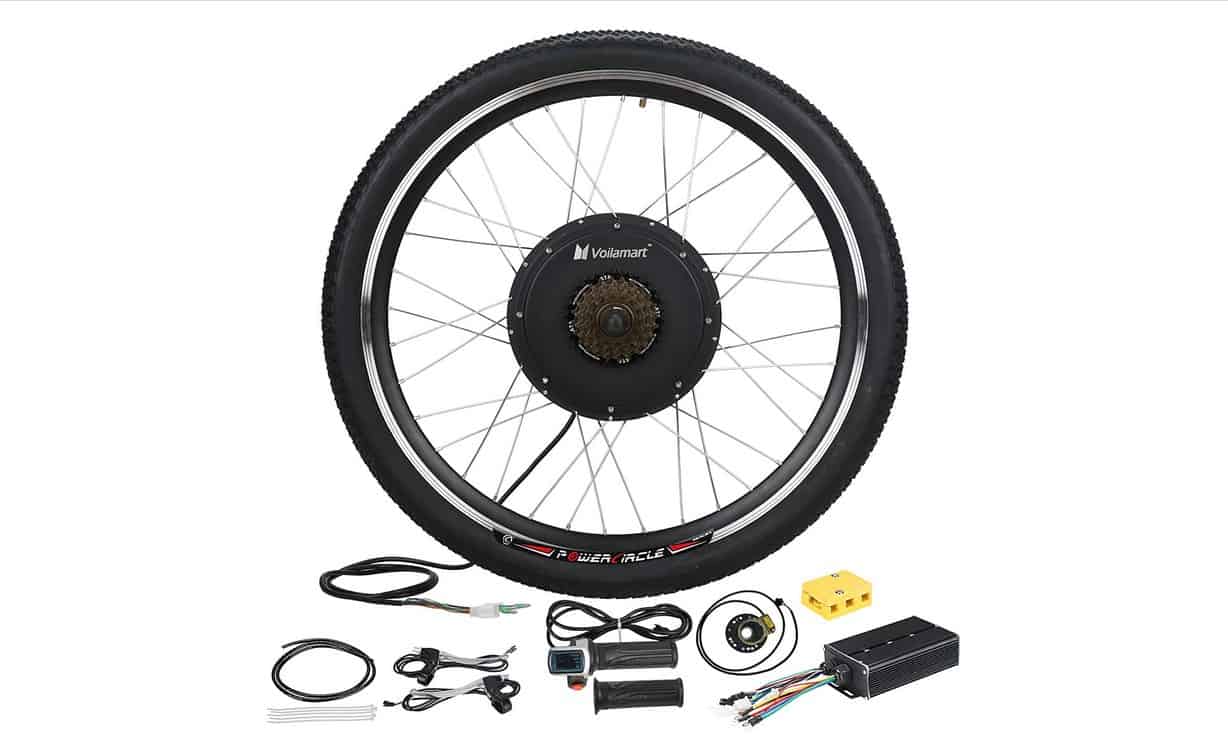
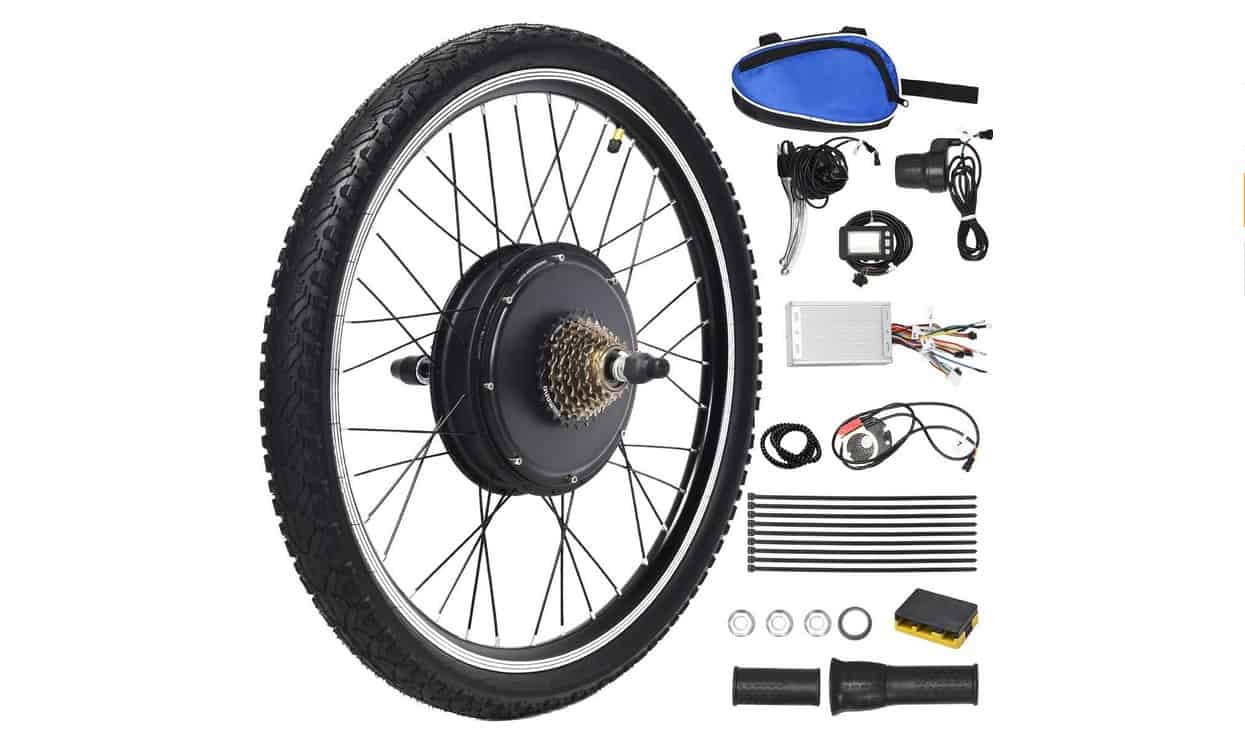
The good thing about adding a motor to your bicycle is that this modification comes with a comple te kit that includes everything you need to update your ride. Conversion kits usually include the following items:
- Controller
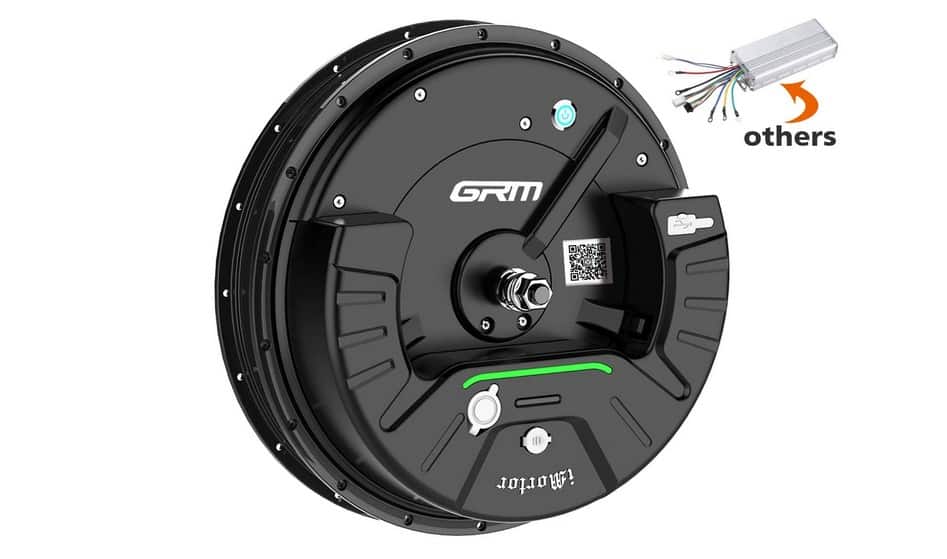
- Motorized hub
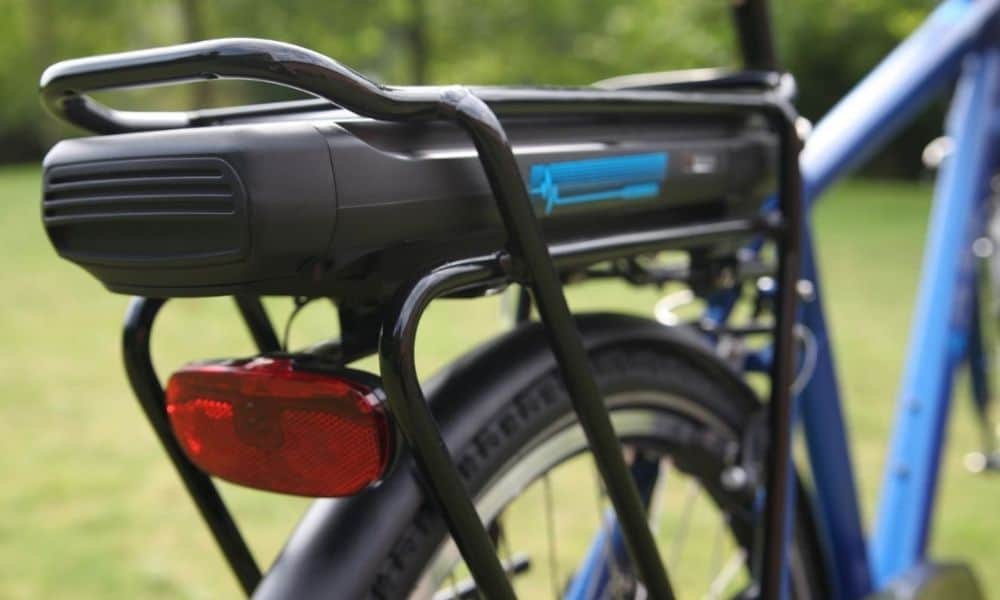
- Battery pack
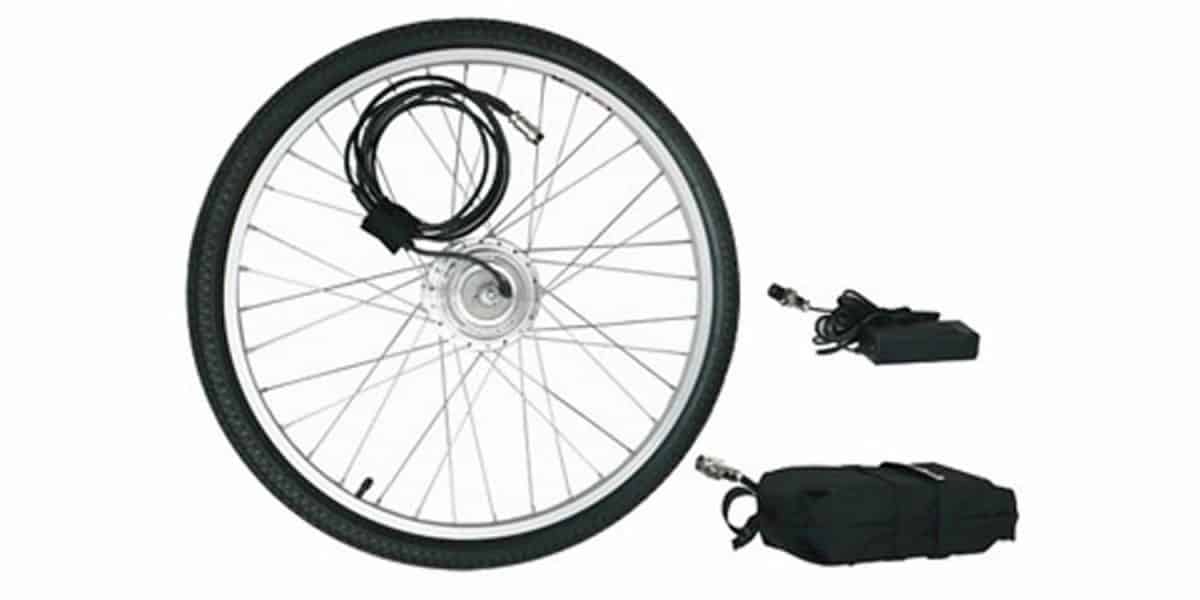
Conversion kits are typically offered for front or rear mounting. Front-mounted motors can make steering your bike more difficult. But on the other hand, if you pick a rear-mounted motor you need to confirm that it’s compatible with your bike, and won’t interfere with the gears or derailleurs. Knowing how to program your e-bike motor controller is also important here, because it determines how well the motor works with connected peripherals.
Determining Wattage
Motors are ranked by wattage, and understandably the higher the wattage the more power it can produce. But you need to consider that running at maximum power for extended periods can cause the motor to overheat which may damage performance over time.
Installing the Motor
Now that you’ve selected the appropriate motor for your bike, it’s time to begin the installation process. The steps are fairly straightforward and shouldn’t take more than 30 minutes to an hour to complete.
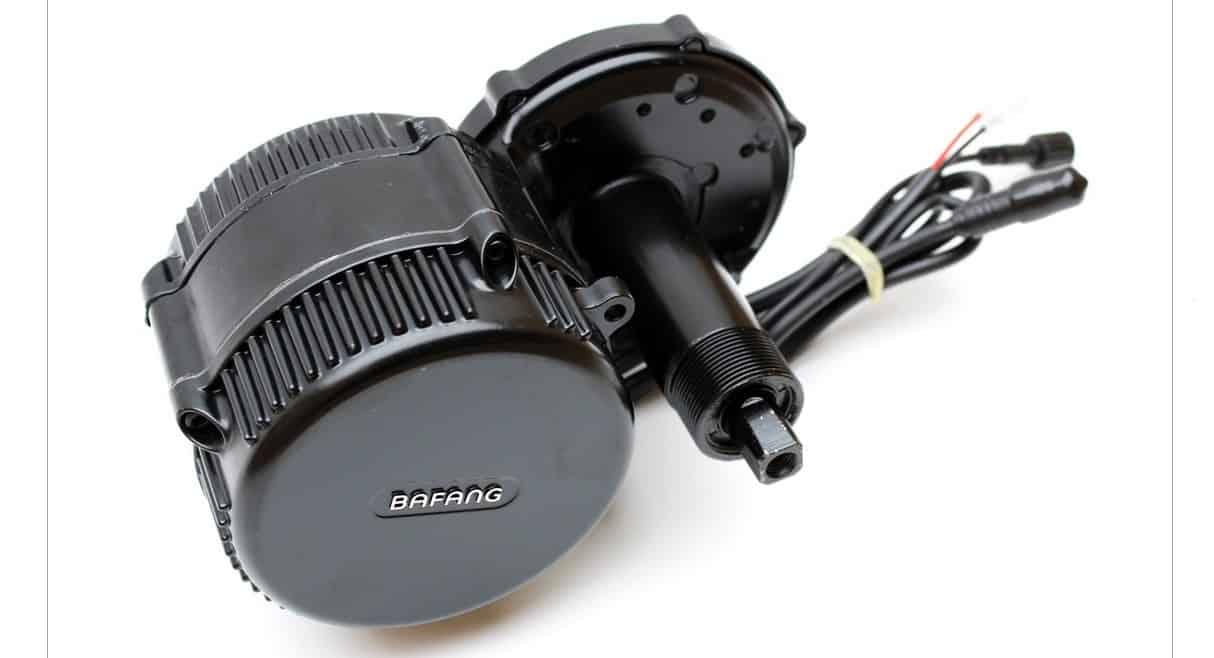
But you should always check with your specific conversion motor kit to ensure that you’re following the right procedures. Depending on the kit you select you’ll follow different steps. Mid-drive conversion kits focus on attaching the motor to the bike’s frame while wheel kits replace either the front or back wheel with a motorized component.
Also, keep in mind that you might need a few essential tools such as screwdrivers and socket wrenches that make the installation process easier usually won’t be included in your conversion kit.
Insider Tip
You need to think about your riding habits as this will impact which motor you should select.
Installing a Wheel Motor Kit
While there are several kinds of motor conversion kits for your bike, one of the most common options is the wheel motor kit. Below are the steps necessary to upgrade your bike with an electric motor using a wheel kit.
1. Remove the Rear Wheel
Regardless of which conversion kit you pick, the first step is almost always going to be removing the rear wheel since the motor is designed to be mounted in the back.
2. Replacing the Freewheel
Many conversion kits require replacing the existing freewheel on your bike with one that’s designed to accommodate specific speeds, such as a seven-speed freewheel. So, in addition to the conversion kit, you might also need to purchase a freewheel that can be used to replace your existing one.
Insider Tip
People who tend to ride on more difficult terrain will want to invest in a more powerful motor while those who want to upgrade a bike for commutes around town might not need as much power.
3. Removing the Tube and Tire
If you’re planning to reuse the existing tube and tire on your bike wheel, you’ll need to safely deflate the tire, and remove both the tube and tire. Set them to the side until it’s time to reinstall them. Along with deflating the tire, note that you might need tire levers to properly remove the tire without damaging it.
4. Install the Tire and Freewheel
Now that you’ve removed the tube and tire from the old wheel, it’s time to install them on your new wheel hub. Be sure to follow the instructions accurately to prevent the freewheel from binding to the new wheel hub.
5. Installing the Wheel Back onto the Bike
At this point, your conversion project is almost done. All that’s left to do is to put the new wheel back onto your bike. Typically, your conversion kit will include the necessary washers and spacers to ensure that the bike wheel is properly attached and that there’s adequate space between the freewheel and the frame.
6. Wiring and Installing the Display and Controls
Be sure to secure the wires to the bike frame so that they’re not touching the wheel or posing a riding hazard. Next, you’ll need to install the display and controls. Normally, you’ll want to remove your handlebar grips along with the shifters and brakes.
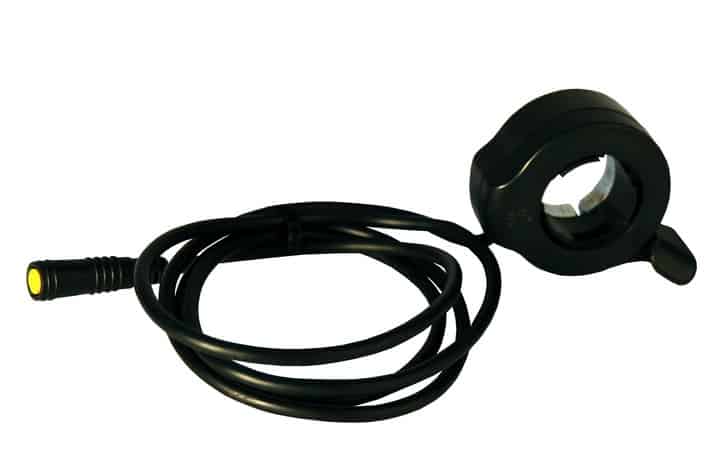
The display can be mounted in the center of your handlebars and then decide whether you want to mount the throttle and e-brake on either your right or left handlebar. You may also have other controls such as cruise control, an additional e-brake, and possibly a speed shifter that will need to be installed. Reinstall the grips and connect all of your brake cables to finish the installation process.
Warning
Some motors may require additional attachments so that the motor and battery can be safely mounted on your bike.
F.A.Q.
Can I add an electric motor to my bike?
Yes, you can. You can purchase an aftermarket conversion kit that will allow you to upgrade a traditional bike into an ebike by adding a motor to the front or back wheel.
How much does it cost to convert a bike to electric?
The price can vary but most e-bike conversion kits can cost between $300 and $900.
Are ebike conversion kits worth it?
If you don’t have the budget to afford a true ebike, converting an existing traditional bike into a motorized model can be a smart way to upgrade your ride without breaking the bank. However, conversion kits do make your bike heavier.
STAT: There are a number of ways to electrify your existing bike for assistance up those hills: you can fit a powered wheel, either front or rear; you can attach a drive unit to the bottom bracket; you can fit a motor above the rear wheel and drive it via friction; or, most sneakily, you can conceal a motor in the seat post. (source)
STAT: The general rule is that for an electric bike not to be considered a moped or a motorcycle, its power should not exceed 250 Watts and the motor’s power assistance must automatically cut at 25 km / h and activate only when one pedals the bike (source)
REFERENCES:
- https://www.instructables.com/Easy-Electric-Bike-Conversion-Kit-Installation/
- https://electric-biking.com/convert-your-bike-to-an-e-bike/
- https://www.youtube.com/watch?v=vPmH3J7_wBsr
- https://www.bikeradar.com/advice/buyers-guides/electric-bike-conversion/
- https://easyebiking.com/how-turn-your-old-bicycle-into-a-connected-e-bike/



![Best Batteries for Electric Bikes in [year] 7 Best Batteries for Electric Bikes in 2026](https://www.gadgetreview.dev/wp-content/uploads/best-battery-for-electric-bike.jpeg)


![Best Electric Bike in [year] ([month] Reviews) 27 Best Electric Bike in 2026 (January Reviews)](https://www.gadgetreview.dev/wp-content/uploads/elby-s9-750x422-1.png)
![Best Bikes in [year] ([month] Reviews) 28 Best Bikes in 2026 (January Reviews)](https://www.gadgetreview.dev/wp-content/uploads/cheapest-electric-bikes-1.jpg)
![Best Front Drive Electric Motor Bikes in [year] 29 Best Front Drive Electric Motor Bikes in 2026](https://www.gadgetreview.dev/wp-content/uploads/best-front-drive-electric-motor-bikes-image.jpg)
![Best Cannondale Electric Bikes in [year] 30 Best Cannondale Electric Bikes in 2026](https://www.gadgetreview.dev/wp-content/uploads/best-cannondale-electric-bikes-image.jpg)
![Best Luna Cycle Electric Bikes in [year] 31 Best Luna Cycle Electric Bikes in 2026](https://www.gadgetreview.dev/wp-content/uploads/Luna-Cycle-Apex-Electric-Bike.webp)
![Best Rad Power Electric Bikes in [year] 32 Best Rad Power Electric Bikes in 2026](https://www.gadgetreview.dev/wp-content/uploads/best-rad-power-electric-bikes-image.jpg)
![Best Rear Drive Motor Electric Bikes in [year] 33 Best Rear Drive Motor Electric Bikes in 2026](https://www.gadgetreview.dev/wp-content/uploads/best-rear-drive-motor-electric-bikes-image.jpg)
![Best Ebike Conversion Kits in [year] 34 Best Ebike Conversion Kits in 2026](https://www.gadgetreview.dev/wp-content/uploads/best-ebike-conversion-kit.jpg)
![Best Electric Bike Locks in [year] 35 Best Electric Bike Locks in 2026](https://www.gadgetreview.dev/wp-content/uploads/best-electric-bike-locks-image.jpg)
![Ebikes with Longest Range in [year] 36 Ebikes with Longest Range in 2026](https://www.gadgetreview.dev/wp-content/uploads/best-ebike-with-longest-range-image.jpg)
![Best Electric Bike Trailers in [year] 37 Best Electric Bike Trailers in 2026](https://www.gadgetreview.dev/wp-content/uploads/best-electric-bike-trailers-image.jpg)
![Best Bike Rack for Electric Bikes in [year] 38 Best Bike Rack for Electric Bikes in 2026](https://www.gadgetreview.dev/wp-content/uploads/best-bike-rack-for-electric-bikes-image.jpg)
![Best Electric Bike Helmets in [year] 39 Best Electric Bike Helmets in 2026](https://www.gadgetreview.dev/wp-content/uploads/best-electric-bike-helmets-image.jpg)
![Best Throttle Electric Bikes in [year] 40 Best Throttle Electric Bikes in 2026](https://www.gadgetreview.dev/wp-content/uploads/best-throttle-electric-bike-image.jpg)
![Lightest Electric Bikes in [year] 41 Lightest Electric Bikes in 2026](https://www.gadgetreview.dev/wp-content/uploads/lightest-electric-bike-image.jpg)
![Best Schwinn Electric Bikes in [year] 42 Best Schwinn Electric Bikes in 2026](https://www.gadgetreview.dev/wp-content/uploads/Electric-Bikes-image.jpg)
![Best All Terrain Electric Bikes in [year] 43 Best All Terrain Electric Bikes in 2026](https://www.gadgetreview.dev/wp-content/uploads/best-all-terrain-electric-bike-image.jpg)
![Best Cheapest Electric Bikes in [year] 44 Best Cheapest Electric Bikes in 2026](https://www.gadgetreview.dev/wp-content/uploads/cheapest-electric-bikes.jpg)
