If you’ve bought yourself the finest drone you could find, you’ll need to know how to calibrate it to avoid crashes. Experienced drone pilots will tell you that taking the time for proper calibration can make a massive difference in keeping your drone stable and avoiding fatal mistakes. So, stay tuned to learn how to calibrate a drone.
KEY TAKEAWAYS:
- The calibration process is necessary to ensure a safe and stable drone flight.
- Compass and IMU calibration only takes about 5-10 minutes to complete.
- Pilots use their remote controller or a smartphone app to calibrate their drones.
Calibrating Your Drone
Beyond connecting the drone to a controller, the calibration process is essential for any drone pilot to have a good day. In addition to a compass calibration which helps the drone find true north, IMU calibration assists with the overall stability of your flight. Ensure you know how drones are controlled before blaming your drone crashes on error messages.
Insider Tip
Choose a wide-open area to test your drone to avoid running into people, cars, buildings, or animals.
If you choose to build a drone using raspberry pi, you’ll need to perform additional types of calibrations to access advanced settings.
Ensure your drone is fully charged before performing a drone calibration check for a successful calibration. If you’re out of town, consider charging your drone battery without the charger if you need a calibration complete.
Method 1: Compass Calibration
STEP 1
Find a flat surface and place your drone there.
STEP 2
Power on the drone and activate the associated smartphone app or check your remote controller settings.
STEP 3
Find the safety menu in the app and press the calibrate compass button.
STEP 4
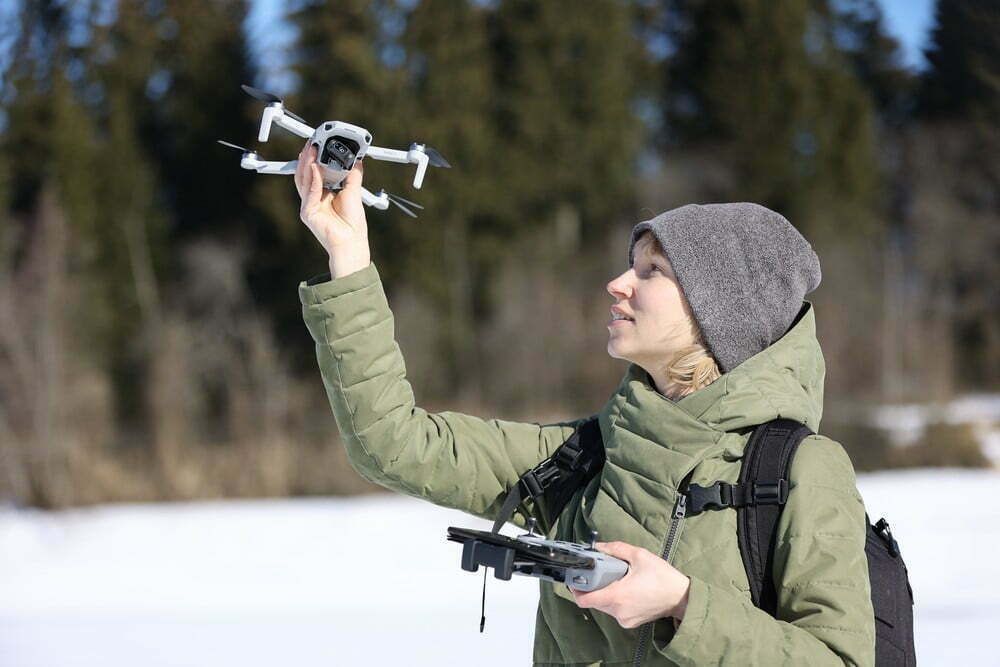
Pick up the drone and spin it horizontally. A green light will indicate if you’ve completed the horizontal calibration.
STEP 5
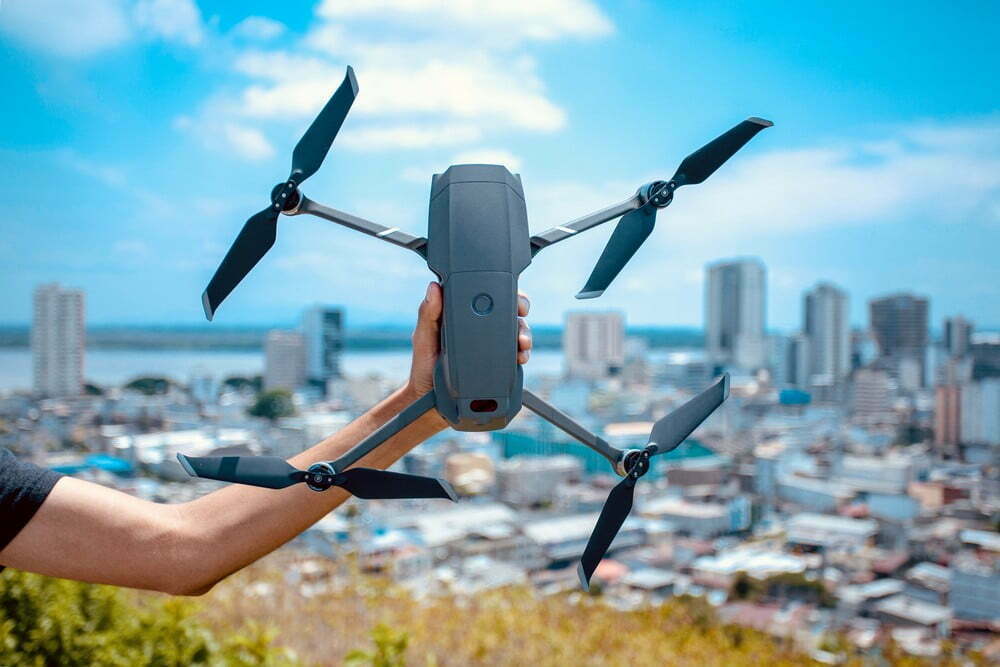
Hold the drone vertically with the nose to the ground and rotate it 360-degrees. Your drone is calibrated once the green light comes on.
Method 2: IMU Calibration
STEP 1
Place your drone on a level surface.
STEP 2
Allow the drone to cool down if recently used, and ensure the battery is over 50% full.
STEP 3
Open the drone’s associated smartphone app and power on the drone.
STEP 4
Go into the safety settings and select calibrate IMU.
STEP 5
Follow the directions on the app to successfully calibrate your drone.
Warning
Ensure you use a flat calibration surface, or you could get inaccurate sensor measurements.
F.A.Q.S
When to Calibrate Your Drone?
You should calibrate your drone before its first flight or after an extended break from flying. If you don’t calibrate your drone on time, it could have a massive difference in performance. The calibration of drones is also crucial if you see interference warnings after changing flight location. We also recommend calibrating drones that have crashed or are behaving strangely during aerial maneuvers.
Why does my drone keep flipping over?
If your drone keeps flipping over, it is likely an issue with the Electronic Speed Controller (ESC) or a bad motor. If your drone keeps flipping in the same direction, it is likely the motor and not the ESC component. You should contact your drone manufacturer if it is within the warranty period.
Why Do Drones Have An IMU and Compass?
Drones feature an integrated Inertial Measurement Unit and a compass. These sensors and components give the drone accurate information about the current location. In addition, these parts utilize magnetic fields to send data to the drone about the direction of motion and the cardinal directions. These parts are vulnerable to electromagnetic interference that can cause your drone to have stability or even remote control issues.
STAT: According to a 2017 survey from the Pew Research Center, 44% of Americans think drones should be allowed in public parks. (source)



![Best Drones Under the Cost of Ferrari in [year] 26 Best Drones Under the Cost of Ferrari in 2026](https://www.gadgetreview.dev/wp-content/uploads/image-test-3.jpg)
![10 Best VR Drones in [year] 27 10 Best VR Drones in 2026](https://www.gadgetreview.dev/wp-content/uploads/Best-VR-Drone.jpg)
![10 Best Drones for Beginners in [year] 28 10 Best Drones for Beginners in 2026](https://www.gadgetreview.dev/wp-content/uploads/Best-Drones-for-Beginners.png)
![10 Best Indoor Drones in [year] 29 10 Best Indoor Drones in 2026](https://www.gadgetreview.dev/wp-content/uploads/Best-Indoor-Drone.jpeg)
![10 Best FPV Racing Drones in [year] 30 10 Best FPV Racing Drones in 2026](https://www.gadgetreview.dev/wp-content/uploads/Best-FPV-Racing-Drone-scaled-1.jpg)
![10 Best Selfie Drones in [year] 31 10 Best Selfie Drones in 2026](https://www.gadgetreview.dev/wp-content/uploads/Best-Selfie-Drones.jpg)
![10 Best Drones for GoPro in [year] 32 10 Best Drones for GoPro in 2026](https://www.gadgetreview.dev/wp-content/uploads/Best-Drone-for-GoPro-scaled-1.jpg)
![10 Best Drones for Kids in [year] 33 10 Best Drones for Kids in 2026](https://www.gadgetreview.dev/wp-content/uploads/Best-Drone-for-Kids-scaled-1.jpg)
![10 Best Professional Drones in [year] 34 10 Best Professional Drones in 2026](https://www.gadgetreview.dev/wp-content/uploads/Best-Professional-Drone.jpg)
![10 Best Fixed Wing Drones in [year] 35 10 Best Fixed Wing Drones in 2026](https://www.gadgetreview.dev/wp-content/uploads/Best-Fixed-Wing-Drone.jpg)
![10 Best Follow Me Drones in [year] 36 10 Best Follow Me Drones in 2026](https://www.gadgetreview.dev/wp-content/uploads/Best-Follow-Me-Drone.jpg)
![10 Best Foldable Drones in [year] 37 10 Best Foldable Drones in 2026](https://www.gadgetreview.dev/wp-content/uploads/best-foldable-drones.jpg)
![10 Best Drones for Travelling in [year] 38 10 Best Drones for Travelling in 2026](https://www.gadgetreview.dev/wp-content/uploads/best-drones-for-travelling.jpg)
