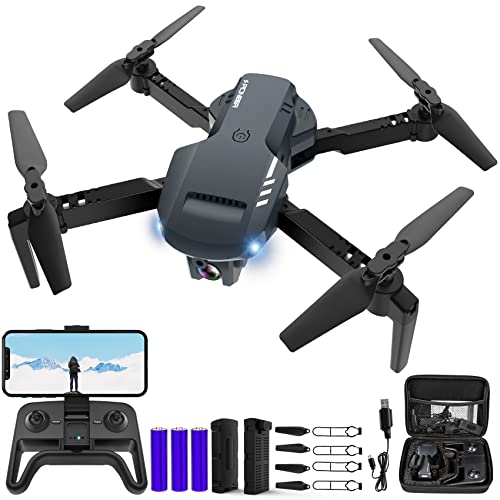
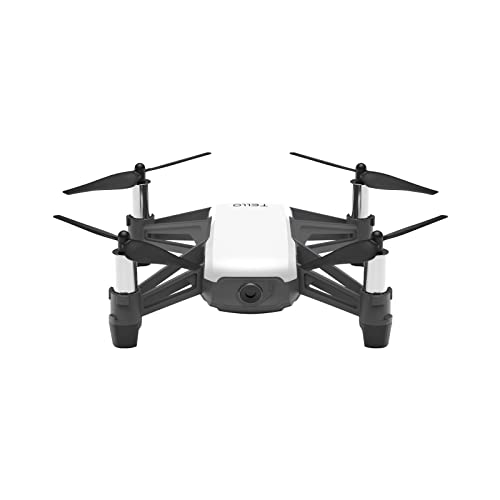
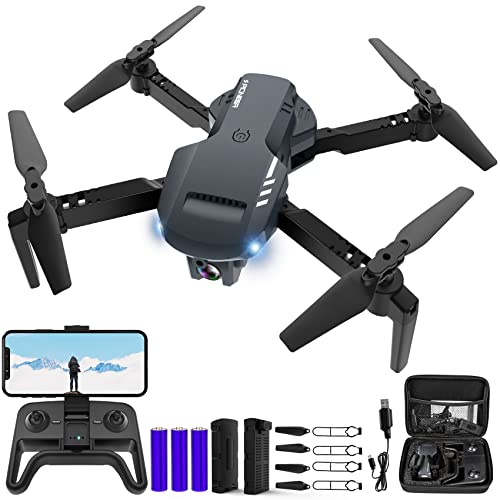
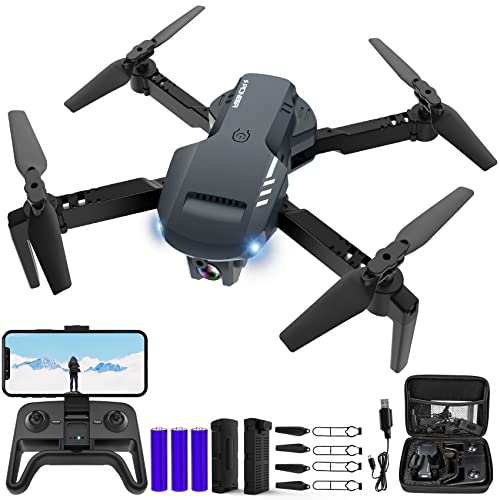
Whether you’re looking to spy on your new neighbor or take photographs for your business, the greatest drones can use cameras for many purposes. And if you need a device that can take aerial photos or process HD video transmission, read on as we show you how to make a drone with a camera.
KEY TAKEAWAYS:
- Installing a camera to your drone kit requires some electrical knowledge but can be completed in an afternoon.
- The first step is installing a solid mount and ensuring the camera has the space and angle required for capturing photos and video.
- Once mounted, the camera wires are soldered to the power distribution board.
Also, for those just getting started on building a quadcopter drone from scratch, we have a great article explaining how to design a drone. And if you have a drone that already has a camera and wants tips on using it, read up on how to use a drone camera.
How to Build a Drone With a Camera
Knowing how to install a camera on a drone is as useful as knowing how to hide from a drone. Making a drone with a camera isn’t difficult if you have some basic electrical know-how. It can even be more manageable than knowing how to make an obstacle avoidance drone or how to get your drone out of a tree.
Insider Tip
You can glue a styrofoam shim under the camera lens to increase the likelihood of capturing clean video.
And of course, if you do get your drone stuck in foliage, you may need to check out our article explaining how to replace done propellers.
STEP 1 Research Suitable Cameras
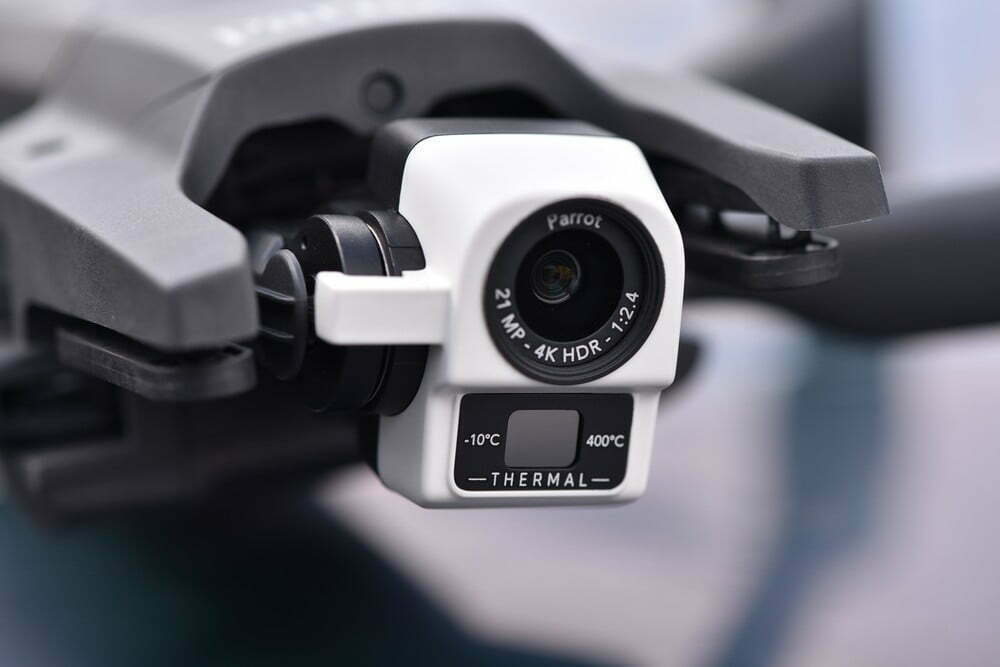
If your camera’s too heavy for your drone, it won’t fly. So research your drone’s load capacity and make sure that you get a camera that it can handle.
STEP 2 Check the Drone Frame for Mount Screws
- A drone kit or ready-made drone will often provide screws for a camera mount. If this is the case, measure the space between screws on the drone frame and purchase a camera mount.
- If your drone kit doesn’t provide screws, you’ll have to find or create a flat mounting pad and superglue a piece of styrofoam onto the drone.
STEP 3 Connect the Camera Wires to the Power Distribution Board
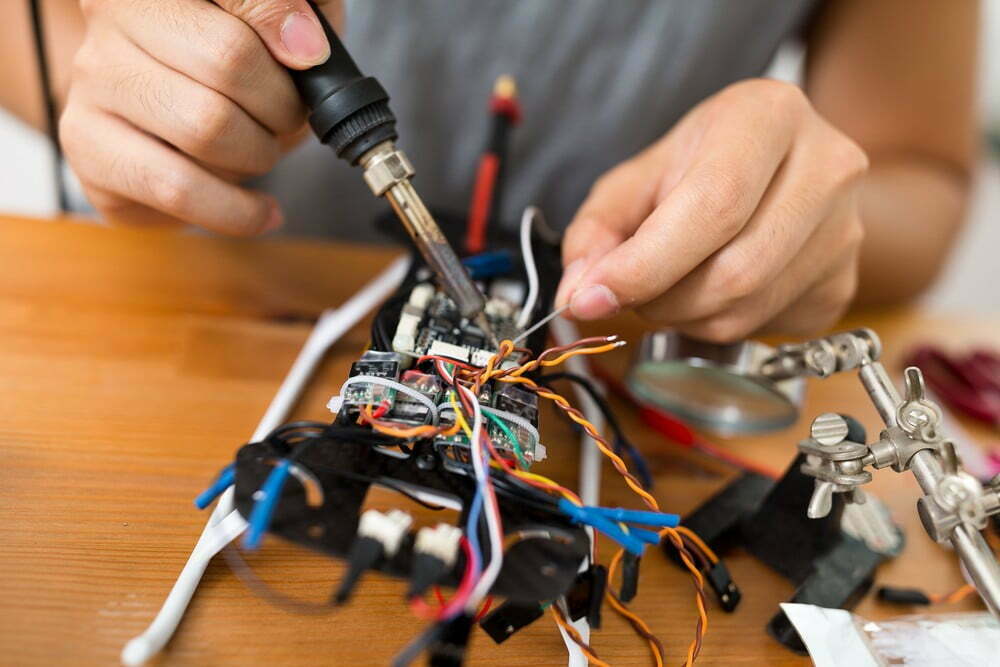
- Connect the two wires (Red: Positive, Black: Negative) to the correct connections on the power distribution board using a soldering iron.
STEP 4 Mount the Camera
- Take the camera and place it on the mount and screws, then tighten the nuts.
- If you don’t have a mount, superglue the camera to the styrofoam, and then place a zip tie or electrical tape around the camera and drone frame to fasten it.
STEP 5
Connect the Battery Monitor to the Motor Wires
- Connect the wires from the power distribution board to the battery connectors.
STEP 6
Power on the Drone and Test the Connection
- Turn on the flight controller and then run tests to check the clarity of the video transmission.
Warning
Make sure to use a cable tie or electrical tape to secure all camera and motor wires. Failing to do this can lead to wires getting caught in the propellers.
F.A.Q.S
How much does a drone camera cost?
The cheapest cameras can be around $20, but top-quality cameras that take amazing photos can cost thousands.
Where can I fly my drone?
Regulations vary from location to location. Go to the FAA website to check out their drones and aerial vehicles guidelines to best understand where you can or cannot fly your drone.
Do I need a license for commercial drones?
Commercial drones require a special license. Again, the FAA website has information regarding the licensing of commercial drones.
STAT: For the best footage, get a camera that can shoot video in 4k. (source)



![Best Drones Under the Cost of Ferrari in [year] 26 Best Drones Under the Cost of Ferrari in 2026](https://www.gadgetreview.dev/wp-content/uploads/image-test-3.jpg)
![10 Best VR Drones in [year] 27 10 Best VR Drones in 2026](https://www.gadgetreview.dev/wp-content/uploads/Best-VR-Drone.jpg)
![10 Best Drones for Beginners in [year] 28 10 Best Drones for Beginners in 2026](https://www.gadgetreview.dev/wp-content/uploads/Best-Drones-for-Beginners.png)
![10 Best Indoor Drones in [year] 29 10 Best Indoor Drones in 2026](https://www.gadgetreview.dev/wp-content/uploads/Best-Indoor-Drone.jpeg)
![10 Best FPV Racing Drones in [year] 30 10 Best FPV Racing Drones in 2026](https://www.gadgetreview.dev/wp-content/uploads/Best-FPV-Racing-Drone-scaled-1.jpg)
![10 Best Selfie Drones in [year] 31 10 Best Selfie Drones in 2026](https://www.gadgetreview.dev/wp-content/uploads/Best-Selfie-Drones.jpg)
![10 Best Drones for GoPro in [year] 32 10 Best Drones for GoPro in 2026](https://www.gadgetreview.dev/wp-content/uploads/Best-Drone-for-GoPro-scaled-1.jpg)
![10 Best Drones for Kids in [year] 33 10 Best Drones for Kids in 2026](https://www.gadgetreview.dev/wp-content/uploads/Best-Drone-for-Kids-scaled-1.jpg)
![10 Best Professional Drones in [year] 34 10 Best Professional Drones in 2026](https://www.gadgetreview.dev/wp-content/uploads/Best-Professional-Drone.jpg)
![10 Best Fixed Wing Drones in [year] 35 10 Best Fixed Wing Drones in 2026](https://www.gadgetreview.dev/wp-content/uploads/Best-Fixed-Wing-Drone.jpg)
![10 Best Follow Me Drones in [year] 36 10 Best Follow Me Drones in 2026](https://www.gadgetreview.dev/wp-content/uploads/Best-Follow-Me-Drone.jpg)
![10 Best Foldable Drones in [year] 37 10 Best Foldable Drones in 2026](https://www.gadgetreview.dev/wp-content/uploads/best-foldable-drones.jpg)
![10 Best Drones for Travelling in [year] 38 10 Best Drones for Travelling in 2026](https://www.gadgetreview.dev/wp-content/uploads/best-drones-for-travelling.jpg)
