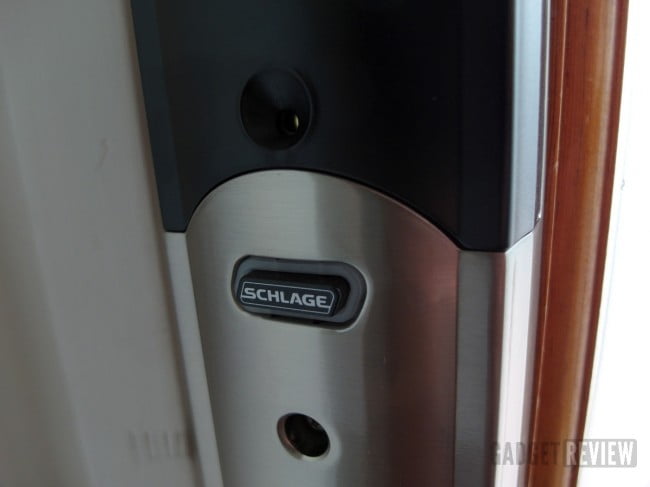
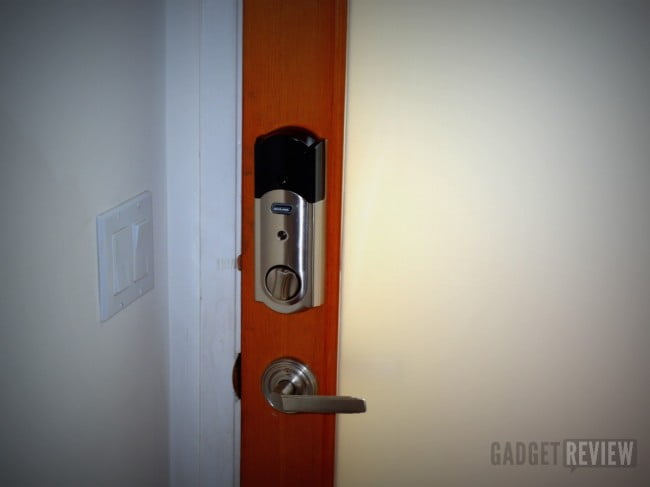
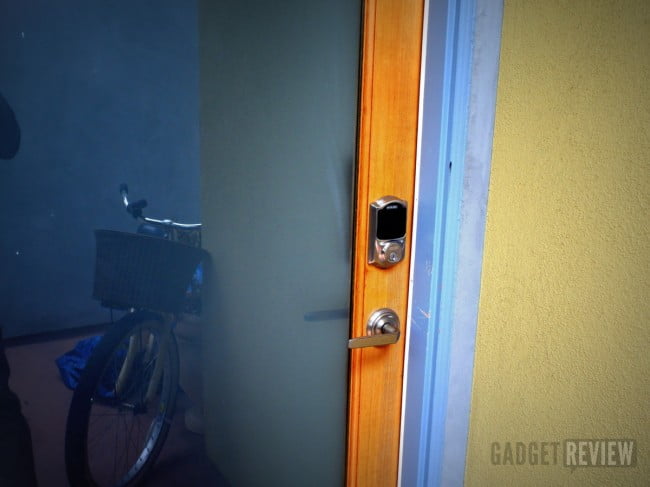
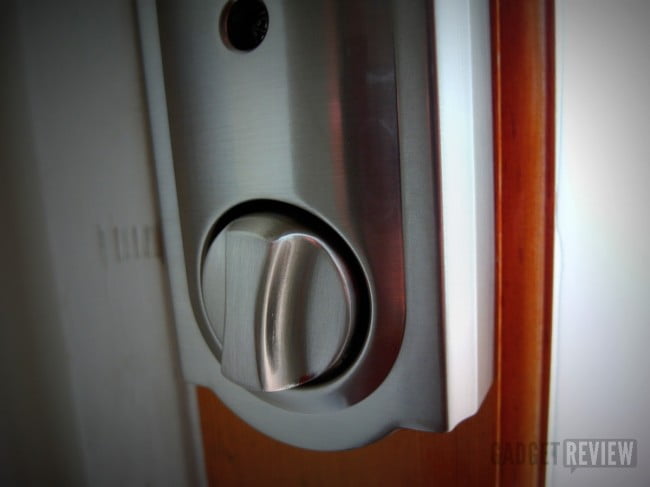
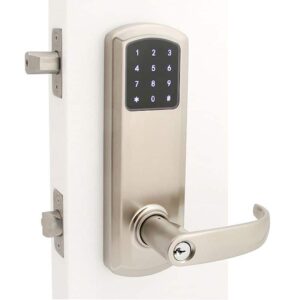
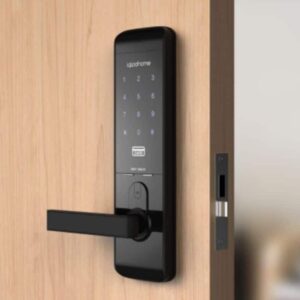
Many of you have probably lost your keys. I know I have. Once. It was something akin to being stranded on an island. Or at least the experience was analogous to what one would think that experience would be. Unless you’ve got a spouse, friend, or trusted key confident in proximity you’ll be making a call to a local lock smith. Or, if you had a Schlage touchscreen deadbolt you could just punch in a 4-8 digit pin. An alternative way to upgrade the security of your house is available in our guide to the voice-activated lockbox. Through discovery, you might find the best smart lock.
Just about everything you need to install the Camelot Touchscreen Deadbolt is included in the box. Aside from a Philips and Flathead screwdriver. And provided you’ve got a traditional deadbolt setup on your font door, installation will take a mere 30-45 minutes.
To install, I started by simply removing my existing deadbolt by unscrewing the two screws on the inside of the door. This unfastens both portions of the old lock, the bolt and the strike. Since my door has a mortise – this is where the deadbolt faceplate rests – I was able to use the deadbolt right out of the box. If your door lacks this cutout (mortise), just simply swap out the faceplate with the included round one. You might also need to adjust the deadbolt’s length, which can be done by twisting the faceplate. Again, the default length was perfect for my door’s setup right out of the box. That said, you’ll need ample space (5-inches) between the deadbolt and the door handle, otherwise the support plate and motor won’t fit. Want to make your smartphone your home key? Read the Say ok to the okidokeys smart lock.
Once the deadbolt has been inserted you can test if it locks properly by closing your front door, sticking a flat head screwdriver into the bolt mechanism and twisting. I suggest you do this to make sure things are lined up properly. If you want a smart lock that is secured against hackers, click the Schlage smart lock review.
Adding the touchpad requires that you thread the tab (the metal rod that turns the deadbolt) through the deadbolt. But before you do that make sure to run the connecting wire under the deadbolt. The clips on the touchscreen should snap into the door and hold it in place, though not firmly. To do that you’ll need to install the backplate, which not only holds everything securely together, but acts as a mount for the motor and battery pack. Two screws hold the backplate onto the door and screw into the touchscreen’s housing. In my experience, and this is what took the longest, over tightening these screws can cause the deadbolt to misalign and catch, especially if the existing door cutouts aren’t perfectly aligned (this was the case with my door). So to address this I had to slightly loosen the screws, which in turn reduced the tension and decreased any alignment issues, but didn’t compromise security.
To determine if you should adjust the screws, you’ll need to install the battery on the motor and plug in the connecting cord. You could mount the motor, but it will only be more work to remove it. So I suggest plugging it in, and hitting the Schlage button on the touchscreen. Make sure the door is closed, and if it works correctly you should hear the motor running, the touchpad will display a green check mark, and the door will lock. My initials attempts resulted in a red X and a sound that can be best described as the lock’s motor wincing and catching on something half way into the process.
In the box is a sticker that can you adhere to the inside of the door jam that explains how to add user pins to the door – you can have up to 30. User codes can be 4-8 digits in length (note: changing the length requirement deletes all existing codes). To program the Schlage Touchscreen Deadbolt you’ll need the master code, which is found on the back of the user guide as well as the inside of the unit itself (just in case you lose the user guide). If you’re lazy, or prefer memorizing new codes, there are also two default 4-digit pins that ship with the lock.
If you leave for vacation, perhaps for 5+ days, you can disable all users codes until you return home. In this instance you’ll need to remember the included key for when you return home and want to gain entry.
That said, there is also an auto lock feature that automatically locks the door 30-seconds after it has been unlocked – this feature is turned off by default. And for added security the motor contains an audible alarm in the event someone enters a pin incorrectly 4-times, the lock is disturbed or tampered with, or if there is significant force placed on the door. The alarm can also be set to emit two audible beeps when the door is opened, alerting you to activity at your front door.
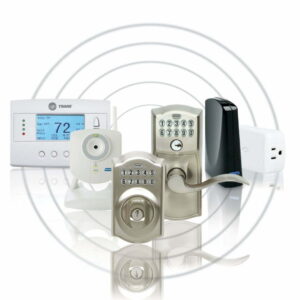
And if simply unlocking your door with a touchscreen isn’t enough, the Schlage Camelot Touchscreen Deadbolt is also smartphone compatible. But not out of the box. You’ll need to sign up for a Nexia account and purchase a compatible Nexia bridge that plugs into your home’s router. Once installed and the lock’s Z-Wave radio has been connected to the system, you should be able to unlock your front door using your smartphone. And much like other smart deadbolts, you can share access to friends and family, receive notifications when select pins are entered or the alarm is sounded on the door, as well as set lock code access to specific times and days.
Even though I installed the Schalge Touchscreen lock a few weeks ago (more now), I’m still impressed when I don’t have to fumble for my keys, especially if I’m already carrying a few things. It’s also particularly convenient when I go for a run and I don’t want to be encumbered by a fist full of keys rattling around in my pocket.
Arguably, a touchpad, or PIN, compromises the security of my front door; anyone with a view of the keypad could break in. However, with the proper precautions, which involves standing in front of the keypad, much of this is negated. By default the keypad lights up, so punching in my PIN is only made easier at night. Battery life is a cause for concern, but if replaced once a year – it takes just 4 AAs – you shouldn’t run into a problem. Regardless, you should provide a friend or family with a copy of the dead bolt key. That being said, the touchpad will flash a red X mark when the batteries run low, and it’s important to keep in mind that battery’s longevity will be greatly reduced if the Nexia system is used since this requires a wireless signal.
Bottom line: provided you’ve got a compatible deadbolt system, the Schlage Camelot Touchscreen Deadbolt is easy to install, easy to use, and only has one pitfall, which is the same among all smart deadbolts; battery life.
