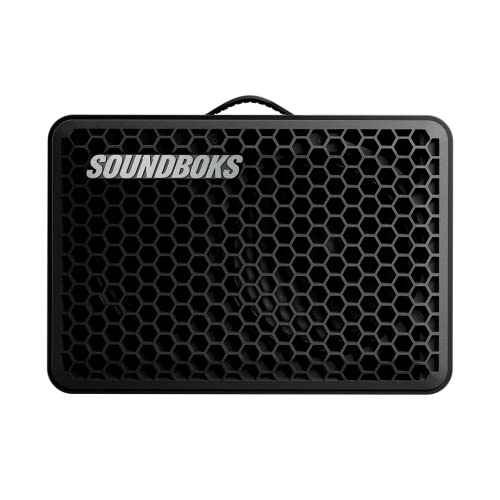
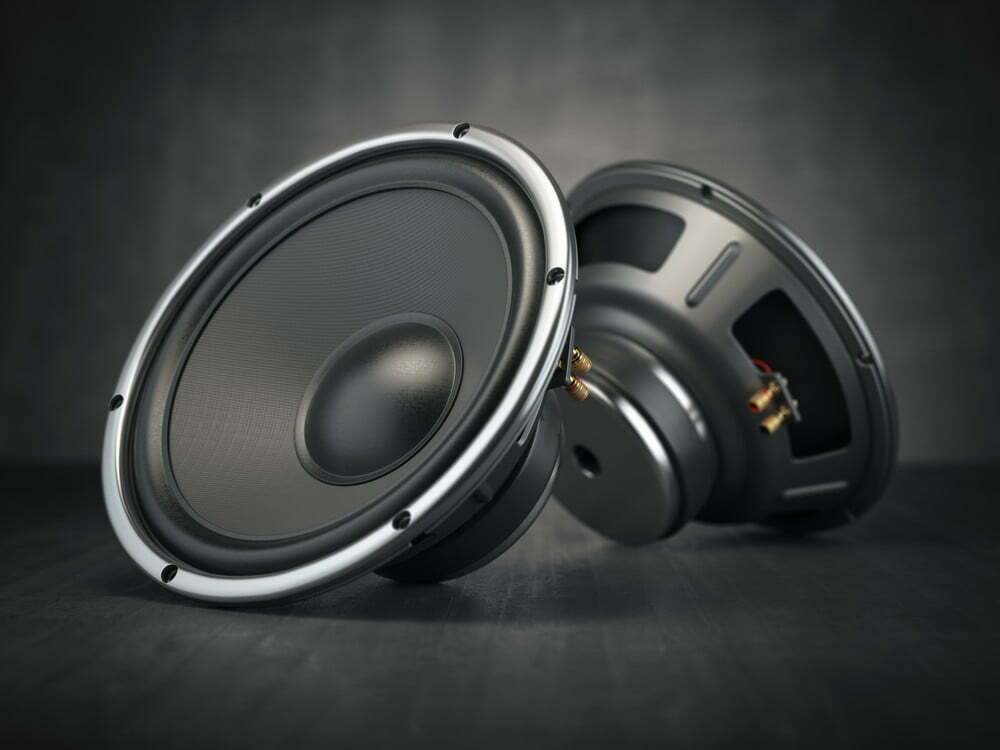
Knowing how to fix a speaker is essential for any sound equipment owner. And even the best speakers can become damaged. So, below we’ll show you how to recone a speaker.
KEY TAKEAWAYS:
- Reconing a speaker requires purchasing a kit and some electrical tools and expertise.
- Kits can be found online or at specialty shops that fix speakers and amps.
- This specific audio speaker repair will take a couple of days due to allocating time to let the adhesives dry.
We also have tutorials on many different types of speaker projects, such as how to repair a blown speaker, how to set up speakers, and how to connect powered speakers to a mixer.
Step-by-Step Guide to Reconing Your Speakers
Reconing anything from a car woofer to a guitar speaker to one of the best stereo speakers takes some technical expertise. But, this DIY speaker repair is something that anyone with enough patience and attention can accomplish.
Insider Tip
If you can’t find your owner’s manual, search for your speaker’s model online to locate appropriate reconing kits.
If you have the speakers repaired and ready to go but don’t have an enclosure for them, you can read out an article covering how to make speaker boxes. And once you’ve set them up, consider reading further on how to reduce white noise in speakers.
STEP 1 Purchase the Right Kit
- You’ll need to know the make and model of your speaker first to get the proper reckoning kit. You should be able to find this information on the magnet, which is located at the back of the speaker.
STEP 2 Take Apart the Speaker
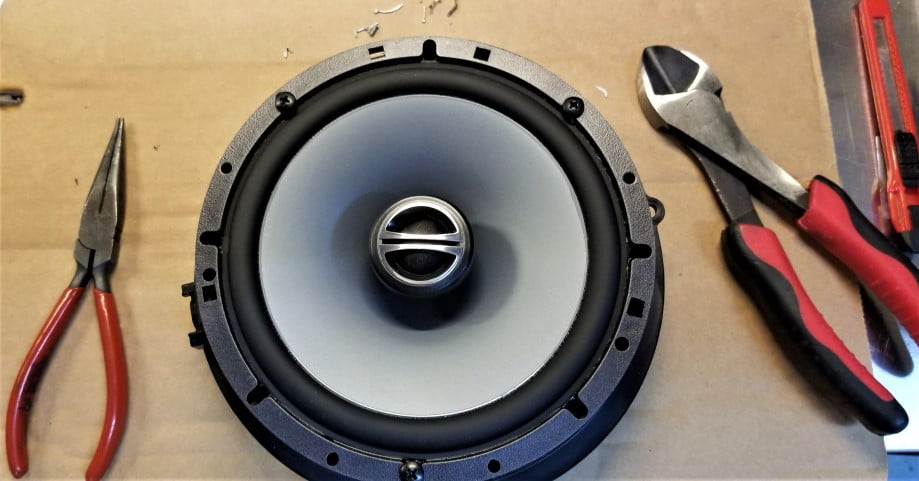
- After taking the speaker out of the cabinet, use something (like a chisel) to pry off the gaskets.
- Using a box cutter, slice around the outer edge of the cone and again around the dust cap.
- Remove the spider located on the back of the cabinet.
- Using a soldering iron, detach the terminal wires (lead wires)
- Clean the air gap between the voice coil and the magnet. You can clean this with a vacuum, air compressor, or tape.
- Put tape over the gap so no particles fall into it.
- Scrape off all remaining pieces of speaker cone from the entire speaker using the chisel.
STEP 3 Reassemble the Speaker
- After taking off the masking tape from the air gap, put in the new voice coil.
- Take contact cement and glue the spider to the outside frame.
- Use epoxy to glue the voice coil to the inner edge of the spider.
- Use the adhesive from the kit to run a thin line across the top rim and bottom of the speaker rim where the voice coil is.
- Put the cone back and press down gently to ensure it’s on correctly and sealed.
- Glue the new gaskets into place.
- Give the speaker about 24 hours to dry.
STEP 4 Resolder Wires and Seal Speaker
- Take the new wires and solder them to the two wires that come off the voice coil.
- After checking for correct polarity, solder the lead wires to the terminals.
- Glue on the dust cap after checking that the speaker’s audio works correctly. Place something on the dust cap to weigh it down while drying.
- Apply silicone with a paintbrush to the speaker’s outer edge to seal it off.
- Allow another 24 hours for drying.
Warning
Masking the air gap is crucial because if any dirt or debris falls, it can cause voice coil failure.
F.A.Q.S
Can you recone a subwoofer?
Almost any average speaker, including the subwoofer, can be reconed.
Does reconing a speaker change the sound?
A newly reconed speaker should sound clearer and bouncier. However, it will never sound as good as before the cone was damaged.
What is the dust cap?
The dust cap is a small plastic cover protecting the speaker’s interior from debris and moisture.
STAT: When inserting the new voice coil, leave about 1/4 of the coil sticking out from the magnet. (source)
REFERENCES:
- https://www.youtube.com/watch?v=dErPYRafjjI
- https://www.youtube.com/watch?v=sUuNa-qRY9k
- https://www.bcspeakers.com/resources/tech-support/speaker-recone-guide/r
- https://carvinaudio.com/blogs/audio-education/blown-speaker-how-to-know-if-you-should-recone-or-replace-it
- https://www.performanceaudio.com/services-we-offer/recone/












![Best Powered Speakers in [year] 27 Best Powered Speakers in 2026](https://www.gadgetreview.dev/wp-content/uploads/best-powered-speakers-image.jpg)
![Best Stereo Speakers in [year] 28 Best Stereo Speakers in 2026](https://www.gadgetreview.dev/wp-content/uploads/best-stereo-speakers-image.jpg)
![Best SoundBar in [year] ([month] Reviews) 29 Best SoundBar in 2026 (January Reviews)](https://www.gadgetreview.dev/wp-content/uploads/best-soundbar-image.jpg)
![Best Subwoofers in [year] ([month] Reviews) 30 Best Subwoofers in 2026 (January Reviews)](https://www.gadgetreview.dev/wp-content/uploads/best-subwoofer-image.jpg)
![Best TableTop Radio in [year] ([month] Reviews) 31 Best TableTop Radio in 2026 (January Reviews)](https://www.gadgetreview.dev/wp-content/uploads/best-tabletop-radios-image.jpg)
![Best 8 Inch Subwoofers in [year] 32 Best 8 Inch Subwoofers in 2026](https://www.gadgetreview.dev/wp-content/uploads/best-8-inch-subwoofer-image.jpg)
![Best Surround Sound Systems in [year] 33 Best Surround Sound Systems in 2026](https://www.gadgetreview.dev/wp-content/uploads/best-surround-sound-system-image.jpg)
![Best Laptop Speakers in [year] 34 Best Laptop Speakers in 2026](https://www.gadgetreview.dev/wp-content/uploads/best-laptop-speakers-image.jpg)
![Best Wireless Surround Sound Speakers in [year] 35 Best Wireless Surround Sound Speakers in 2026](https://www.gadgetreview.dev/wp-content/uploads/best-wireless-surround-sound-image.jpg)
![Best Bose Speakers in [year] 36 Best Bose Speakers in 2026](https://www.gadgetreview.dev/wp-content/uploads/best-bose-speakers-image.jpg)
![Best Home Stereo Systems in [year] 37 Best Home Stereo Systems in 2026](https://www.gadgetreview.dev/wp-content/uploads/best-home-stereo-system-image.jpg)
![Best WiFi Speakers in [year] 38 Best WiFi Speakers in 2026](https://www.gadgetreview.dev/wp-content/uploads/best-wifi-speakers-image.jpg)
![Best Wireless Home Theater Systems in [year] 39 Best Wireless Home Theater Systems in 2026](https://www.gadgetreview.dev/wp-content/uploads/best-wireless-home-theater-system-image.jpg)
![Best Party Speakers in [year] 40 Best Party Speakers in 2026](https://www.gadgetreview.dev/wp-content/uploads/best-party-speakers-image.jpg)
![Loudest Bluetooth Speakers in [year] 41 Loudest Bluetooth Speakers in 2026](https://www.gadgetreview.dev/wp-content/uploads/loudest-bluetooth-speaker-image.jpg)
![Best Car Speakers for Bass in [year] 42 Best Car Speakers for Bass in 2026](https://www.gadgetreview.dev/wp-content/uploads/best-car-speakers-for-bass-image.jpg)
![Best Marine Speakers in [year] 43 Best Marine Speakers in 2026](https://www.gadgetreview.dev/wp-content/uploads/best-marine-speakers-image.jpg)
![Best JBL Speakers in [year] 44 Best JBL Speakers in 2026](https://www.gadgetreview.dev/wp-content/uploads/best-jbl-speakers-image.jpg)
![Best Home Theater Speakers in [year] 45 Best Home Theater Speakers in 2026](https://www.gadgetreview.dev/wp-content/uploads/best-home-theater-speakers-image.jpg)
![Best Waterproof Speakers in [year] 46 Best Waterproof Speakers in 2026](https://www.gadgetreview.dev/wp-content/uploads/best-waterproof-speaker-image.jpg)


