Our Ultimaker 2 Extended review covers everything you need to know about this solid 3D printer. But the question is it a turn key solution or a does it require a deep knowledge of 3D printing? Read our hands on review to find out.
Overview
Ultimaker 2 Extended Edition Release Date: April 2015
Summary: If you are looking for an affordable, well-designed 3D printer, that will make larger parts, then the Ultimaker 2 Extended a great unit to start with. The technology is matured and this seems to be as reliable as they come. For your kids first 3D printer, you might also want to read our review of the Play-Dough 3D printer.
What We Liked:
- Large bounding box
- Easy to use
- CUDA software
- Price – € 2.495,00 (approx. $2,650 USD)
What We Disliked:
- Painfully slow
- Single extruder
- Overhang and undercut
- You will see layers in the print
The Design
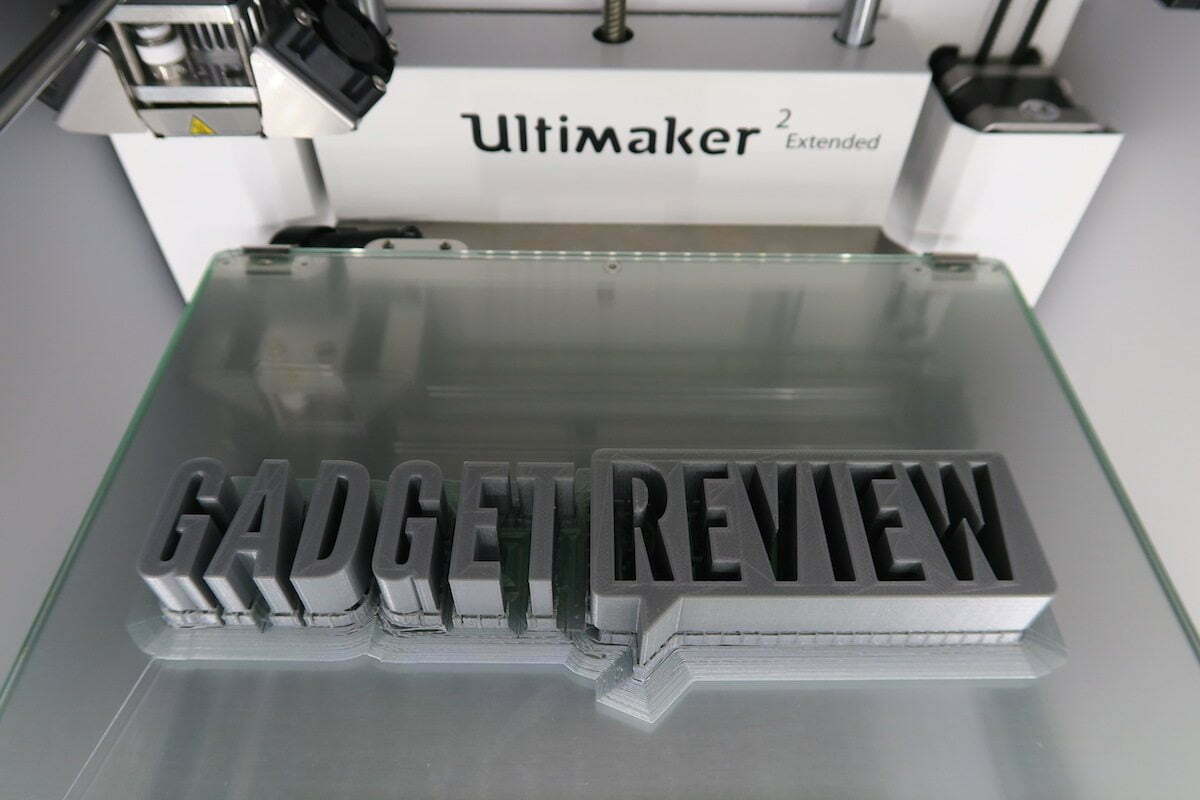
Our first impression of the design was that it was simple and efficient. The use of translucent materials, white aluminum laminate, LED lighting, and cute Ultimaker robots makes the printer friendly and inviting. It’s perfectly at home in the living room or office – you want to keep out in the open.
Read: 10 3D Printers for Under $1000 That Anyone Can Use At Home Today (list)
Despite only a single rotary button, the blue LCD user interface is surprisingly easy to use. The entire unit lights up creating a relaxed ambiance while you’re focused on the seductive rhythm of the printer’s movements and sounds. Compare that to the Ultimaker 2 3D printer that has LED lighting inside that illuminates the print area.
The main selling point of the Ultimaker 2 Extended is undoubtedly the huge 223mm(X-axis) x 223mm(Y-axis) x 305mm(Z-axis) maximum bounding box. By comparison, the standard Ultimaker 2 has a 223mm x 223mm x 205mm bounding box. That 100mm does come in handy! In addition to providing the ability to print large sized objects, the height of the vertical axis (z-axis) makes it easy to find an appropriate part placement position to minimize the need support structures, optimize for undercuts, and reduce the need to separate larger parts into smaller pieces. In the long run this aspect will save you time, money, and sanity.
The layer resolution is impressive – as low as 0.02mm or about the thickens of a sheet of office paper. What is more impressive is the accuracy 12.5µm x 12.5µm x 5µm.
Initial Setup
Initial setup of the Ultimaker 2 Extended was straight-forward. After applying power, the easy to understand on-screen instructions walk you through calibration of the build platform and loading the supplied PLA. Ultimaker also provides an SD card preloaded with some objects ready to print so you can ensure everything is performing properly. For an easy plug and play setup procedure, you may consider the XYZprinting Nobel 1.0 3D Printer.
Ultimaker 2 Extended Performance
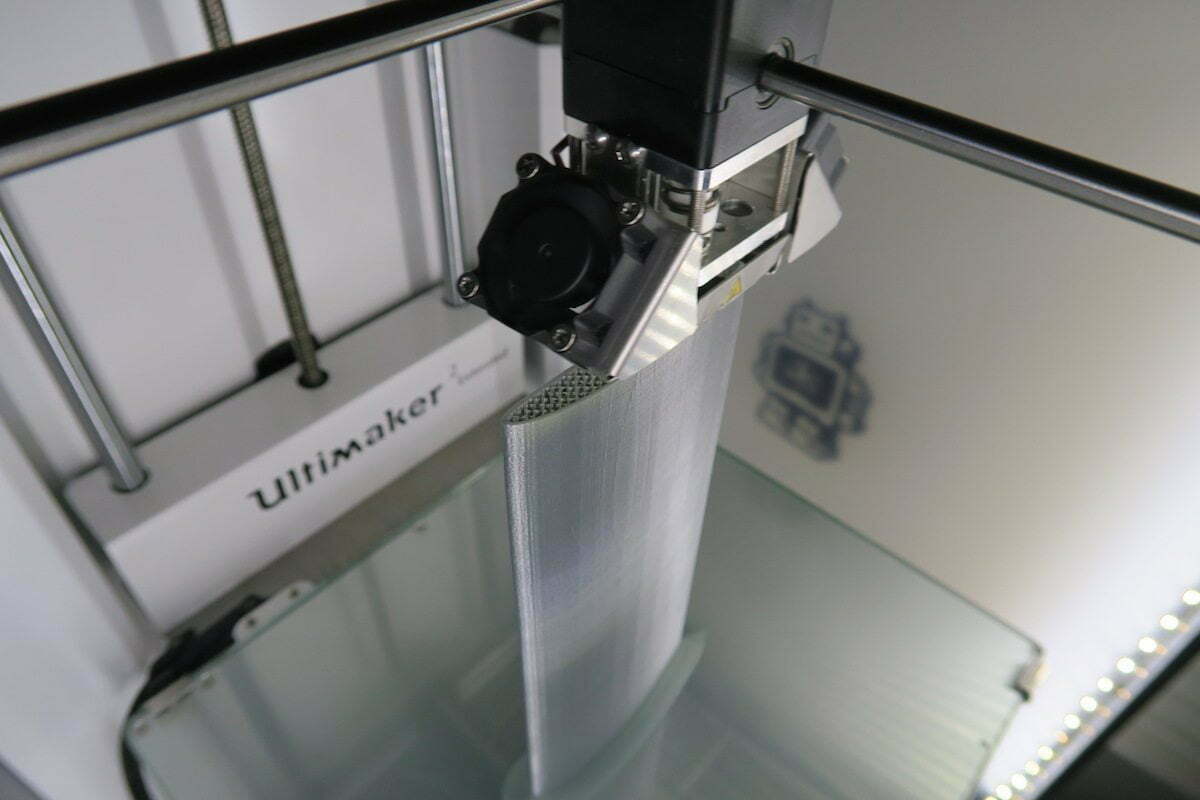
So how does it perform? Pushing the printer to the limit, we skipped the flower vase for next Mother’s Day and went straight for something fun. Our little UAV model took full advantage of the tall bounding box came out looking pretty good. It was printed in six major pieces and took about 40 hours in total to print. The PLA is amazingly strong and light weight – able to print surfaces as thin as 0.4mm with built in structural support.
Flat and vertical surfaces are smooth and require little post print cleanup. Undercuts and overhangs were a challenge. Support structures were easily removed but often left undesirable surface finish. A Dremel tool and small file worked well for clean up; however, avoid melting material by keeping the RPMs as low as possible.
The CUDA software which converts your STL, OBJ, DAE, or AMF to G-code machine instructions does nice work of preparing print jobs. However, in standard mode prints weren’t always successful and in “Advanced” mode there were too many variables. It took a few attempts figure out the recipe that worked best for our printer in our environment.
The main competition from Makerbot (Replicator Z18) does have a slightly bigger bounding box and could be converted to dual extrusion down the road but costs nearly twice as much at $6,499 – making the Ultimaker 2 Extended a good value.
Things To Keep In Mind
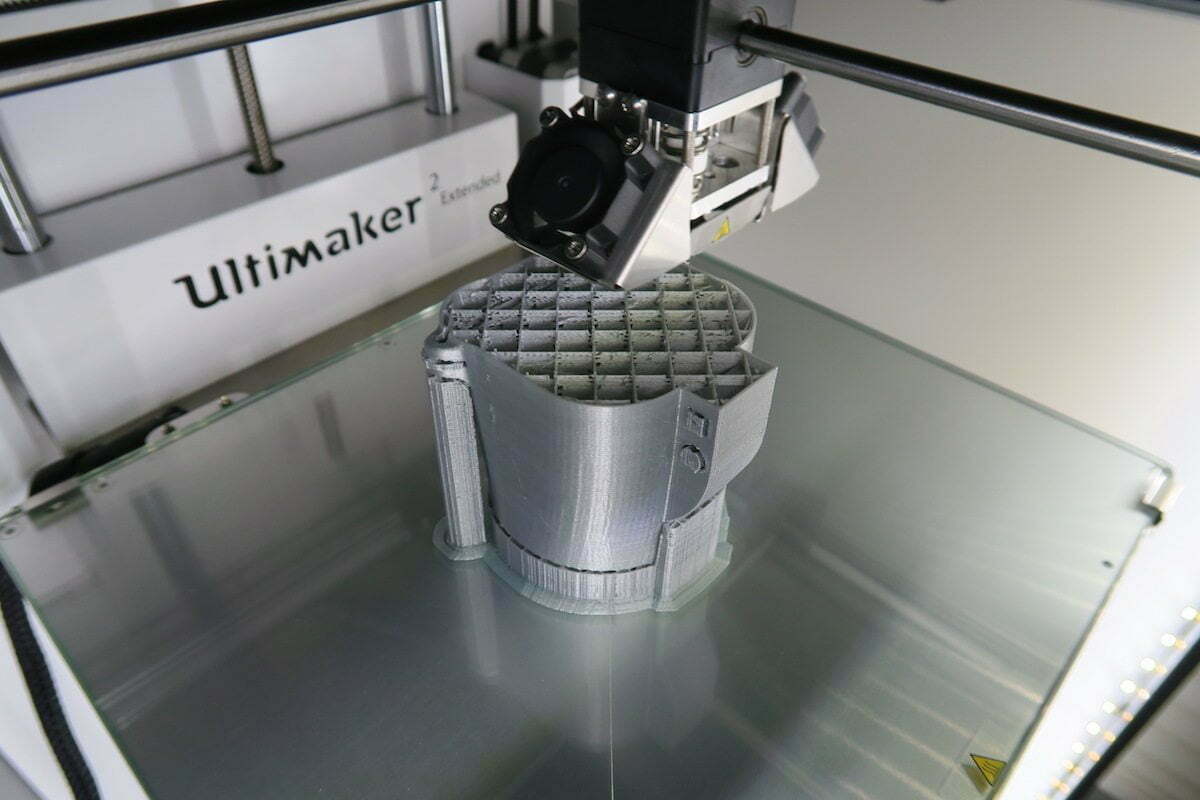
Despite an overall positive experience so far, we do have some complaints.
Overhangs and undercuts are a challenge for all single material FFF (Fused Filament Fabrication) printers – the Ultimaker is no exception.
Despite having the room for a second extruder at the print head, the printer doesn’t appear to be upgradable to dual extrusion. Dual extrusion would make this a formidable option for professionals who want to print dissolvable support structures.
We also found that the printer needs to soak at temperature longer during warmup. We found you can manually delay the start of printing by entering the menu to ensure everything is completely warmed up.
It’s nice to hide the filament spool on the back of the unit but it can make swapping material challenging it you have limited work space.
Read: 14 Amazing 3D Printed Objects You Need to Know About (list)
We noticed flow control issues – specifically when using retraction. This is probably a result of the material feed mechanism being place on the back of the unit and the long bowden tube.
The last issue we found was that with the 0.4mm nozzle (supplied with the printer) we were never able to reach the speeds advertised. We had the best results at no more than 0.1 layer height and less than 100mm/s print speed. The filament just couldn’t melt fast enough to move the volume of material. Even at 100mm/s we found that the filament wouldn’t melt fast enough and had to turn up the temperature from 210°F to 220°F.
Final Thoughts On The Ultimaker 2 Extended 3D Printer
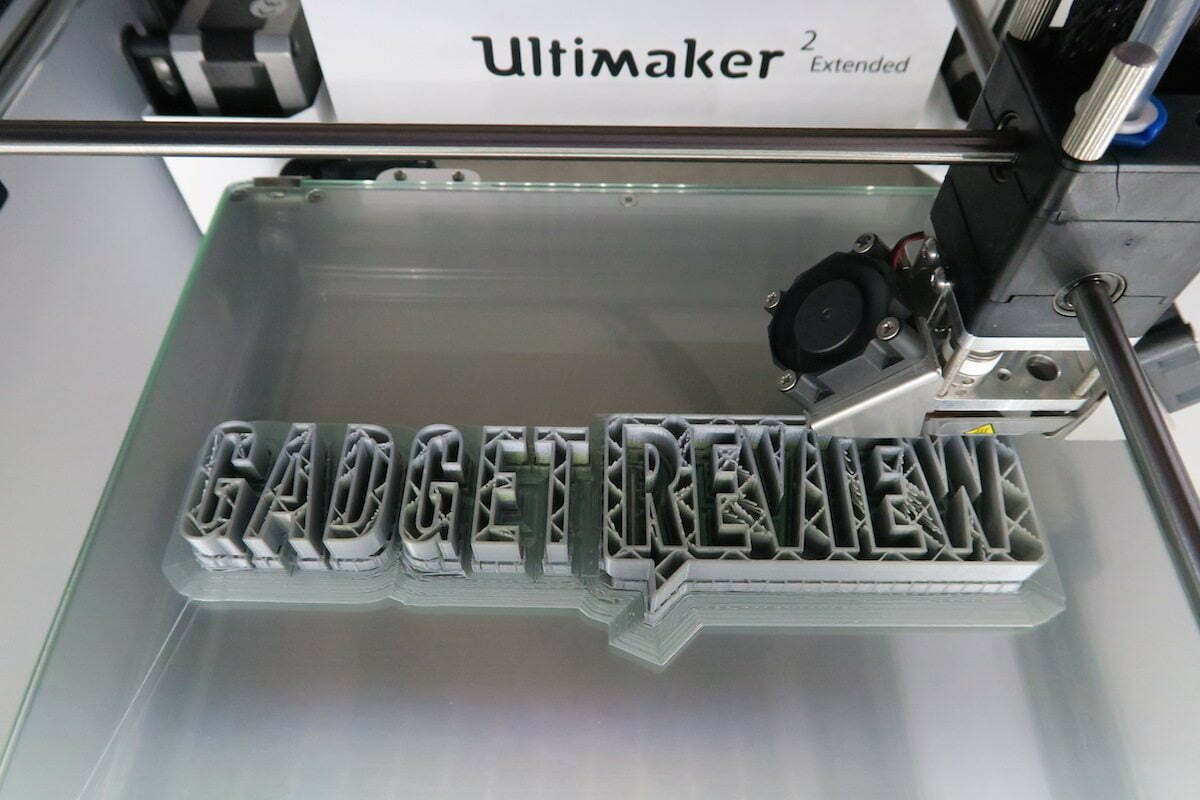
The unit’s price point is very competitive and filament materials are not expensive. The Ultimaker community is very active and supportive. All you need to do is figure out what you want to create!
Consider that 3D printers will probably follow the evolutionary trajectory of inkjet printers. In 5 years nearly all printers on the market will be obsolete. Expect to see 3D printing change dramatically as major companies like HP enter the market, and turn up the competition, with multi-polymer, multi-color, printers capable of creating continuously variable materials with different properties in as it builds the part.
Full Specifications:
- Build volume: 223 x 223 x 305 mm
- Layer resolution: up to 20 micron
- Warranty: 12 months (excluding the hot end)
- Speed and precision Print speed: 30 mm/s – 300 mm/s (Best results were seen around 100mm/s to 150mm/s)
- Nozzle temperature: 180° – 260° C
- Heated bed temperature: 50° – 100° C
- Print technology: Fused Filament Fabrication (FFF)
- Travel speed: 30 mm/s – 300 mm/s
- Precision: 12.5 / 12.5 / 5 micron
- Physical dimensions Desktop size: 357mm x 342mm x 488mm
- Layer resolution Fast: 200 micron (0.2 mm)
- Normal: 100 micron (0.1 mm)
- High: 60 micron (0.06 mm)
- Ultra high: 40 micron (0.04 mm)
- Nozzle diameter: 0.4 mm (Now supplied with Olsson Block providing nozzle diameter down to .25mm)
- Supported filaments: PLA, ABS, CPE
- Filament diameter: 2.85 mmConnectivity: Stand-alone SD card printing
- Software Supplied software: Cura
- File types: STL / OBJ / DAE / AMF
- OS: Windows / Mac / Linux
