The best home brewing kit. That is what I quest for.
So you’ve read my other two home brew beer kit reviews and thought “I’d like to have more control than you get in the Cooper’s “no boil” method, and I don’t have a pot large enough to cook a small child for the MoreBeer “full boil” method. Am I out of luck for making great tasting beer?” Well friends, the answer is a resounding “no”! The fact is that most aspiring home brewers jump in by getting a kit that is a “partial boil” kit – and LD Carlson was kind enough to let us review theirs. LD Carlson is a Cleveland based company, that just went national last year. They’ve been producing quality equipment since the 70’s though, and that shows in the things they include in their kits.
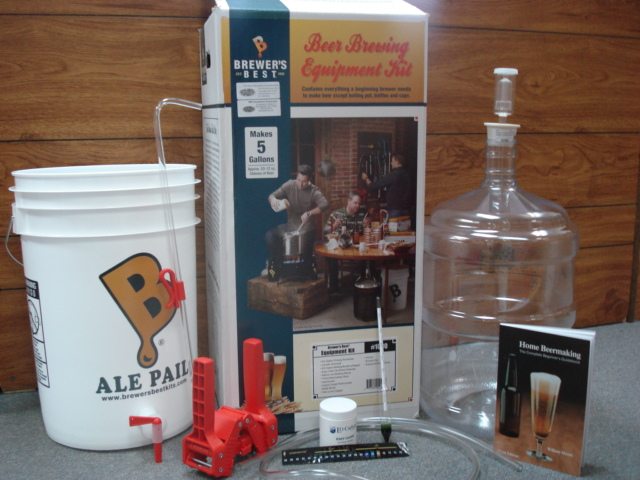
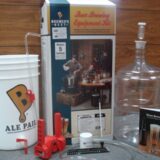
So just like in the other two reviews, here’s a quick run down of what’s all included:
- A 6.5 gallon primary fermenter with a grommeted lid
- A 6.5 gallon “bottling bucket” with spigot
- A 5 gallon “Better Bottle” carboy (this is an upgrade from the standard Deluxe Kit, but well worth it)
- A “Home Beermaking” book
- A container of Easy Clean No-Rinse Cleaner
- A triple scale hydrometer (the nicest one out of any kit I’ve received)
- A drilled rubber stopper
- A liquid crystal thermometer
- A lab thermometer (again, the nicest thermometer out of any kit I’ve been sent)
- A siphon hose and shut off clamp
- A brew paddle
- An airlock
- A twin lever bottle capper
- A Fermtech auto siphon
- A bottle filler
- A bottle brush
- A full color instruction sheet
As you can see, a lot of things are close to that of the MB kit, however there are some notable differences. In place of a long metal spoon, the LDC kit comes with a plastic brew paddle – initially I was a bit put off by it because it’s plastic, but the way it’s designed actually works a lot better than a solid spoon. It’s got holes through it to make it easier to stir your brew, and it fits into the malt containers easily to scrape them out – those two things make up for it being plastic. Another big difference is the inclusion of a lab thermometer. With the MB kit, I was given what looked like a meat thermometer (long spike with a dial at the top) while here you get a glass thermometer that’s a foot long. The length is really great because you can measure your brew’s temperature all over.
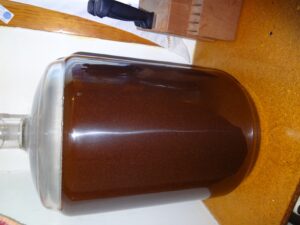
Another thing that’s different from what I’ve worked with already, is that this kit features a two-stage fermentation system. After your beer ferments for a week in the primary fermenter, you then transfer it into the “Better Bottle” carboy for another week of fermentation. The “Better Bottle” is a specially designed PET container, that doesn’t hold odors or flavors from one batch to the next – which is nice if you’re constantly switching up your brew. I can’t comment on the Fermtech auto siphon yet, but that will most certainly be discussed in part two – so stay tuned for that.
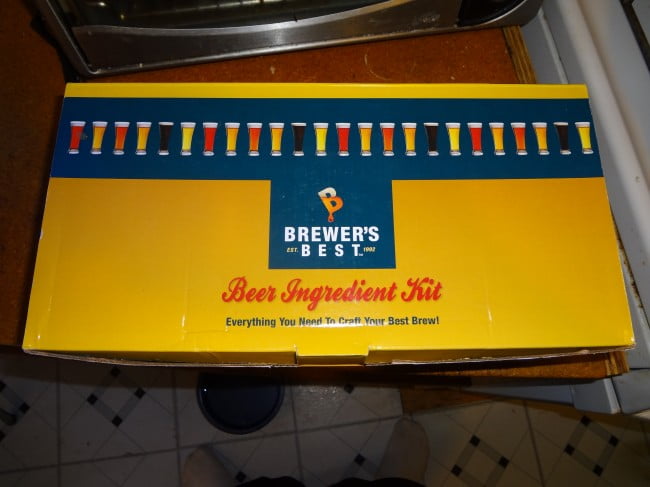
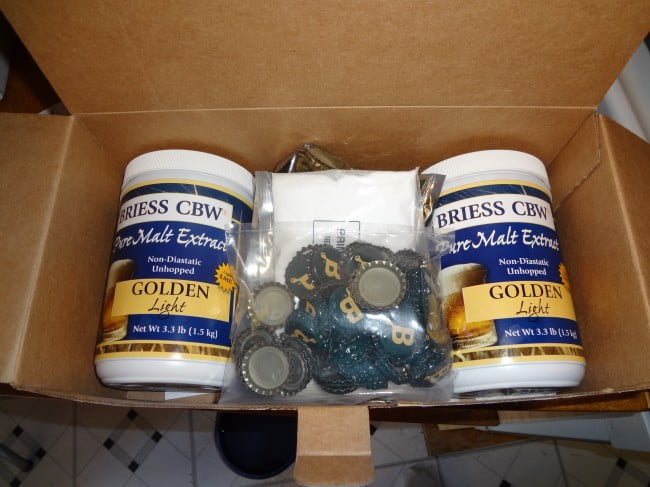
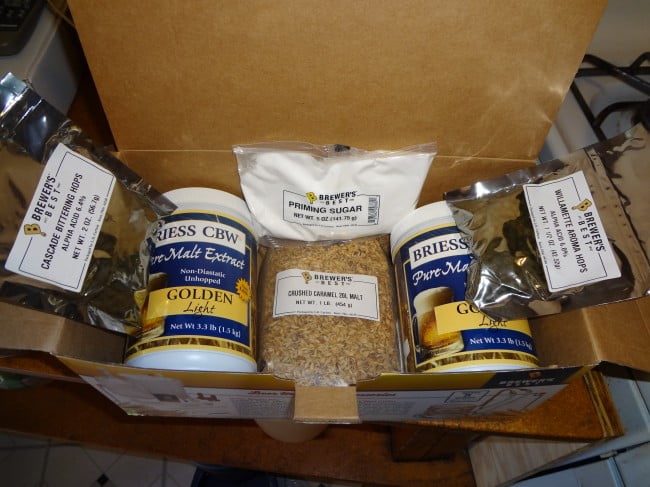
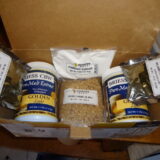
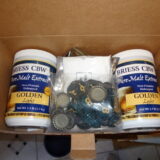
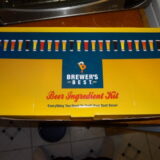
One thing that really stood out to me right away, was how the ingredients were packaged. With Cooper’s, it was just a can – with the MoreBeer kit, it was all loosely thrown into a sealed pouch; with the LD Carlson Brewer’s Best kit however, it looked much more professionally done. The box that the ingredients came in made it easy to store until brew time, and upon opening the box you can see that everything was nice and organized. It’s the little touches like that that makes me want to use Brewer’s Best ingredients from now on.
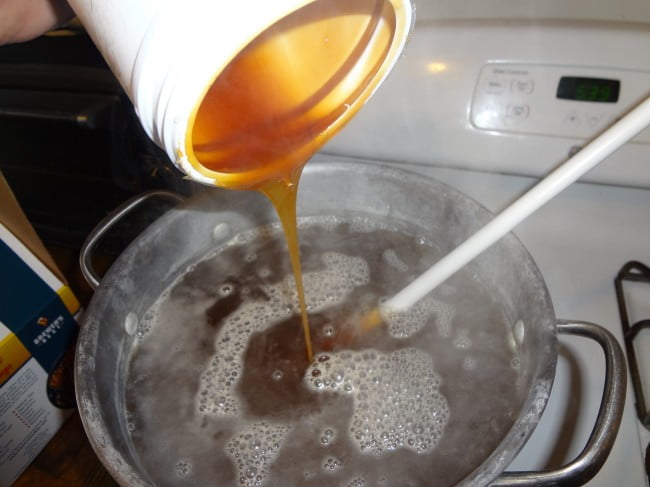
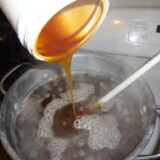
At any rate, with a partial boil the steps are somewhat the same as a full boil, with only a few key differences. Firstly, you’re only boiling two and a half gallons of water to start – this is a lot easier for most people to handle, as not everyone has a humongous kettle lying around (or the extra money to buy one). Once you get the water going, you follow the instructions with the ingredient kit – the American Pale Ale I was sent was different from what I had done before, in that it required the addition of malt extract not once, but twice. Once at the beginning of the boil, and the second 40 minutes in.
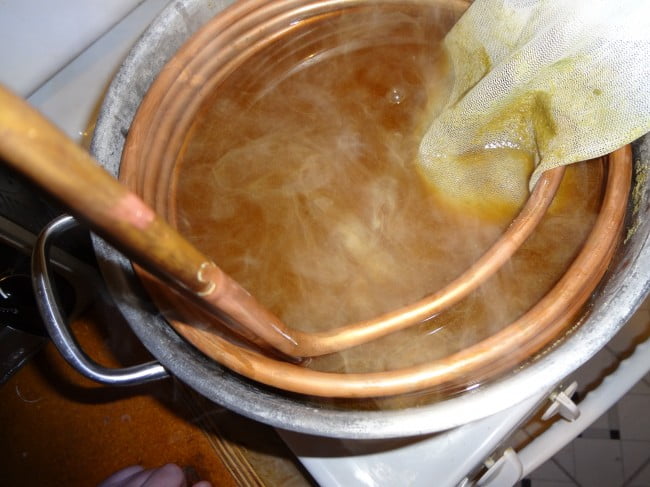
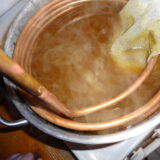
After the boil is done, you need to cool it down – I tried to use the MB wort chiller I had on hand, but it’s designed for a full boil, and as you can see in the pictures most of the coils were exposed. No problem – I just moved the boil pot to my sink and put cold water on the outside of it. It took longer than it would have if I had a wort chiller for that size pot, but no big deal. The next step was pouring the chilled wort into the primary fermenter, and then adding enough cool water to make five gallons. This is where having that long thermometer comes in handy, so you can monitor the temperature of your brew while you’re adding water and make sure it doesn’t spike too high or drop too low.
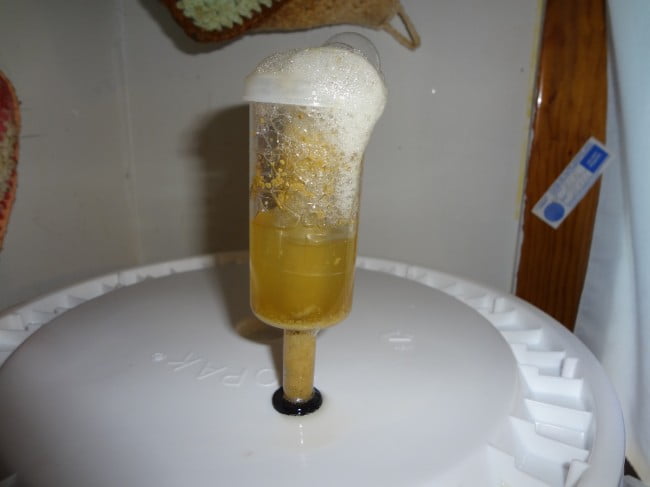
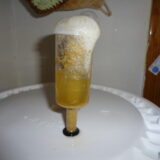
Next comes the adding of your yeast – the instructions didn’t say to rehydrate it first, so I didn’t – and mixing it in. After that’s all done, you set the fermenter somewhere where it’s not going to get messed with (and someplace with a stable temperature), and then you need to get the grommeted lid on. This was a bit of a task, as they really made sure that it seals itself good, but once it’s on, there’s no worry of it coming off. Put the air lock in (with a little water in it), and you’re pretty much good for the next week. As you can see in one of my pics, the yeast was REALLY active, and caused the air lock to bubble over a bit, but that wasn’t a problem – just a little paper towel work to clean.
All in all, this is really a great kit for a beginner that doesn’t want to drop a huge load of cash to get started. You can keep doing partial boils all you want if you like, and never have to worry about buying a larger kettle (or worrying about how to boil a huge kettle full of wort). LD Carlson really made sure to put some of the best pieces of equipment into this kit.
Stay tuned for part two in two weeks!
In the interim, if reading any of these kit reviews has inspired you to try your own hand at in the fun of home brewing, you can check your local home brewing shop (they’re more common than you might think), or you can find it online at Label Peelers for $88.94
