[rating:4.5/5]
I am always in search of the best home brewing kit. Sure, I lauded on about the marvels of the home brewing kit that I got from MoreBeer.com. I talked at great lengths about how complex it was, all the steps it required, and all the equipment that it came with – Cooper’s of Australia has a different philosophy for the novice homebrewer: less is more. While it’s super nice to have all the crazy stuff that I got in the other kit, the Cooper’s kit is so simple even a caveman could do it (sorry Geico).
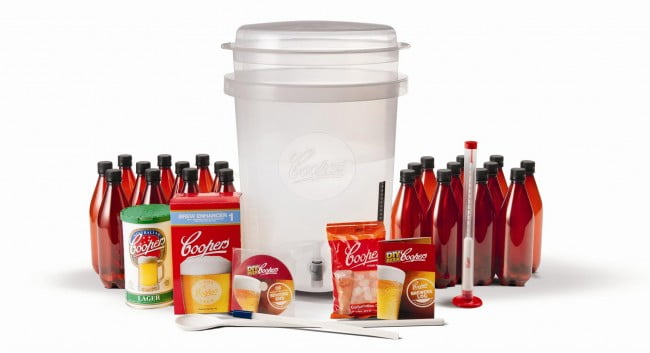
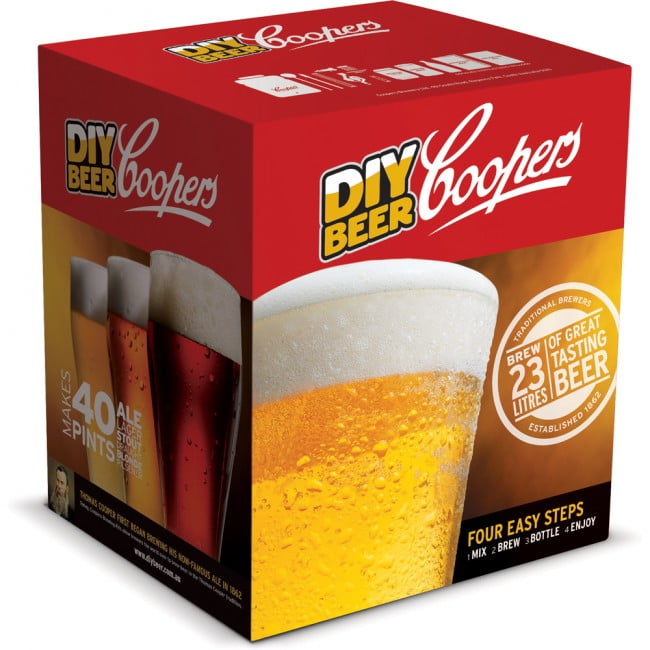
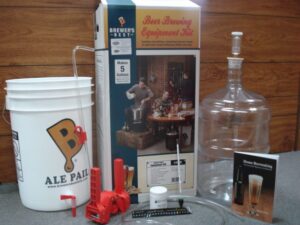
To start with, rather than the four boxes I got with the last kit, the Cooper’s kit was packed nicely in one box. They put a 30 liter fermenter (plastic) in the box, and then stuffed that with pretty much everything else – including 30 plastic bottles. All in all, the kit came with (and you can compare this to the other):
- A 30 liter plastic fermenter that will hold a batch of six gallons of beer
- A hydrometer and measuring flask
- A plastic mixing spoon
- A “Little Bottler” tube and bottling valve
- A tap
- A lid for the fermenter
- A Krausen Collar
- A log with dry erase marker
- 30 750ml bottles with PET caps
- Instructions on DVD and in a book
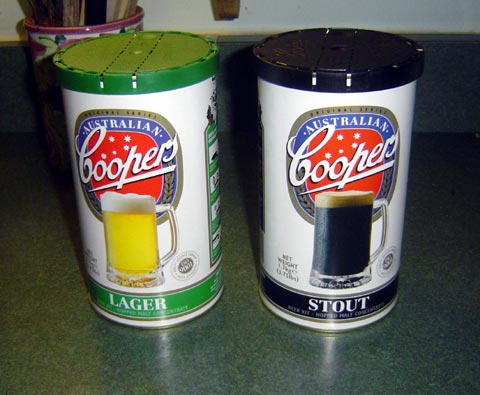
- A lager beer kit package (yeast, concentrate, and carbonation drops)
That’s it – no super fancy kettles or wort coolers here, because you just don’t need them. That concentrate I mentioned? Think of it as the “frozen juice concentrate” of home brewing – just add water. The way that Cooper’s makes this all work is pretty ingenious here, as there is practically NO way to screw it up. Even though I didn’t have a working camera at the time I brewed this, hopefully my description will paint enough of a picture (until I brew the next batch).
First off I took one gallon pitched of the hottest tap water I could get – now this was no where near boiling, but it was definitely hot enough. While you’re doing this, you should have the can of concentrate sitting upside-down in a bath of hot water; just like the malt I talked about in my other review, the concentrate is very sticky, and resting it in hot water for about 10 minutes helps to liquify it.
You add the concentrate to the hot water along with the “brew enhancer” that comes with the kit (fermenting sugars). Once you mix it, then you add another five gallons of cold tap water. What I did was check the temp after the fourth to make sure I wasn’t dropping it too much – this is a lager you’re brewing,(and while most other lagers need fermenting temps a bit lower) you want the final temp to be in between 70 degrees and 80 degrees Fahrenheit. Once you get it there, you slip on the Krausen collar (basically it works like an air lock on a traditional carboy – letting gasses out and preventing things from coming in), sprinkle the yeast on top, and put the lid on.
Two weeks later (remember to check your gravity to be sure!) and you’re ready to bottle. No, really – that’s all there is to it. No boiling, steeping, dissolving, or any of that intense stuff. Easy to the extreme. When you bottle your beer, you put in two of these little things that look like throat lozenges – those are basically crystallized fermentable sugars to make carbonation in the beer. It’s as hassle free as the rest of the kit, and a pretty damn slick idea. It’s at least easier than boiling some corn sugar before bottling.
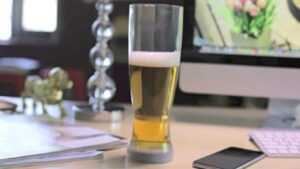
Another two (or more if you like) weeks after bottling, and your beer is ready to enjoy. So how does the final product taste – does it look good? Well it just so happens that today was two and a half weeks since I bottled it, and I can answer those questions. First, the clarity is quite nice. It’s a bit darker than an American Ale (like Budweiser), which you would expect from a lager. It has about a half inch of head when poured into an iced mug, and that head dissipates rather quickly. The taste is almost like a Michelob – a little bitterness that fades after a second, but that feels “right” for the beer.
All in all, the kit was fun and easy, and the beer tastes good. I can’t wait to finish the lager bottles so I can move onto the Mexican Cerveza. While some of the components are cheaper quality than I was used to (the hydrometer is all plastic, the spoon is plastic, and the fermenter is plastic), the parts all work well together. As with everything though, if you opt for the quick and easy method you end up losing something. There’s no way to control any of the finer parts of the beer, and there’s also no experimentation. If you’re buying this kit though, you’re probably a first timer with no interest in that (yet), so it’s not a big deal. Home brewing is a bit of an addiction though, and once you start on the easy stuff, you’re more than likely going to want to move on to something bigger.
I give the Cooper’s DIY Beer kit a rating of four and a half stars out of five.
Pros:
- Very easy to make a good tasting beer
- Literally no way to screw it up unless you don’t pay attention to the temperature
- Much cheaper than other “true” brewing kits
Cons:
- Using a concentrate limits the control you have on the flavor to almost nothing
- Plastic components have a tendency to hold aromas and flavors
You can get your own Cooper’s DIY Beer kit from their US site for $115.99
