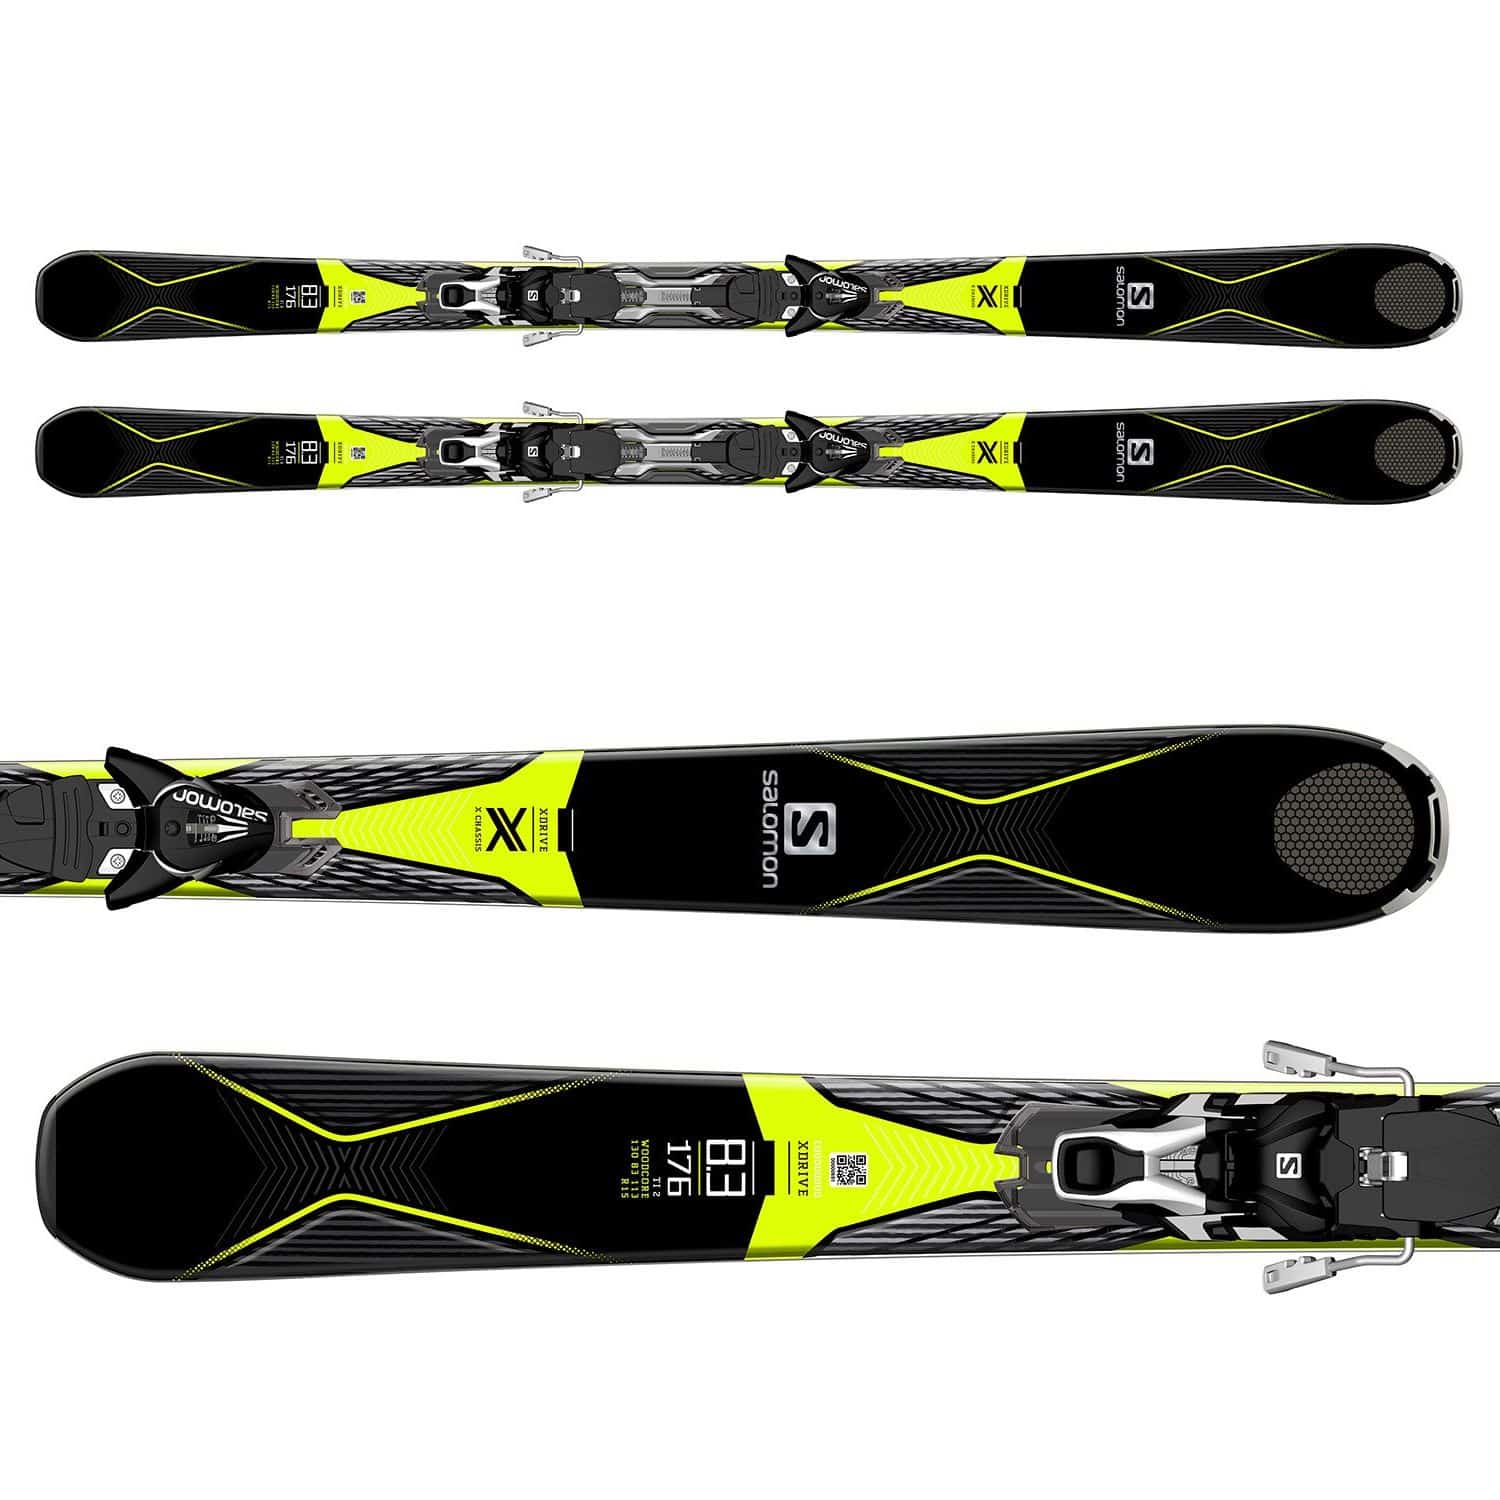
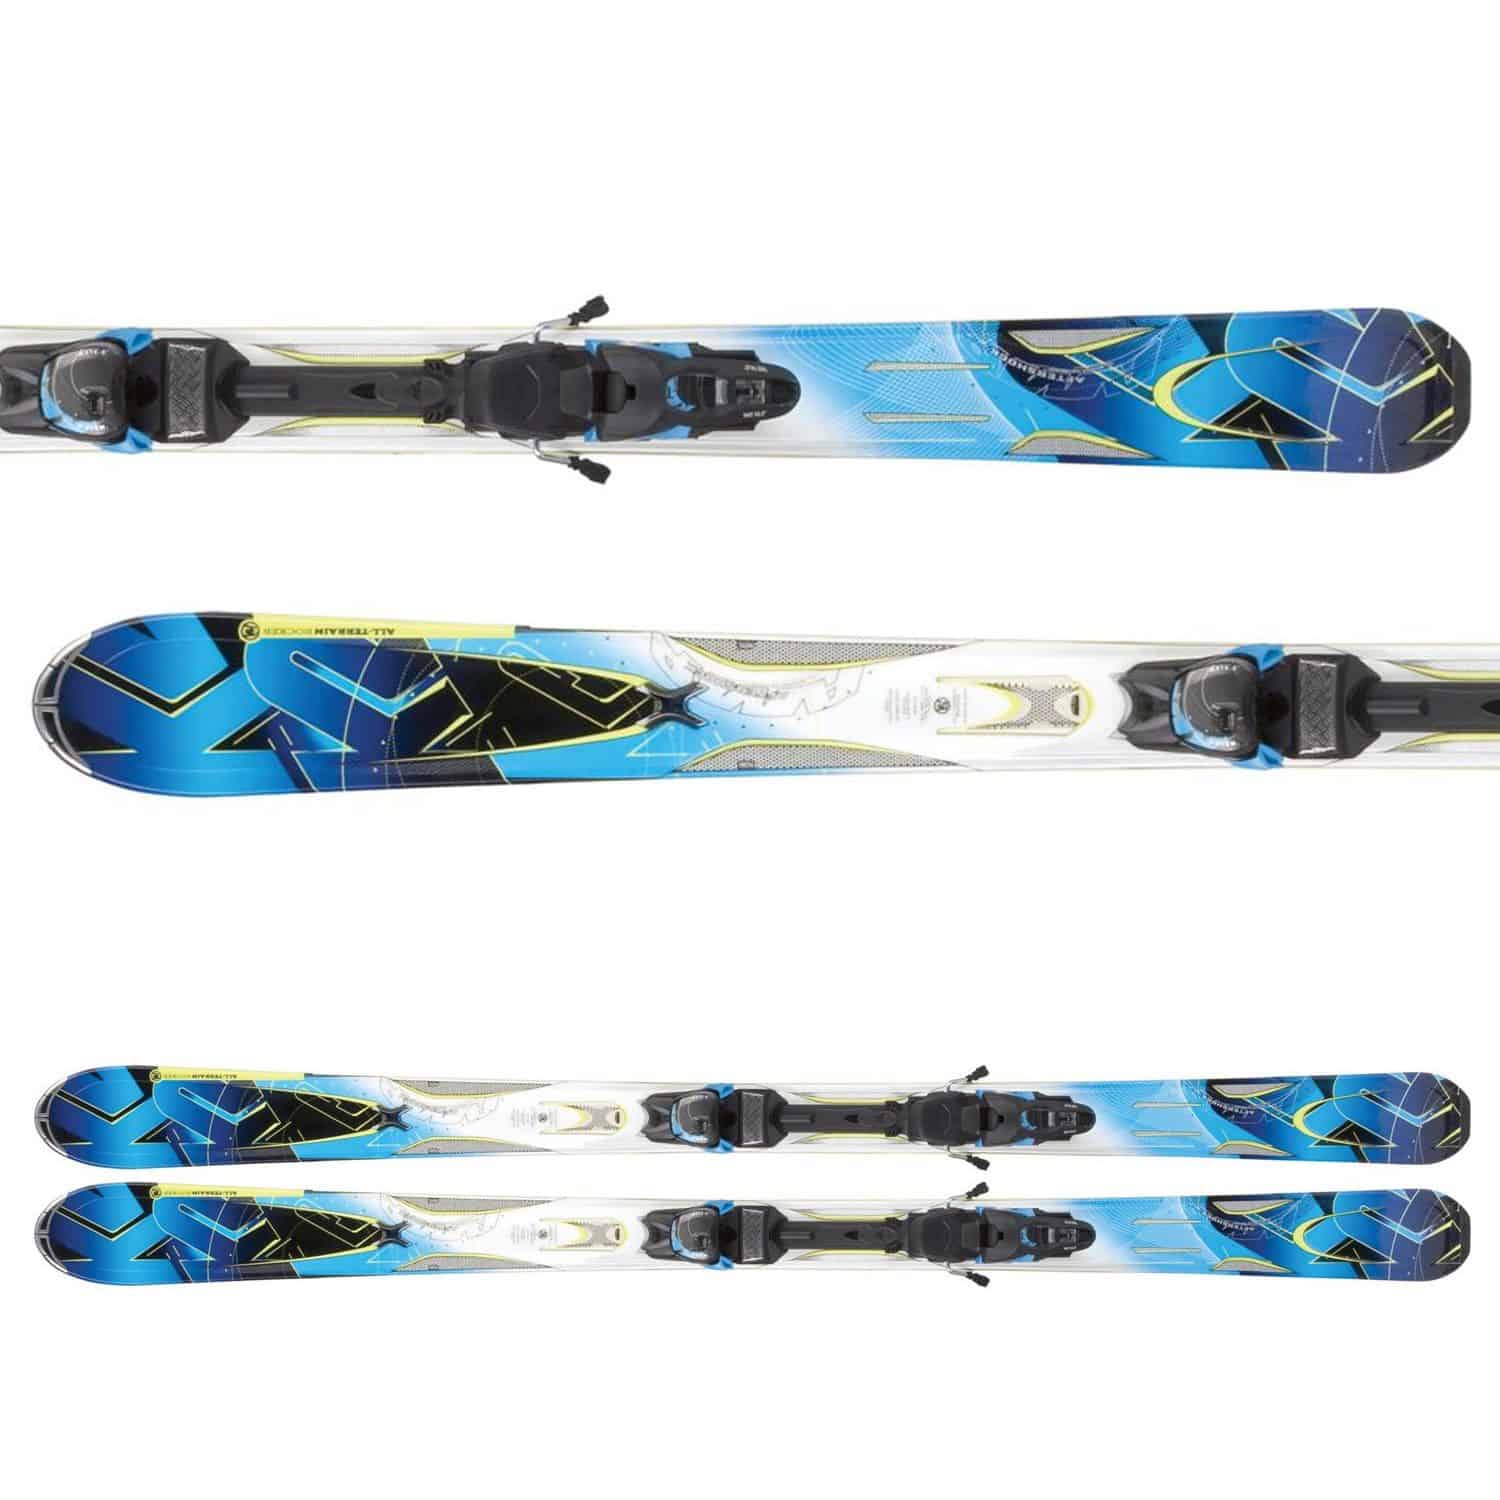
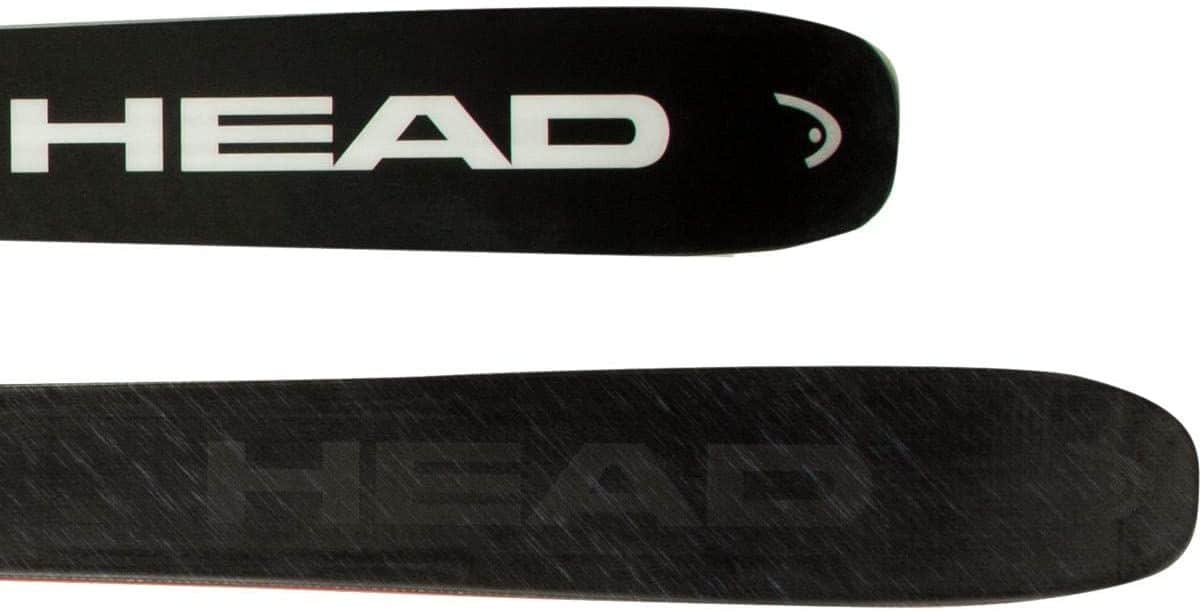
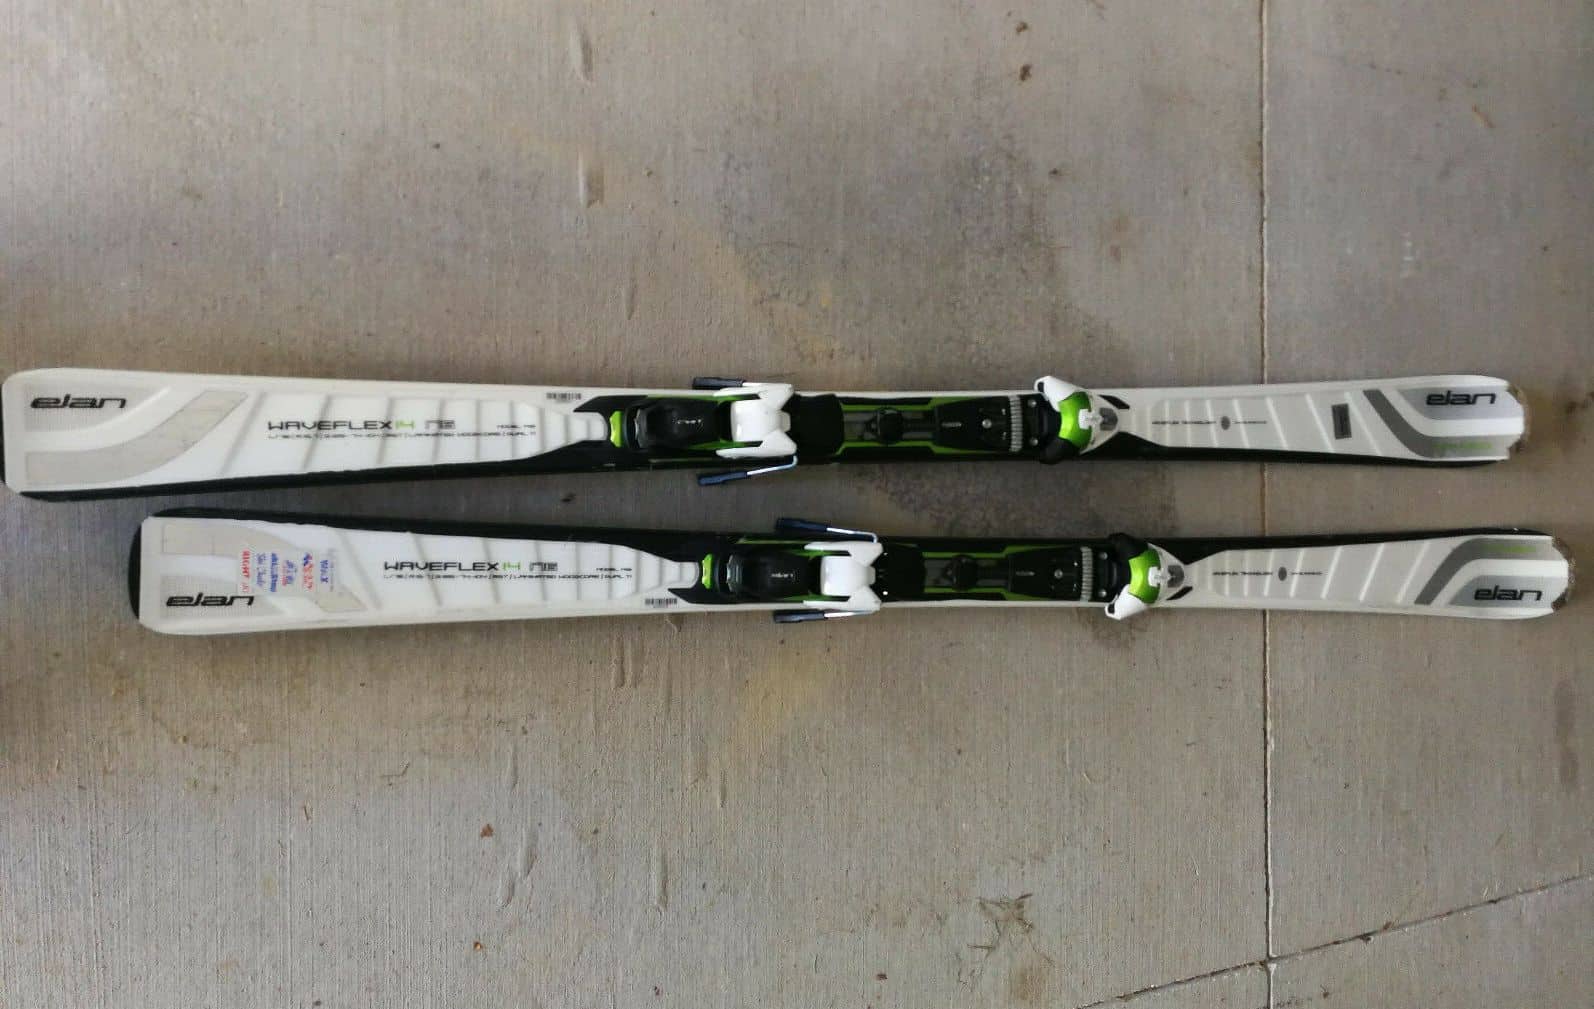
Before you buy the best skis, you should learn how to wax them.
If you have ever picked up your skis and noticed that they’re looking a little gray and “dry” on the bottom, then you probably need to learn how to wax your skis. To that end, that means you’ve gone too long without waxing your skis. You take care of your best ski boots, so have to care fr skis too.
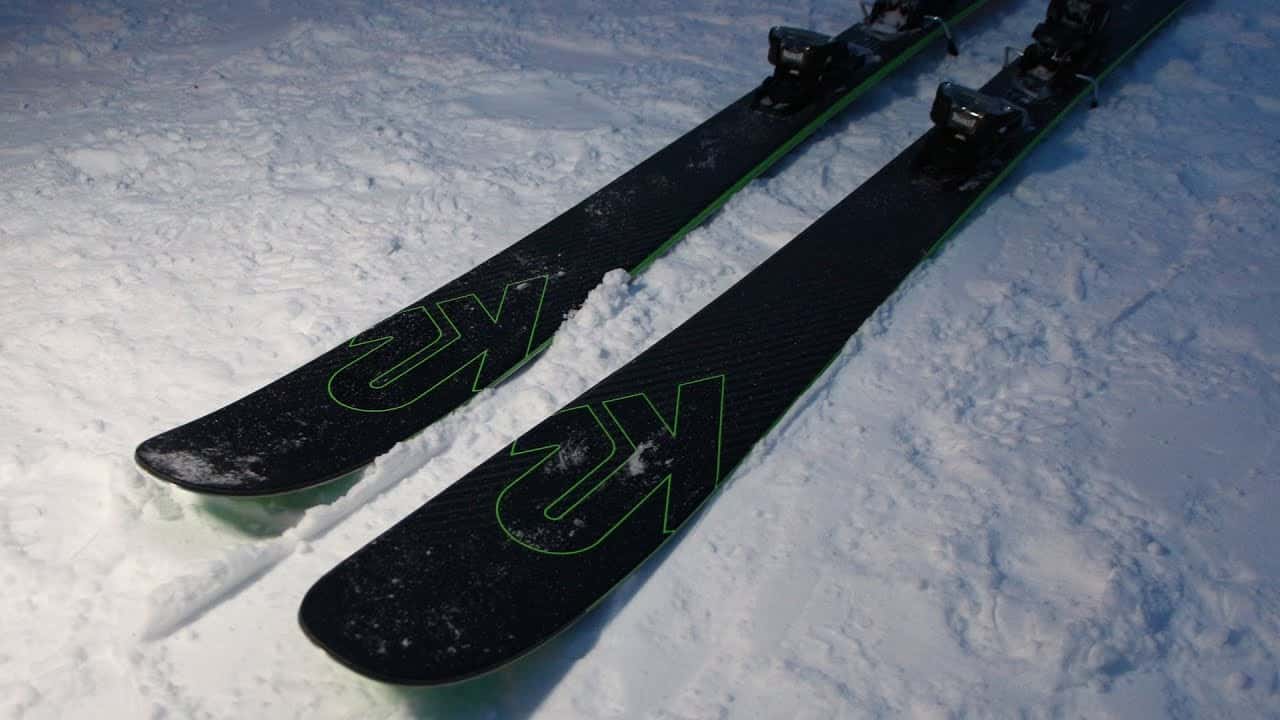
Now, take a look at a new pair of skis and you’ll notice the bases are a clean, deep black, thanks to a plastic known as P-tex. This is the plastic that is designed to hold the wax you’re about to polish your skis with!
Why wax your skis?
Waxing your skis will not only improve performance but actually make it easier to ski. You see, waxed skis are easier to control because they respond to your inputs more precisely, and are also less likely to stick to the snow in certain weather conditions, making it easier to predict how your skis will react.
That all said, contrary to popular belief, waxing skis is not meant for speed (unless you’re a racer). And waxing is a necessary maintenance task for skiers of any level, especially if you’re learning to ski – you don’t want to fight and drag your skis when the bases begin to stick to the snow.
Things You’ll Need to Wax Your Skis
- Skis – (see my Best Mountain Ski top picks)
- Acrylic Wax Scraper
- Brass Brush
- Wax (based on temperature you plan to ski in)
- Iron
- Nylon Brush
Before beginning, check the ski bases for any major damage including nicks, scratches, and core shots (where the P-tex base has been ripped away). If this damage is present, have the ski repaired before waxing.
How to Wax Skis: Step-by-Step Instructions on
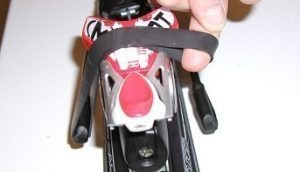 1. Apply Brake Bands: Keep your ski brakes out of the way by using a large rubber band to pull the brakes back. Wrap the rubber band over the heel of the binding, and capture each brake arm to pull them up into a retracted position.

2. Secure Ski: Fancy vices and tables aren’t necessary here. Simply cover any table with some newspaper, and use a stack of old books under the tip and tail to support the ski. Use an old towel on top of the books if you need something to keep the ski from scooting around.
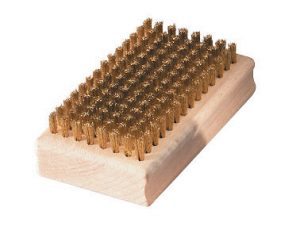 3. Clean Ski Base: Use a brass brush and acrylic scraper from tip to tail to brush away any remaining old dirt or wax. Don’t be afraid to be aggressive with the brush, but only a little brushing is necessary. We don’t want to rip apart the ski base.
 4. Choose Wax: Every wax will have a designated temperature range. Choose a wax which meets the coldest temperature you reasonably can expect to ski during your trip. Hydrocarbon waxes are the most common, while fluorocarbon waxes are much more expensive and are usually unnecessary except, perhaps, in high humidity conditions or wet snow conditions.
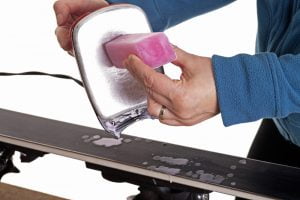 5. Melt Wax on to Ski: Use the iron to melt your wax bar or brick. Hold the wax several inches above the ski and allow the wax to drip on to the ski bases. Drip the wax from side to side and along the length of the ski. It is not necessary to completely cover the ski in wax at this point. Adjust the iron’s temperature so that wax melts and flows easily, but avoid burning the wax or using excess heat.
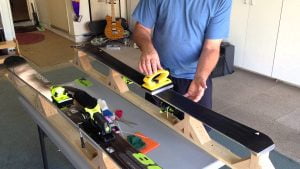 6. Iron Wax Into Ski Base: Set aside the wax bar and now work the wax into the ski. Using a combination of circular motions and long strokes, use the iron to melt the wax fully into the base of your skis. It’s important to give the wax enough time to heat up and penetrate the P-tex bases. However, it is possible to overheat and damage the skis, so keep the iron moving and generally apply heat for no more than 45 seconds in any given spot.
 7. Scrape Excess Wax: Allow the ski to cool for 60 minutes after ironing the wax in. Now, use the acrylic scraper and scrape off excess wax in long, even strokes. Wax should peel off liberally. Continue to scrape the wax until you no longer get wax removal with subsequent passes of the scraper. We want the wax to be in the skis, not on the skis. Excess wax can decrease performance.
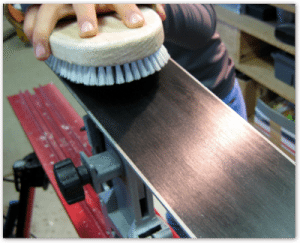 8. Brush the Bases: Using a stiff nylon base brush, brush the ski bases in long strokes from front to back. It’s important to brush in-line with the ski’s length to help clear out the water channels in the ski bases. You should get some fine wax powder brushing away as you work with the nylon brush. A few passes are sufficient. Remove any remaining wax powder with a soft fiber cloth.
Conclusion
Congratulations, you’ve just waxed your first pair of skis! Now that they’re waxed, it’s important to keep them in good health. Avoid skiing over sticks, debris, rocks, or ice chunks, and always try to use your poles to unclip from your bindings. Stepping on the bindings with one ski or the other (a common technique) can scratch, dent, or damage the P-tex bases.
Generally waxing once per week (if you’re skiing all day, every day) should be sufficient for the everyday skier. If you’re experiencing massive temperature or moisture fluctuations, however, it may be advisable to wax more often.
Read Next: Best Ski Boots 2018
Related Articles:


![Best Skis in [year] ([month] Reviews) 18 Best Skis in 2026 (January Reviews)](https://www.gadgetreview.dev/wp-content/uploads/Elan-Amphibio-84-Ti-Best-Skis.jpg)

![7 Best Walkie Talkies to Stay in Contact in [year] 20 7 Best Walkie Talkies to Stay in Contact in 2026](https://www.gadgetreview.dev/wp-content/uploads/best-walkie-talkies-to-stay-in-contact.jpg)

![Best Ski Boots in [year] 23 Best Ski Boots in 2026](https://www.gadgetreview.dev/wp-content/uploads/best-ski-boot.jpg)
![7 Best Carabiner in [year] 24 7 Best Carabiner in 2026](https://www.gadgetreview.dev/wp-content/uploads/best-carabiners.jpg)
![7 Best Ropes in [year] 25 7 Best Ropes in 2026](https://www.gadgetreview.dev/wp-content/uploads/best-rope.jpg)


