If your microwave contains rust, you probably want to know how to repair microwave interior paint. Whether your damage results from misuse or regular wear and tear, you could touch up the paint using a microwave-safe enamel or a designated interior microwave paint.
KEY TAKEAWAYS:
- Some brands recommend replacing your microwave instead of spot repairs for the interior paint.
- Large amounts of chipped paint inside of microwave ovens potentially cause safety issues.
- If you want to repair the interior paint, you must use a microwave-safe enamel or interior microwave paint.
However, some of the best microwave brands recommend simply replacing your microwave if serious damage occurs. For example, you should not try to repair large spots of peeling paint or arc marks. If you have issues with your turntable, you may want to learn how to fix the turntable in a microwave.
Insider Tip
Wear gloves to protect your hands from any chemicals or any other material.
Repairing the Interior Paint of Microwave Ovens
Although the process for repairs to paint can be time-consuming, you may want to improve the appearance and function of your microwave. You will need sandpaper, microwave-safe paint, a paintbrush if you use liquid paint, and soapy water. If you have a lot of food build-up, you may need a scrub brush or paper. Before you begin, you should decide if you can safely complete the repairs, according to Sears. GE states that there is no safety guaranteed process. You may also be interested in checking out how to fix a microwave handle.
Steps for Painting the Microwave Oven’s Interior
- Tools Needed:
- Scrubber
- Sandpaper
- Paint thinner (optional)
- Microwave-safe enamel or microwave interior paint (spray or liquid)
- Paintbrush (for brush-on paint)
- Protective hand coverings (Optional)
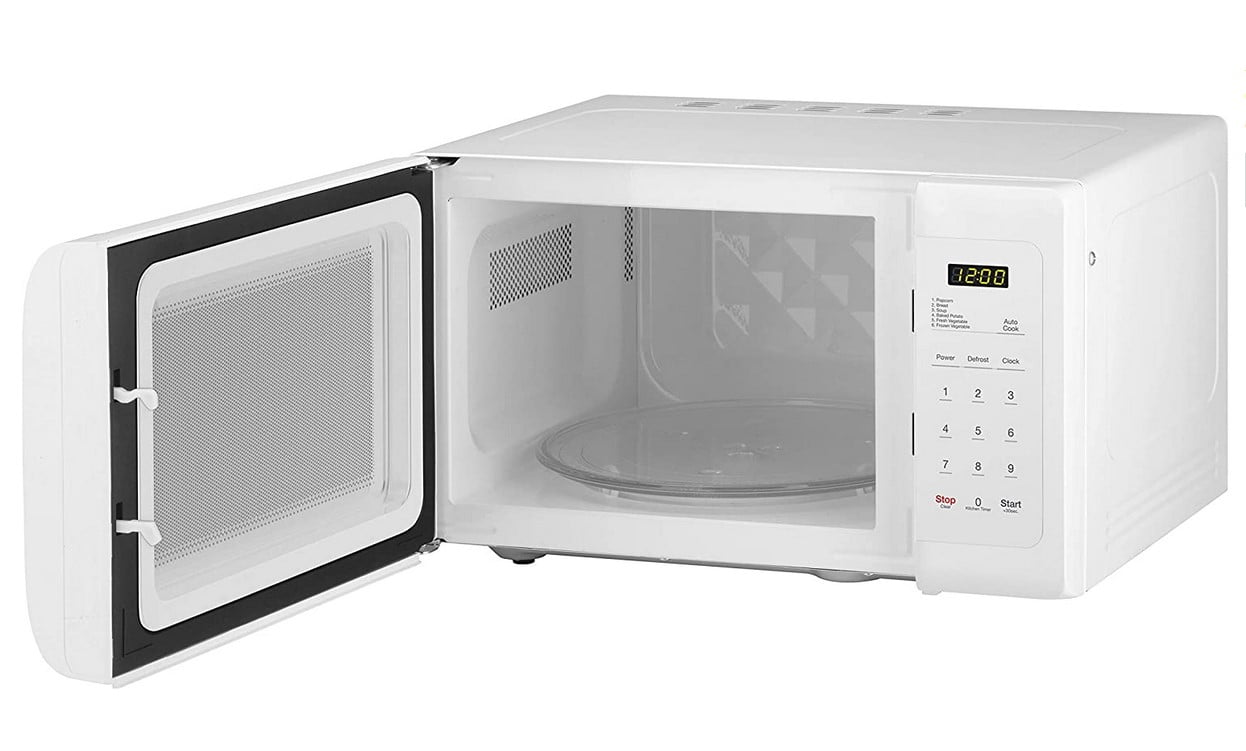
- Remove the glass plate and spinner. You don’t want to get paint on these appliance parts. Additionally, you reduce the chance of the glass plate breaking.
- Clean with soapy water and a dishrag or paper towel, and then scrub off any dirt. If you haven’t washed it in a while, you could need more time to clean under the glass turntable and the roller guide. To loosen any food remnants that are particularly hard, heat a cup of water for a minute or two before wiping with a washcloth. Follow up with a dry cloth.
- Sand off any rust or remaining peeling paint until you see metal. You may want to use paint thinner to get rid of the paint. However, the rust should come off with the sandpaper only. Remove any rust before attempting to fix the interior paint, or it could break off. If there’s a large hole in your microwave oven, GE recommends replacing it to avoid arcing during use.
- Smooth the surface with sandpaper. Make sure to sand the surface where you want to paint because the paint will stick better.
- Unplug the microwave, eliminating the light from the microwave itself and reducing the heat inside.
- Cover the light, vent, and edges of the microwave. In doing so, you ensure your paint only covers your desired surfaces.
- Vacuum out the remainder of the dust on your surface, preventing dust from getting trapped under your paint. At this point, you may want to pull gloves on to protect your hands from the chemicals and paint.
- Block the hole in the middle of your microwave with a stopper of some kind. This hole leads to the turntable motor. Getting paint on here could hurt your motor.
- Apply your paint. Make sure to shake any type of paint before use, with at least 2 minutes of shaking for spray paint. The paint can be microwave-safe enamel or microwave cavity specific. You must apply the paint evenly, so you may want to test it first. You may need a second coat of paint. Then, leave your microwave door open as it dries to help air it out and rid your appliance of the smell.
- Let the paint dry for a day or two.
Warning
Some microwave brands do not offer a solution for largely damaged areas, and they recommend you buy a new microwave for safety.
F.A.Q.S
Is the microwave cavity paint-safe?
The safety of paint in the microwave depends on the paint you choose and the brand of microwave you have. For example, Sears and Whirlpool offer paint repairs, but GE doesn’t. If you want to ensure your paint is safe, get the designated product from your appliance manufacturer.
Is enamel paint microwave-safe?
Certain enamel paints are microwave-safe, so you should buy those for this process. These bottles will likely state that they are microwave-safe. In some cases, they may even be made specifically for application in the microwave’s interior.
Is it safe to use a microwave that has peeling paint inside?
According to GE, slightly peeling paint is not a health risk, and you don’t have to worry about it until it’s larger. The size guide from Sears states not to repair any spot bigger than a quarter. This guideline prevents microwave radiation and oven cavity damage that may occur.
STAT: Minor chips to the surface coating on the microwave’s interior cavity will not affect the product’s performance. (source)
REFERENCES:
- https://products.geappliances.com/appliance/gea-support-search-content?contentId=16197
- https://www.whirlpoolparts.com/Shop-For-Parts/a6b5c55/Whirlpool-Microwave-Paint-Parts
- https://www.youtube.com/watch?v=z9RYay7EI80r
- https://www.youtube.com/watch?v=Y-2q2hi_gvk
- https://www.youtube.com/watch?v=YQhLQE3C7cM




![Best Kitchen Appliances in [year] ([month] Reviews) 27 Best Kitchen Appliances in 2025 (December Reviews)](https://www.gadgetreview.dev/wp-content/uploads/best-kitchen-appliances.jpg)
![Best Whirlpool Microwaves in [year] 28 Best Whirlpool Microwaves in 2025](https://www.gadgetreview.dev/wp-content/uploads/best-whirlpool-microwaves-image.jpg)
![Best Microwave Drawers in [year] 29 Best Microwave Drawers in 2025](https://www.gadgetreview.dev/wp-content/uploads/best-microwave-drawer-image.jpg)
![Best Quiet Microwaves in [year] 30 Best Quiet Microwaves in 2025](https://www.gadgetreview.dev/wp-content/uploads/best-quiet-microwave-image.jpg)
![Best LG Microwaves in [year] 31 Best LG Microwaves in 2025](https://www.gadgetreview.dev/wp-content/uploads/best-lg-microwaves-image.jpg)
![Best Microwaves in [year] ([month] Reviews) 32 Best Microwaves in 2025 (December Reviews)](https://www.gadgetreview.dev/wp-content/uploads/best-microwaves-image.jpg)
![Best Over the Range Convection Microwaves in [year] 33 Best Over the Range Convection Microwaves in 2025](https://www.gadgetreview.dev/wp-content/uploads/best-over-the-range-convection-microwave-image.jpg)
![Best Retro Microwaves in [year] 34 Best Retro Microwaves in 2025](https://www.gadgetreview.dev/wp-content/uploads/best-retro-microwave-image.jpg)
![Best GE Microwaves in [year] 35 Best GE Microwaves in 2025](https://www.gadgetreview.dev/wp-content/uploads/best-ge-microwaves-image..jpg)
![10 Best Samsung Microwaves in [year] 36 10 Best Samsung Microwaves in 2025](https://www.gadgetreview.dev/wp-content/uploads/best-samsung-microwaves-image.jpg)
![10 Best Microwaves for Seniors in [year] 37 10 Best Microwaves for Seniors in 2025](https://www.gadgetreview.dev/wp-content/uploads/best-microwaves-seniors-image.jpg)
![10 Best Microwave Toaster Oven Combo in [year] 38 10 Best Microwave Toaster Oven Combo in 2025](https://www.gadgetreview.dev/wp-content/uploads/best-microwave-toaster-oven-combo-scaled-1.jpg)
![10 Best Panasonic Microwaves in [year] 39 10 Best Panasonic Microwaves in 2025](https://www.gadgetreview.dev/wp-content/uploads/best-panasonic-microwaves.jpg)
![10 Best Microwaves for College Dorms in [year] 40 10 Best Microwaves for College Dorms in 2025](https://www.gadgetreview.dev/wp-content/uploads/best-microwaves-for-college-dorms.jpg)
![10 Best Compact Microwaves in [year] 41 10 Best Compact Microwaves in 2025](https://www.gadgetreview.dev/wp-content/uploads/best-compact-microwave-image.jpg)
![10 Best Convection Microwave Ovens in [year] 42 10 Best Convection Microwave Ovens in 2025](https://www.gadgetreview.dev/wp-content/uploads/best-convection-microwave-oven-image.jpg)
![10 Best Built In Microwaves in [year] 43 10 Best Built In Microwaves in 2025](https://www.gadgetreview.dev/wp-content/uploads/best-built-in-microwave-image.jpg)
