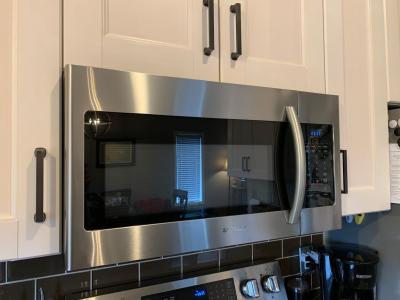
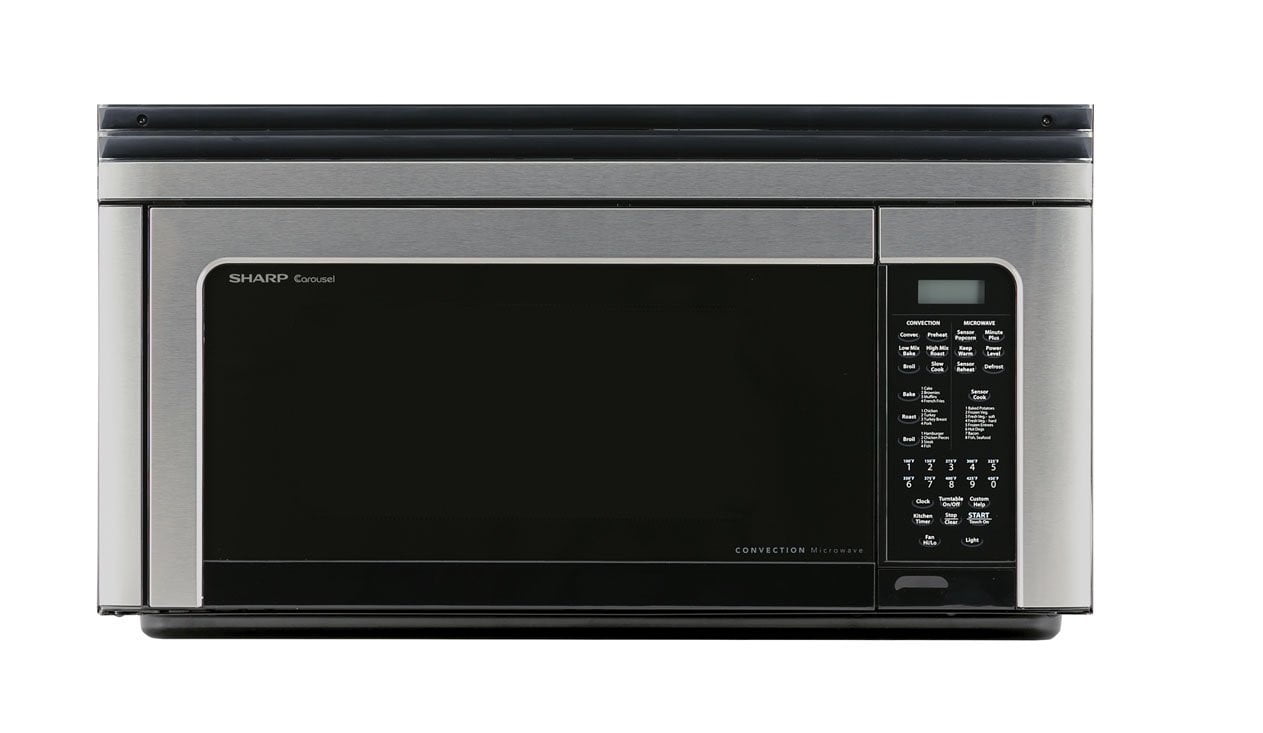
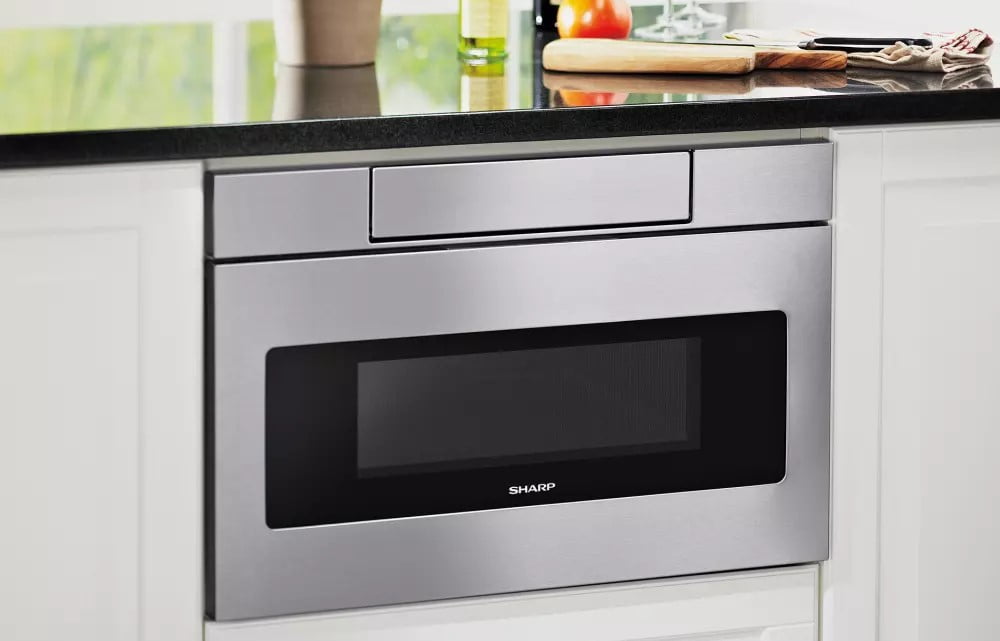
If you are shopping for some new kitchen appliances, you may wonder how to remove a built-in microwave. Even the best microwaves need to be replaced eventually, after all, and built-in models tend to be somewhat complicated to both install and remove. Keep reading to learn about the uninstallation process for built-in microwave ovens.
KEY TAKEAWAYS:
- Removing a built-in microwave oven will require some unscrewing, though the process is much simpler than installing one of these models.
- Make sure you are wearing protective gloves and that the microwave oven is disconnected from any power source.
- You should probably have another person on hand for the removal of trim kits and to hold any ladder steady.
Removing a Built-In Microwave
Tools Needed: Screwdriver, work gloves
Installing and removing a built-in microwave oven is somewhat complicated, operating in stark contrast to countertop microwaves. For instance, for countertop microwave models you may just have to learn how to build a microwave cart or even just how to place it on a kitchen counter. For built-in microwave ovens, you will have to deal with tools, electrical supplies, and more.
Insider Tip
Microwaves can be heavy, particularly built-in models, so be sure to have another person or two on-hand for lifting and removal.
STEP 1 Gear Up
- Gather all of your tools and safety gear.
- Each microwave may necessitate different tools for removal, though you should be able to get by with just one screwdriver.
- Put on padded work gloves.
- Have the major appliance instruction manual handy for reference.
STEP 2 Power Down
- For safety’s sake, you should shut down the microwave oven and unplug it from a power source.
- You may also want to turn off the power to the area via your home’s junction box.
STEP 3 Find the Mounts and Screws
- Check around the microwave unit and throughout the enclosure for any obvious mounting points.
- Keep a note of all of the unscrewing you will have to do.
STEP 4 Begin Unscrewing
- Use a screwdriver or whatever tool was indicated in the instructions to slowly and methodically unscrew any mounts, including spacer bars and the trim kit.
- Flip the microwave around and make sure to unscrew any backplates.
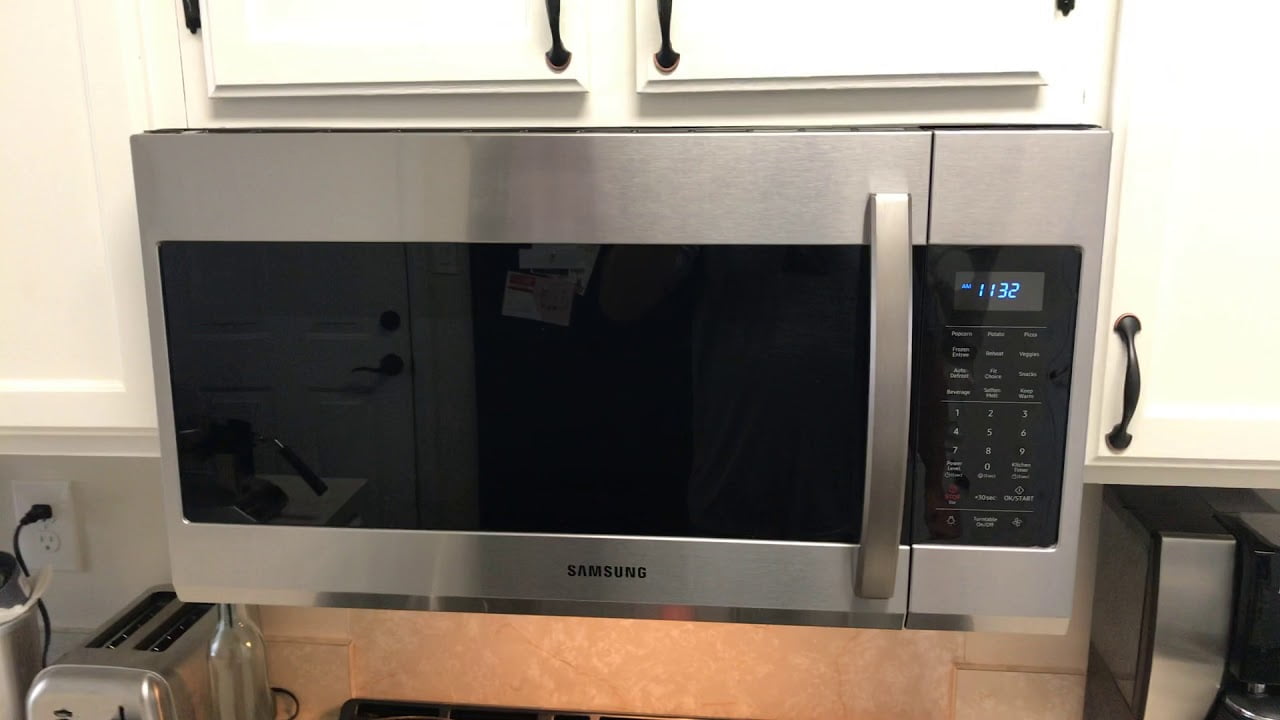
- You may want another person around to help keep the ladder steady if you are uninstalling an over-the-range microwave.
STEP 5 Disconnect Power
- Remove any power cables or power cords.
- With more complicated setups, you may need to actually disconnect wires from a junction box or voltage box.
- Check the instructions for more details.
STEP 6 Remove the Microwave
Once everything has been disconnected, you should be able to simply tilt the microwave forward and slide it out from the mounts.
If you are moving the microwave somewhere, be sure to learn how to clean a microwave with bleach or another cleaning agent before reinstalling it.
F.A.Q.S
How to remove the trim from a Bosch built-in microwave?
To remove the trim piece from a particular Bosch microwave, check the installation manuals that accompanied the unit.
Repair or replace a microwave oven?
Microwaves can be difficult appliances to repair, so replacement may be the best option in many cases.
Replace microwave oven light?
Check the installation manuals for information as to remove your microwave oven light, as the process will differ depending on make and model.
STAT: Japan’s Sharp Corporation began manufacturing microwave ovens in 1961. Between 1964 and 1966, Sharp introduced the first microwave oven with a turntable, an alternative means to promote more even heating of food. (source)








![Best Kitchen Appliances in [year] ([month] Reviews) 27 Best Kitchen Appliances in 2026 (January Reviews)](https://www.gadgetreview.dev/wp-content/uploads/best-kitchen-appliances.jpg)
![Best Whirlpool Microwaves in [year] 28 Best Whirlpool Microwaves in 2026](https://www.gadgetreview.dev/wp-content/uploads/best-whirlpool-microwaves-image.jpg)
![Best Microwave Drawers in [year] 29 Best Microwave Drawers in 2026](https://www.gadgetreview.dev/wp-content/uploads/best-microwave-drawer-image.jpg)
![Best Quiet Microwaves in [year] 30 Best Quiet Microwaves in 2026](https://www.gadgetreview.dev/wp-content/uploads/best-quiet-microwave-image.jpg)
![Best LG Microwaves in [year] 31 Best LG Microwaves in 2026](https://www.gadgetreview.dev/wp-content/uploads/best-lg-microwaves-image.jpg)
![Best Microwaves in [year] ([month] Reviews) 32 Best Microwaves in 2026 (January Reviews)](https://www.gadgetreview.dev/wp-content/uploads/best-microwaves-image.jpg)
![Best Over the Range Convection Microwaves in [year] 33 Best Over the Range Convection Microwaves in 2026](https://www.gadgetreview.dev/wp-content/uploads/best-over-the-range-convection-microwave-image.jpg)
![Best Retro Microwaves in [year] 34 Best Retro Microwaves in 2026](https://www.gadgetreview.dev/wp-content/uploads/best-retro-microwave-image.jpg)
![Best GE Microwaves in [year] 35 Best GE Microwaves in 2026](https://www.gadgetreview.dev/wp-content/uploads/best-ge-microwaves-image..jpg)
![10 Best Samsung Microwaves in [year] 36 10 Best Samsung Microwaves in 2026](https://www.gadgetreview.dev/wp-content/uploads/best-samsung-microwaves-image.jpg)
![10 Best Microwaves for Seniors in [year] 37 10 Best Microwaves for Seniors in 2026](https://www.gadgetreview.dev/wp-content/uploads/best-microwaves-seniors-image.jpg)
![10 Best Microwave Toaster Oven Combo in [year] 38 10 Best Microwave Toaster Oven Combo in 2026](https://www.gadgetreview.dev/wp-content/uploads/best-microwave-toaster-oven-combo-scaled-1.jpg)
![10 Best Panasonic Microwaves in [year] 39 10 Best Panasonic Microwaves in 2026](https://www.gadgetreview.dev/wp-content/uploads/best-panasonic-microwaves.jpg)
![10 Best Microwaves for College Dorms in [year] 40 10 Best Microwaves for College Dorms in 2026](https://www.gadgetreview.dev/wp-content/uploads/best-microwaves-for-college-dorms.jpg)
![10 Best Compact Microwaves in [year] 41 10 Best Compact Microwaves in 2026](https://www.gadgetreview.dev/wp-content/uploads/best-compact-microwave-image.jpg)
![10 Best Convection Microwave Ovens in [year] 42 10 Best Convection Microwave Ovens in 2026](https://www.gadgetreview.dev/wp-content/uploads/best-convection-microwave-oven-image.jpg)
![10 Best Built In Microwaves in [year] 43 10 Best Built In Microwaves in 2026](https://www.gadgetreview.dev/wp-content/uploads/best-built-in-microwave-image.jpg)


