If you are new to the world of DIY cooling, you may wonder how to make an air conditioner out of a bucket. Some of the best air conditioners, after all, use a similar method of operation. Even the leading portable air conditioners for RVs have to be designed for on-the-go use. So why use a bucket AC and how to get one started? Keep reading to find out.
KEY TAKEAWAYS:
- A bucket air conditioner is a budget-friendly and fun project to help you learn about how AC units work.
- Building one from scratch requires some common tools, such as a jug of water, and around 30 minutes of your time.
- This system does require electricity, though uses less power via a solar panel or regular grid than a traditional air conditioning unit.
Why Make a Bucket AC Unit?
The main reason is to have fun and to learn the basic methodologies behind air conditioning, and the same can be said about learning how to make a portable air conditioner. But, it’s a little different than installing a portable air conditioner in a sliding door, which can be hard. Also, these contraptions do work, allowing for a bit of extra cool air during the summer months.
How to Make a Gallon Bucket Air Conditioner
This is a relatively easy process, in line with learning how to maintain a central air conditioner. Here are the steps.
Insider Tip
This basic design is limited only by the objects at hand. If you have a larger bucket, more ice, and a bigger fan, try that.
STEP 1 Start Drilling
- Gather your tools and start drilling, grabbing the power drill and saw bits.
- Drill a pair of quarter-inch holes in the bucket to support the exhaust pipes near the top of the bucket but under the rim.
- Drill a pair of eighth-inch holes in the insulating liner that rests inside of the bucket. These holes will also hold the exhaust fans, so line them up
STEP 2 Cut to Size
- Using the utility knife or box cutter, cut a hole in the bucket lid so the fan can sit flush against the opening.
- Cut the insulator so that it fits snugly inside of the bucket, leaving a little room.
STEP 3Insert Exhaust Ports
- Affix the exhaust ports to the bucket, making sure they go through both the bucket and the insulating liner.
- Attach the exhaust port using the saw bits or some glue, if necessary.
- Wait until the glue dries to continue.
STEP 4 Place Cooling Agents
- Fill the bucket with cooling agents, such as ice packs, loose ice, or frozen gallon jugs.
- Don’t overfill the bucket, but place enough that it will do a decent job at cooling.
STEP 5 Close, Connect, and Test
- Connect the lid and place the fan so it blows air inside the bucket.
- Turn on the fan and test for cold air coming from the exhaust ports.
F.A.Q.S
How does a bucket A/C work?
You fill the 5-gallon bucket with a lid with frozen bottles of ice during the hot summer months and let the fan blow over the ice.
Can a homemade air conditioner keep you cool?
These contraptions create a cool breeze, but air conditioner buckets do not work as well as traditional AC units.
Do DIY air coolers actually work?
A bucket air conditioner does actually work, as will a bucket cooler, assuming you follow the aforementioned steps and used a five-gallon bucket.
STAT: In 1558, Giambattista Della Porta described a method of chilling ice to temperatures far below its freezing point by mixing it with potassium nitrate (then called “nitre”) in his popular science book Natural Magic. (source)








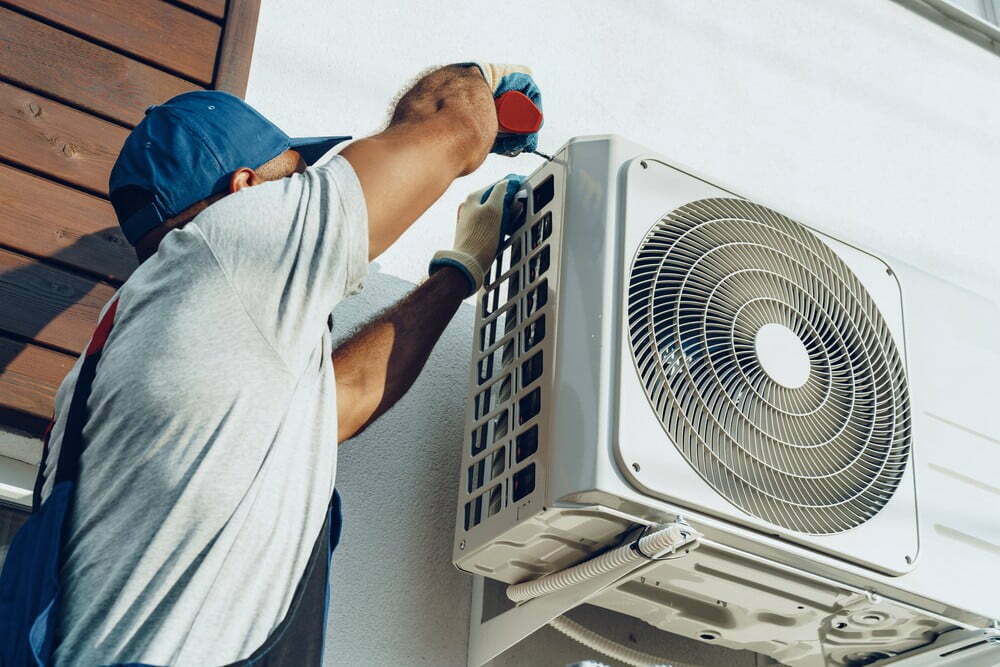


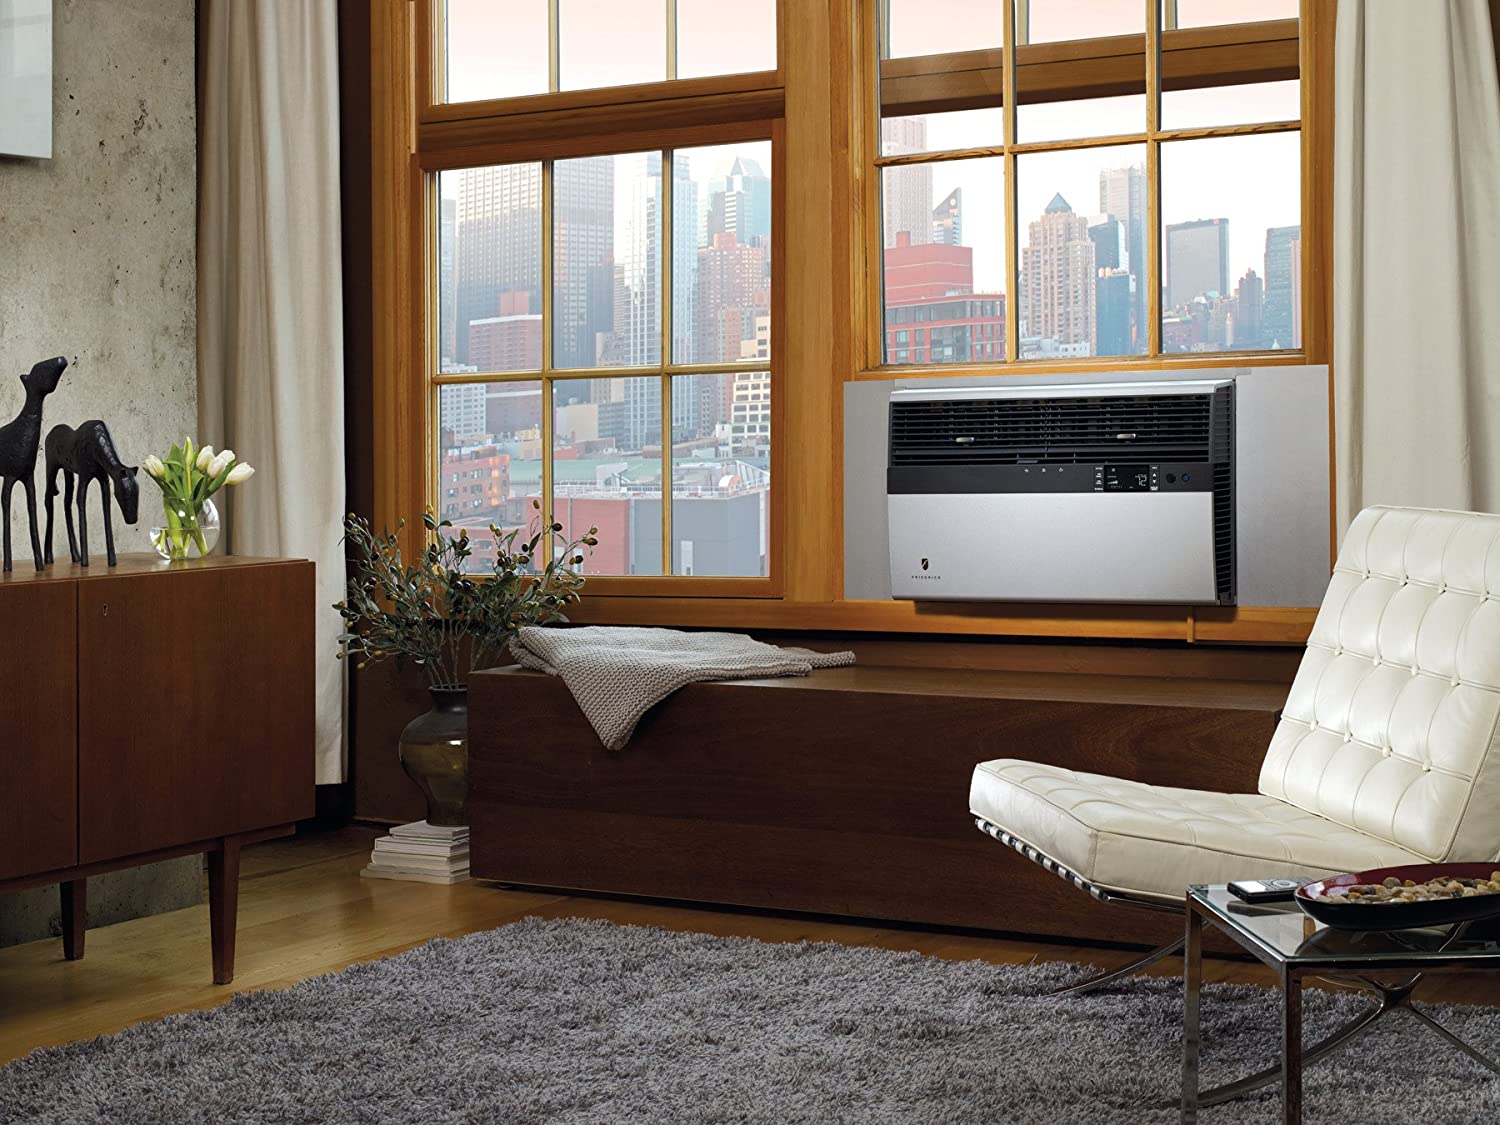

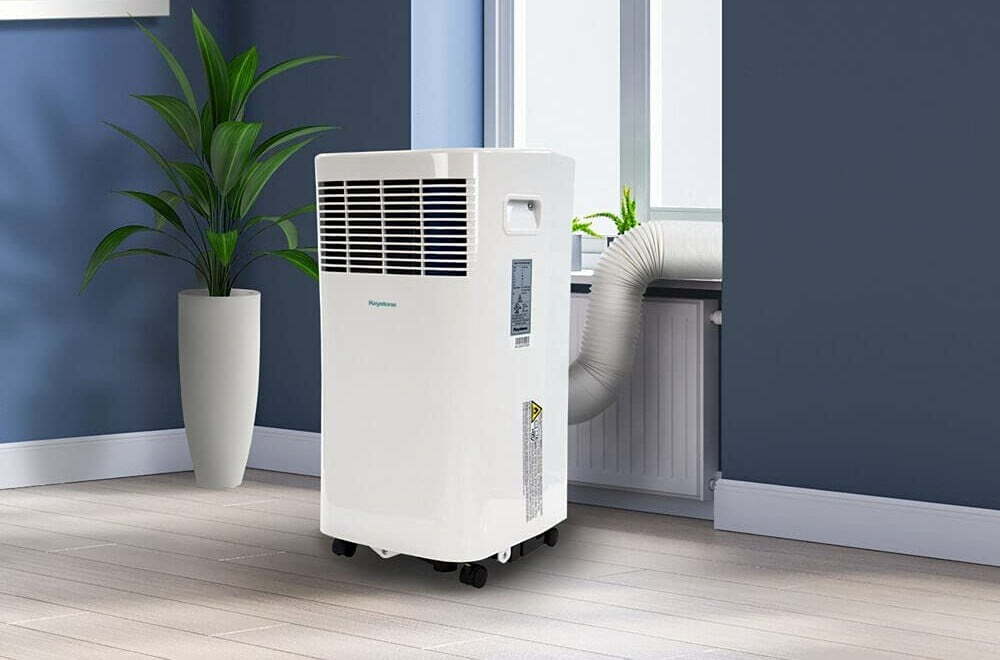
![Best Air Conditioners in [year] ([month] Reviews) 27 Best Air Conditioners in 2025 (December Reviews)](https://www.gadgetreview.dev/wp-content/uploads/best-air-conditioners-image.jpg)
![Quietest Through The Wall Air Conditioners in [year] 28 Quietest Through The Wall Air Conditioners in 2025](https://www.gadgetreview.dev/wp-content/uploads/quietest-through-the-wall-air-conditioner-image.jpg)
![Best 10000 BTU Air Conditioners in [year] 29 Best 10000 BTU Air Conditioners in 2025](https://www.gadgetreview.dev/wp-content/uploads/best-10000-btu-air-conditioner-image.jpg)
![Best 15000 BTU Air Conditioners in [year] 30 Best 15000 BTU Air Conditioners in 2025](https://www.gadgetreview.dev/wp-content/uploads/best-15000-btu-air-conditioner-image.jpg)
![Best 15000 BTU Window Air Conditioners in [year] 31 Best 15000 BTU Window Air Conditioners in 2025](https://www.gadgetreview.dev/wp-content/uploads/best-15000-btu-window-air-conditioner-image.jpg)
![Best 12000 BTU Air Conditioners in [year] 32 Best 12000 BTU Air Conditioners in 2025](https://www.gadgetreview.dev/wp-content/uploads/best-12000-btu-air-conditioner-image.jpg)
![Best Photocatalytic Oxidation Air Purifiers in [year] 33 Best Photocatalytic Oxidation Air Purifiers in 2025](https://www.gadgetreview.dev/wp-content/uploads/best-photocatalytic-oxidation-air-purifier-image.jpg)
![Best Ventless Portable Air Conditioners in [year] 34 Best Ventless Portable Air Conditioners in 2025](https://www.gadgetreview.dev/wp-content/uploads/best-ventless-portable-air-conditioner-image.jpg)
![Best Window Air Conditioners with Heat in [year] 35 Best Window Air Conditioners with Heat in 2025](https://www.gadgetreview.dev/wp-content/uploads/best-window-air-conditioner-with-heat-image.jpg)
![Best Inverter Air Conditioners in [year] 36 Best Inverter Air Conditioners in 2025](https://www.gadgetreview.dev/wp-content/uploads/best-inverter-ac-image.jpg)
![Best HEPA Air Purifiers in [year] 37 Best HEPA Air Purifiers in 2025](https://www.gadgetreview.dev/wp-content/uploads/best-hepa-air-purifier-image.jpg)
![Best Quiet Window Air Conditioners in [year] 38 Best Quiet Window Air Conditioners in 2025](https://www.gadgetreview.dev/wp-content/uploads/quiet-window-air-conditioner-image.jpg)
![Best Energy Efficient Window Air Conditioners in [year] 39 Best Energy Efficient Window Air Conditioners in 2025](https://www.gadgetreview.dev/wp-content/uploads/best-energy-efficient-window-air-conditioner-image.jpg)
![Best Quiet Portable Air Conditioners in [year] 40 Best Quiet Portable Air Conditioners in 2025](https://www.gadgetreview.dev/wp-content/uploads/quiet-portable-air-conditioner-image.jpg)
![Best 6000 BTU Air Conditioners in [year] 41 Best 6000 BTU Air Conditioners in 2025](https://www.gadgetreview.dev/wp-content/uploads/best-6000-btu-air-conditioner-image.jpg)
![Best 8000 BTU Air Conditioners in [year] 42 Best 8000 BTU Air Conditioners in 2025](https://www.gadgetreview.dev/wp-content/uploads/best-8000-btu-air-conditioner-image.jpg)
![Best Small Window Air Conditioner in [year] 43 Best Small Window Air Conditioner in 2025](https://www.gadgetreview.dev/wp-content/uploads/best-small-window-air-conditioner-image.jpg)
![Best 5000 BTU Air Conditioners in [year] 44 Best 5000 BTU Air Conditioners in 2025](https://www.gadgetreview.dev/wp-content/uploads/best-5000-btu-air-conditioner.jpg)
![Best Mini Split in [year] 45 Best Mini Split in 2025](https://www.gadgetreview.dev/wp-content/uploads/best-ductless-mini-split-air-conditioner-image.jpg)
![10 Best Portable Air Conditioners and Heaters in [year] 46 10 Best Portable Air Conditioners and Heaters in 2025](https://www.gadgetreview.dev/wp-content/uploads/best-portable-air-conditioner-and-heater-image.jpg)

