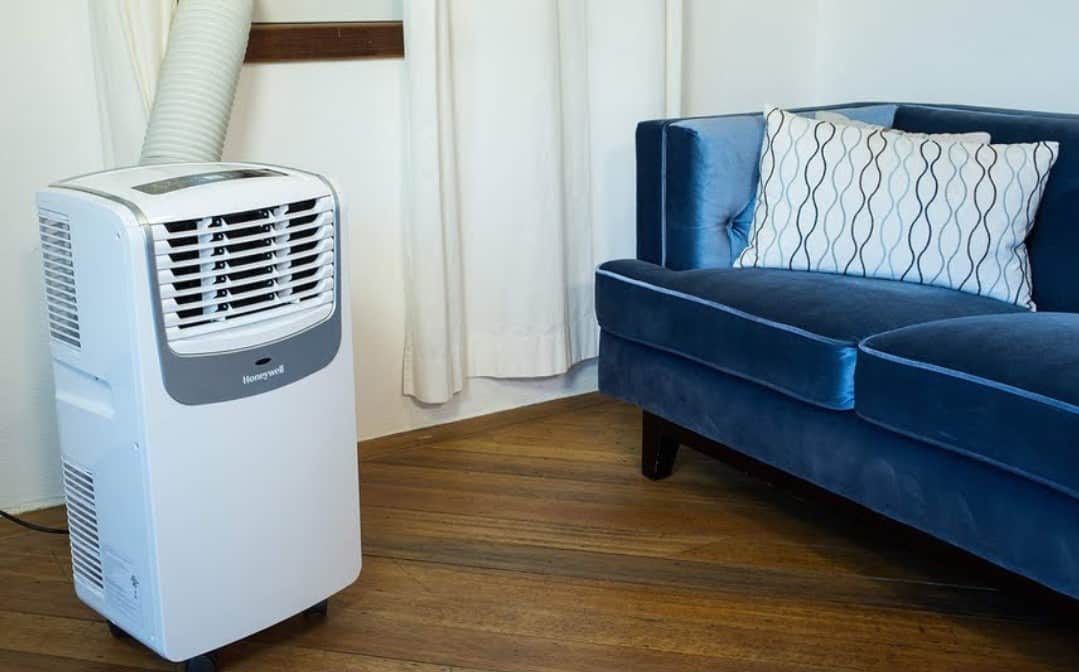
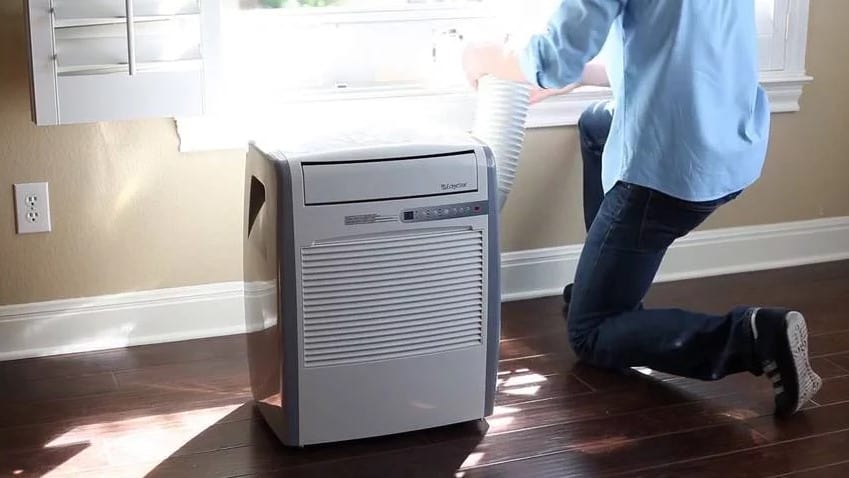
If you are new to the world of indoor cooling, you may wonder how to install a portable air conditioner in a sliding door. Some of the best air conditioners, after all, sliding doors in a pinch, though it does require some work. Keep reading to learn all about this process and how to get it done quickly and without too much of a headache.
KEY TAKEAWAYS:
- If you have no useable windows, a sliding door makes a great repository for AC exhaust vents and a portable AC unit.
- Purchase a Plexiglass insert or a dedicated sliding door AC hardware kit (similar to a window kit) online or at a hardware store.
- Cut the insert down to size, affix it to the sliding glass door, and attach the portable air conditioner vent hose.
Why Put a Portable AC in a Sliding Door?
Most air conditioners require access to the outdoor to pull air in and, if a sliding door is your only access well, then, you have to make it work. Some homeowners have to find someplace for their portable AC to go, so they learn how to install a portable air conditioner in a crank window, for instance.
How to Install Portable Air Conditioner in a Sliding Door
Though not terribly difficult, the process here is harder than, say, learning how to install window air conditioning brackets, or installing an air conditioner in a mobile home. Moving an A/C unit is simple, but making an air conditioner out of a bucket? Not so much. Here are the steps.
Insider Tip
Some sliding door portable AC kits are easily removable when not in use, so you can still use the door.
STEP 1 Measure Your Door
- Measure your sliding door, particularly the height, as you’ll need a large Plexiglass insert to make up the rest of the room once the vents are connected.
- Purchase a useable insert or a dedicated sliding door venting kit, which are available online.
STEP 2 Cut the Insert or Kit Components
- The insert or related kit components need cutting down to size to fit the overall dimensions of your sliding glass door, from the bottom to the top.
- This requires serious tools, so bring the insert to your local hardware store and have them cut it down to the correct size.
- Make sure they also cut a hole for the exhaust hose.
STEP 3 Setting Up
- Now that you’ve got the insert or kit ready to go, start the installation by opening the sliding door to allow the insert to fit, and attaching a latch to secure it in place.
- Use retainer clips or twist clamps to secure the insert to the sliding door.
- Secure weatherproofing strips or caulk to seal the insert and keep it waterproof.
STEP 4 Attach and Test
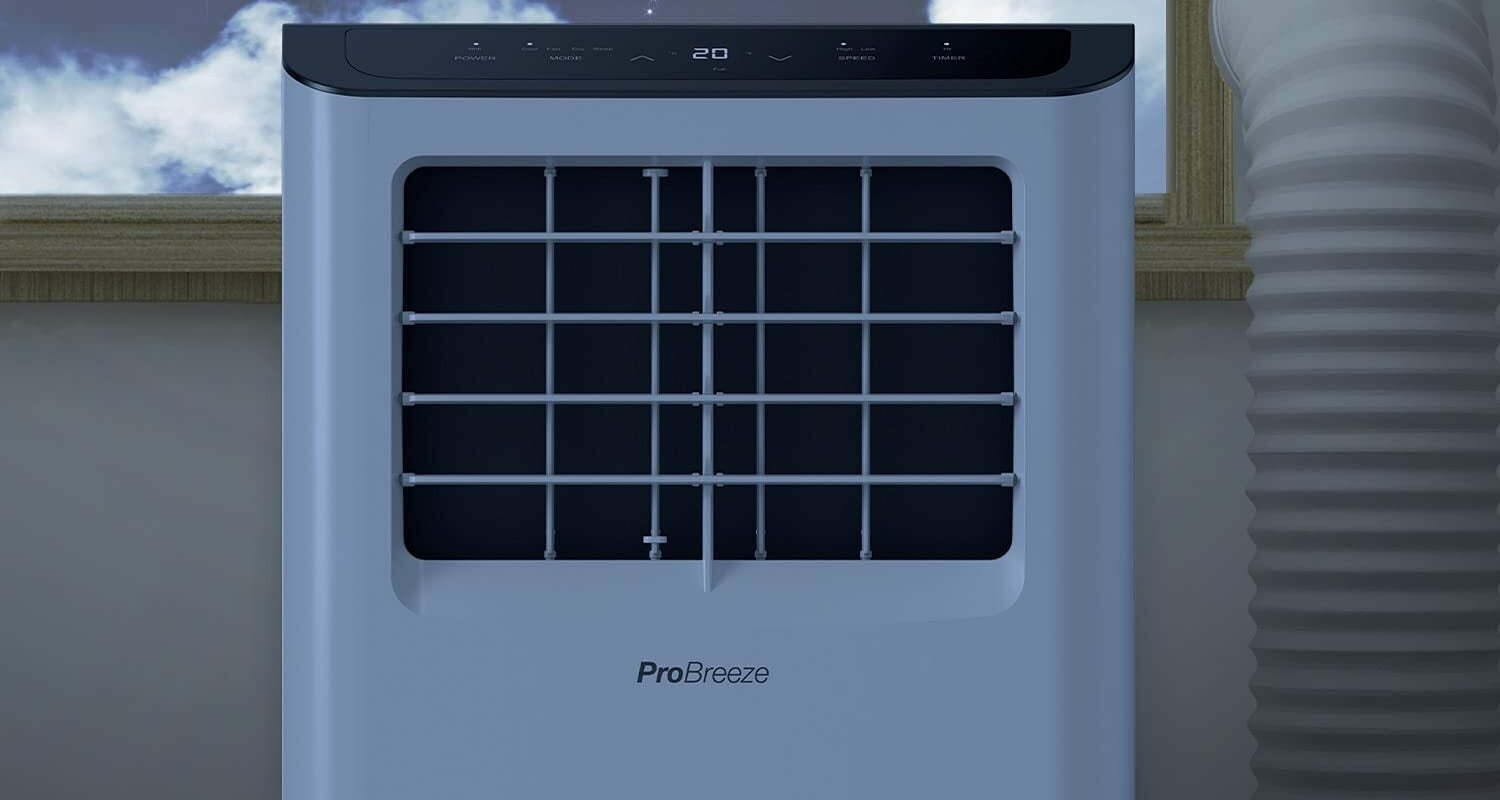
- Next, affix the hose to the vent.
- Plug the portable air conditioner into a power outlet and turn it on.
- You should experience cool air flowing from the air conditioner.
F.A.Q.S
Why vent portable ACs?
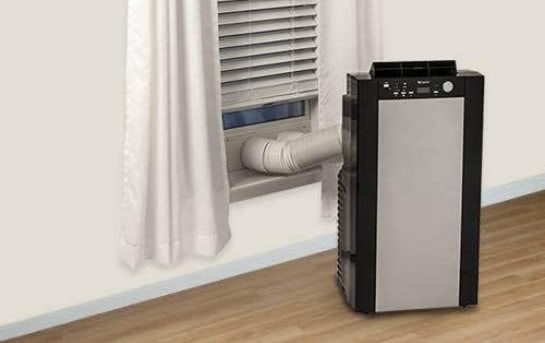
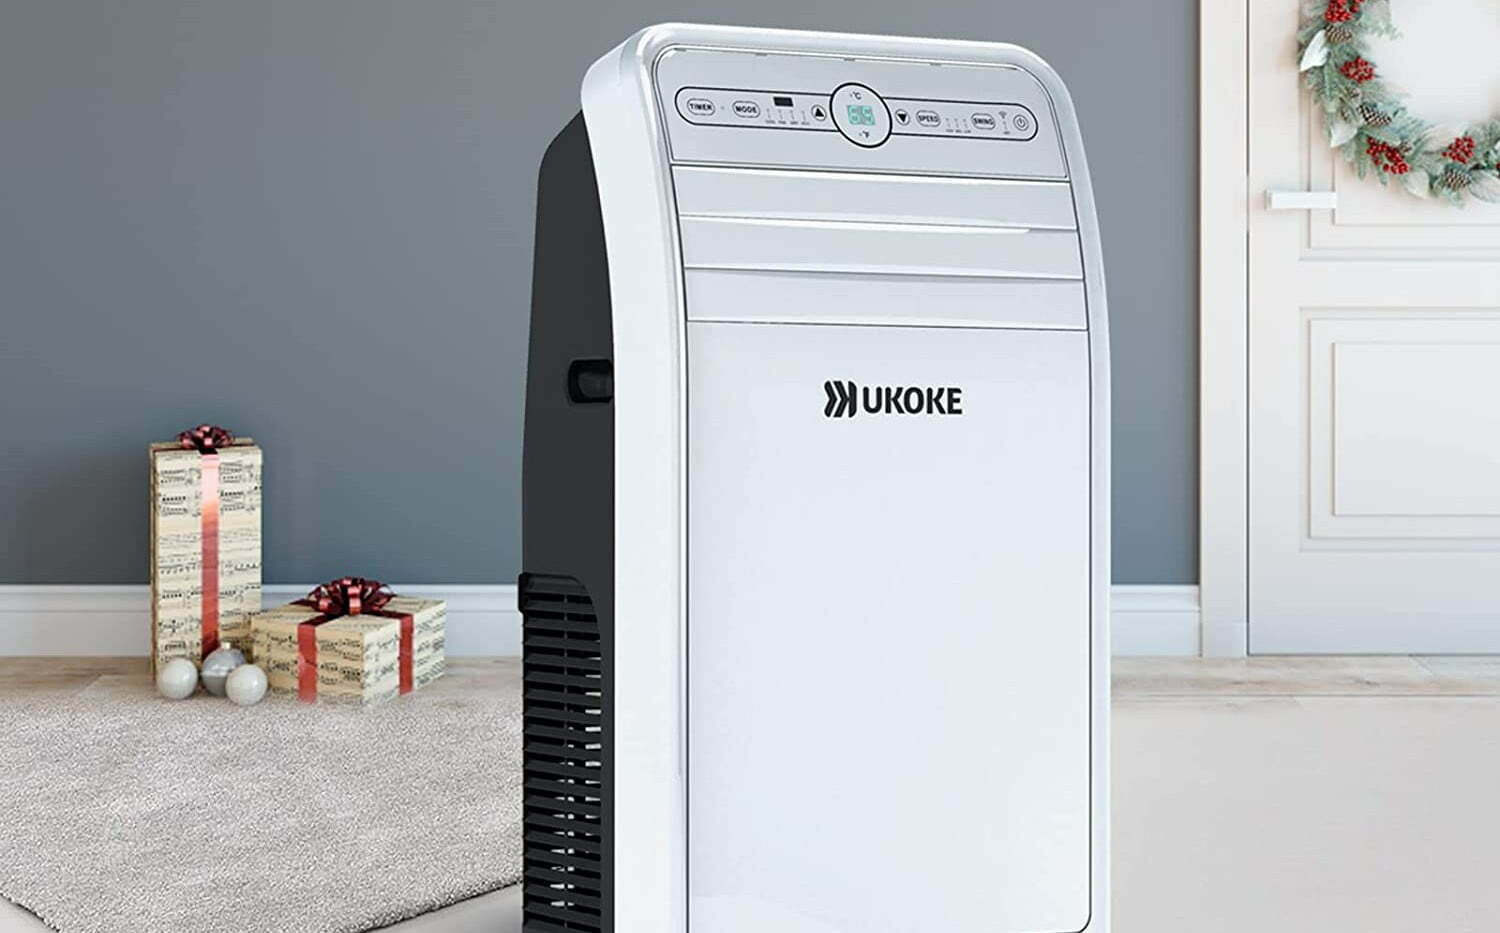
Use the exhaust hose to vent portable ACs to send hot air outside, instead of letting it hang around your home.
Do all portable air conditioners need to be vented outside?
Yes, all portable ACs need a vent hose or exhaust hose to send hot air outside during use.
Do portable air conditioners need a water supply?
No, though they create water during use via the exhaust hose, vent hose, or dryer vents. Portable air conditioner venting creates water which must be disposed of.
STAT: One of the essential parts of installing a portable AC is venting. You must install it the right way if you want it to cool the whole room and remove hot air. (source)
REFERENCES:
- https://www.youtube.com/watch?v=hBwyMbAf5IM
- https://www.wcmanet.org/how-to-vent-portable-ac-through-patio-door/
- https://www.newair.com/blogs/learn/how-to-install-portable-air-conditionerr
- https://www.homedepot.com/b/Heating-Venting-Cooling-Air-Conditioners-Window-Air-Conditioners/Casement/N-5yc1vZc4luZ1z180xd
- https://en.wikipedia.org/wiki/Air_conditioning











![Best Air Conditioners in [year] ([month] Reviews) 27 Best Air Conditioners in 2026 (January Reviews)](https://www.gadgetreview.dev/wp-content/uploads/best-air-conditioners-image.jpg)
![Quietest Through The Wall Air Conditioners in [year] 28 Quietest Through The Wall Air Conditioners in 2026](https://www.gadgetreview.dev/wp-content/uploads/quietest-through-the-wall-air-conditioner-image.jpg)
![Best 10000 BTU Air Conditioners in [year] 29 Best 10000 BTU Air Conditioners in 2026](https://www.gadgetreview.dev/wp-content/uploads/best-10000-btu-air-conditioner-image.jpg)
![Best 15000 BTU Air Conditioners in [year] 30 Best 15000 BTU Air Conditioners in 2026](https://www.gadgetreview.dev/wp-content/uploads/best-15000-btu-air-conditioner-image.jpg)
![Best 15000 BTU Window Air Conditioners in [year] 31 Best 15000 BTU Window Air Conditioners in 2026](https://www.gadgetreview.dev/wp-content/uploads/best-15000-btu-window-air-conditioner-image.jpg)
![Best 12000 BTU Air Conditioners in [year] 32 Best 12000 BTU Air Conditioners in 2026](https://www.gadgetreview.dev/wp-content/uploads/best-12000-btu-air-conditioner-image.jpg)
![Best Photocatalytic Oxidation Air Purifiers in [year] 33 Best Photocatalytic Oxidation Air Purifiers in 2026](https://www.gadgetreview.dev/wp-content/uploads/best-photocatalytic-oxidation-air-purifier-image.jpg)
![Best Ventless Portable Air Conditioners in [year] 34 Best Ventless Portable Air Conditioners in 2026](https://www.gadgetreview.dev/wp-content/uploads/best-ventless-portable-air-conditioner-image.jpg)
![Best Window Air Conditioners with Heat in [year] 35 Best Window Air Conditioners with Heat in 2026](https://www.gadgetreview.dev/wp-content/uploads/best-window-air-conditioner-with-heat-image.jpg)
![Best Inverter Air Conditioners in [year] 36 Best Inverter Air Conditioners in 2026](https://www.gadgetreview.dev/wp-content/uploads/best-inverter-ac-image.jpg)
![Best HEPA Air Purifiers in [year] 37 Best HEPA Air Purifiers in 2026](https://www.gadgetreview.dev/wp-content/uploads/best-hepa-air-purifier-image.jpg)
![Best Quiet Window Air Conditioners in [year] 38 Best Quiet Window Air Conditioners in 2026](https://www.gadgetreview.dev/wp-content/uploads/quiet-window-air-conditioner-image.jpg)
![Best Energy Efficient Window Air Conditioners in [year] 39 Best Energy Efficient Window Air Conditioners in 2026](https://www.gadgetreview.dev/wp-content/uploads/best-energy-efficient-window-air-conditioner-image.jpg)
![Best Quiet Portable Air Conditioners in [year] 40 Best Quiet Portable Air Conditioners in 2026](https://www.gadgetreview.dev/wp-content/uploads/quiet-portable-air-conditioner-image.jpg)
![Best 6000 BTU Air Conditioners in [year] 41 Best 6000 BTU Air Conditioners in 2026](https://www.gadgetreview.dev/wp-content/uploads/best-6000-btu-air-conditioner-image.jpg)
![Best 8000 BTU Air Conditioners in [year] 42 Best 8000 BTU Air Conditioners in 2026](https://www.gadgetreview.dev/wp-content/uploads/best-8000-btu-air-conditioner-image.jpg)
![Best Small Window Air Conditioner in [year] 43 Best Small Window Air Conditioner in 2026](https://www.gadgetreview.dev/wp-content/uploads/best-small-window-air-conditioner-image.jpg)
![Best 5000 BTU Air Conditioners in [year] 44 Best 5000 BTU Air Conditioners in 2026](https://www.gadgetreview.dev/wp-content/uploads/best-5000-btu-air-conditioner.jpg)
![Best Mini Split in [year] 45 Best Mini Split in 2026](https://www.gadgetreview.dev/wp-content/uploads/best-ductless-mini-split-air-conditioner-image.jpg)
![10 Best Portable Air Conditioners and Heaters in [year] 46 10 Best Portable Air Conditioners and Heaters in 2026](https://www.gadgetreview.dev/wp-content/uploads/best-portable-air-conditioner-and-heater-image.jpg)

