If you are shopping around for new kitchen appliances, you may wonder how to install a built-in microwave in a cabinet. Some of the best microwaves, after all, are designed to fit over-the-range and sit inside of a dedicated enclosure. Keep reading to learn about built-in microwaves and the installation process.
KEY TAKEAWAYS:
- Installing a built-in microwave is not a simple process and requires tools and some electrical know-how, unlike a countertop microwave that only needs counter space.
- Consider hiring a professional, but if you are deadset on doing it yourself, make sure you have two or three people on hand.
- Each make and model is different and may require a specific and unique installation procedure.
What is a Built-in Microwave?
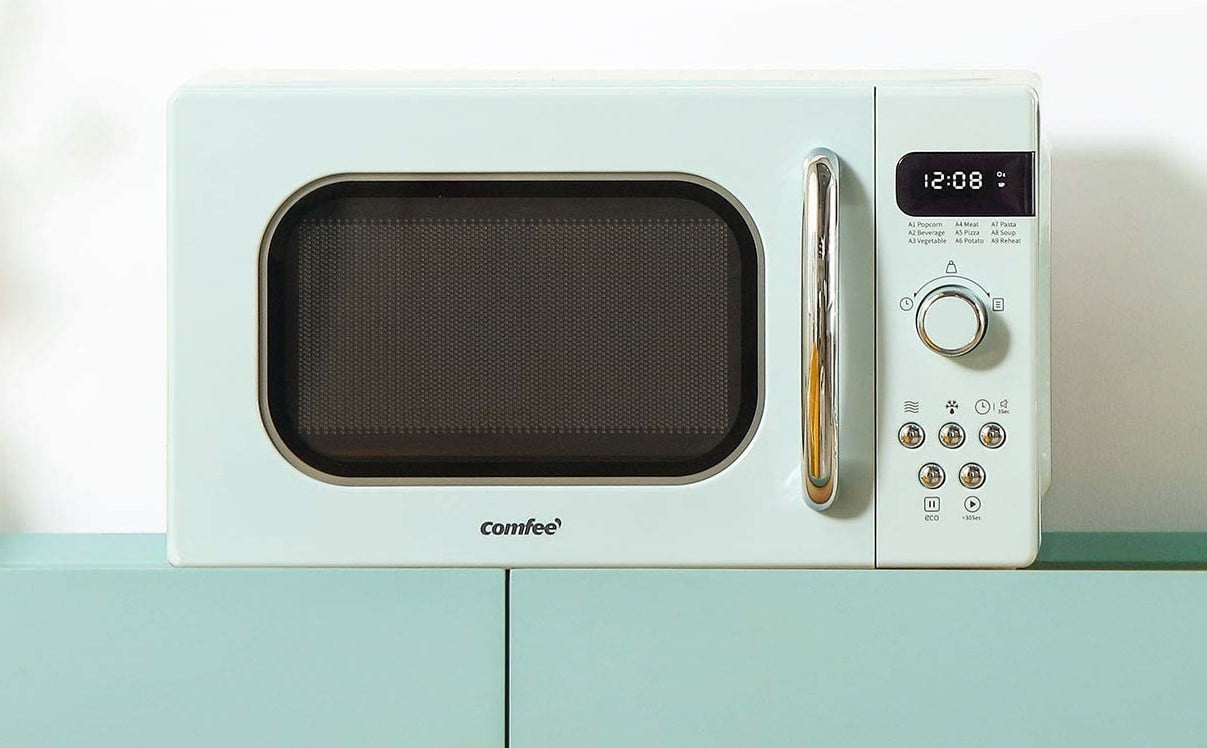
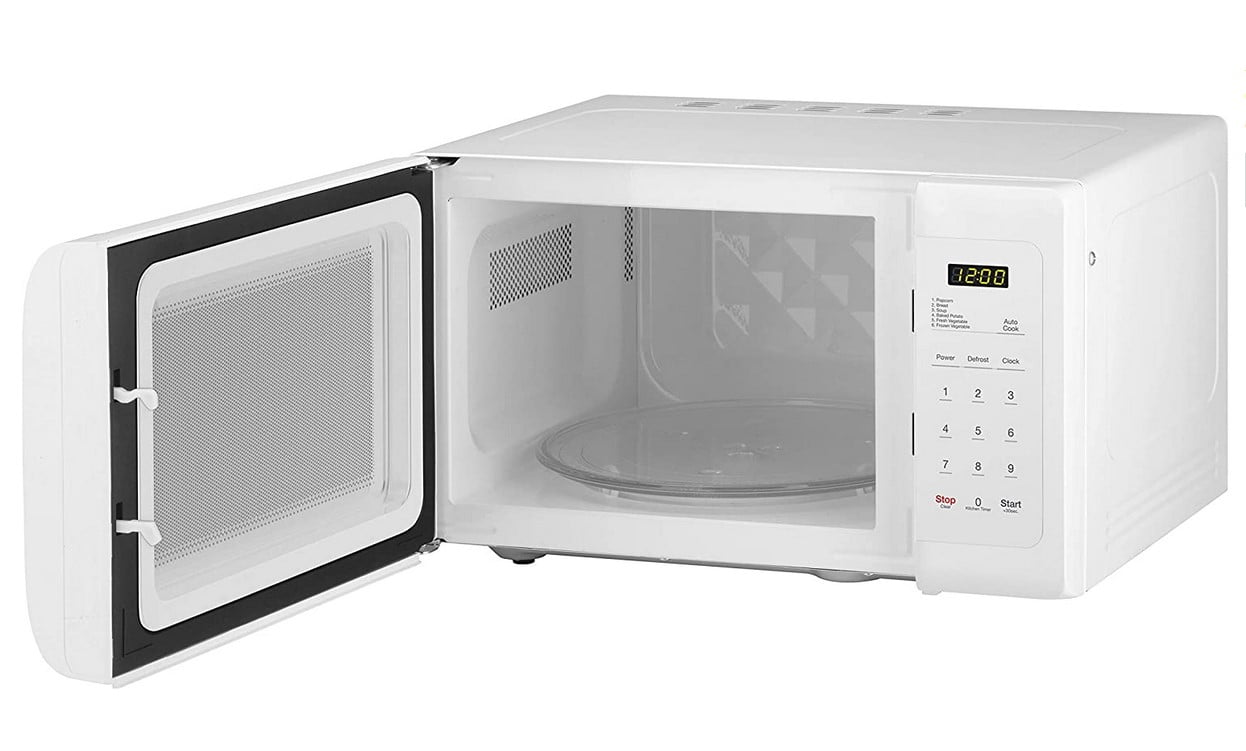
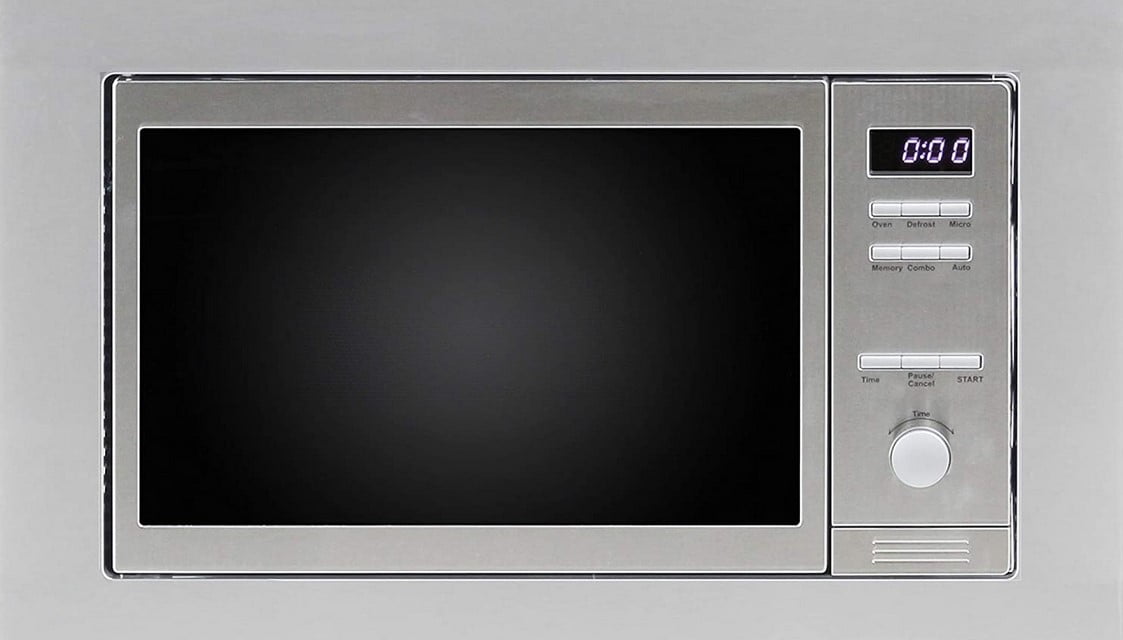
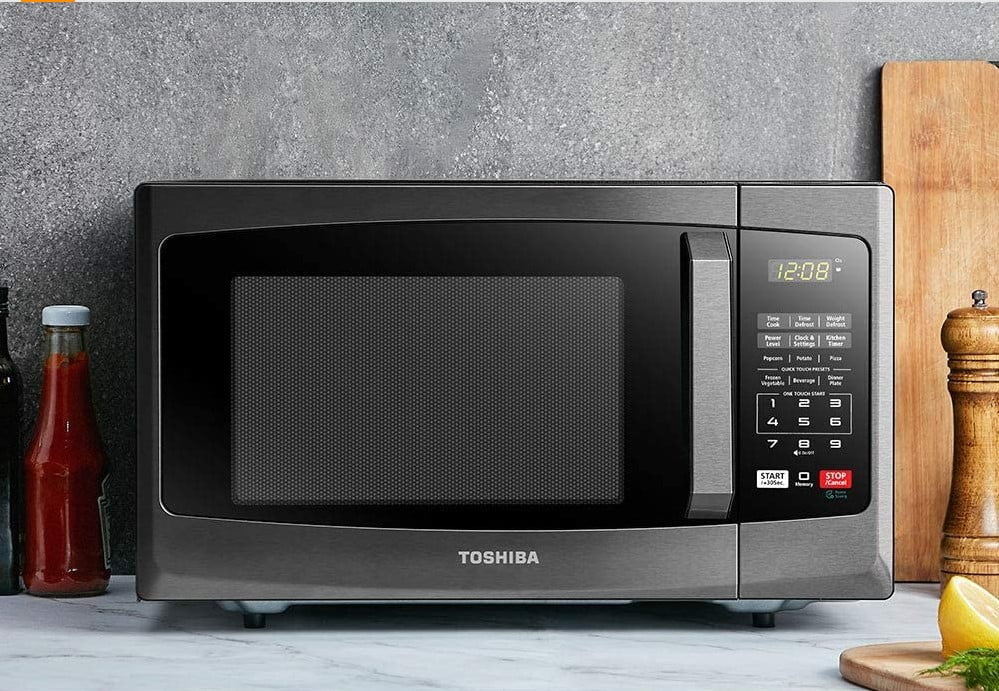
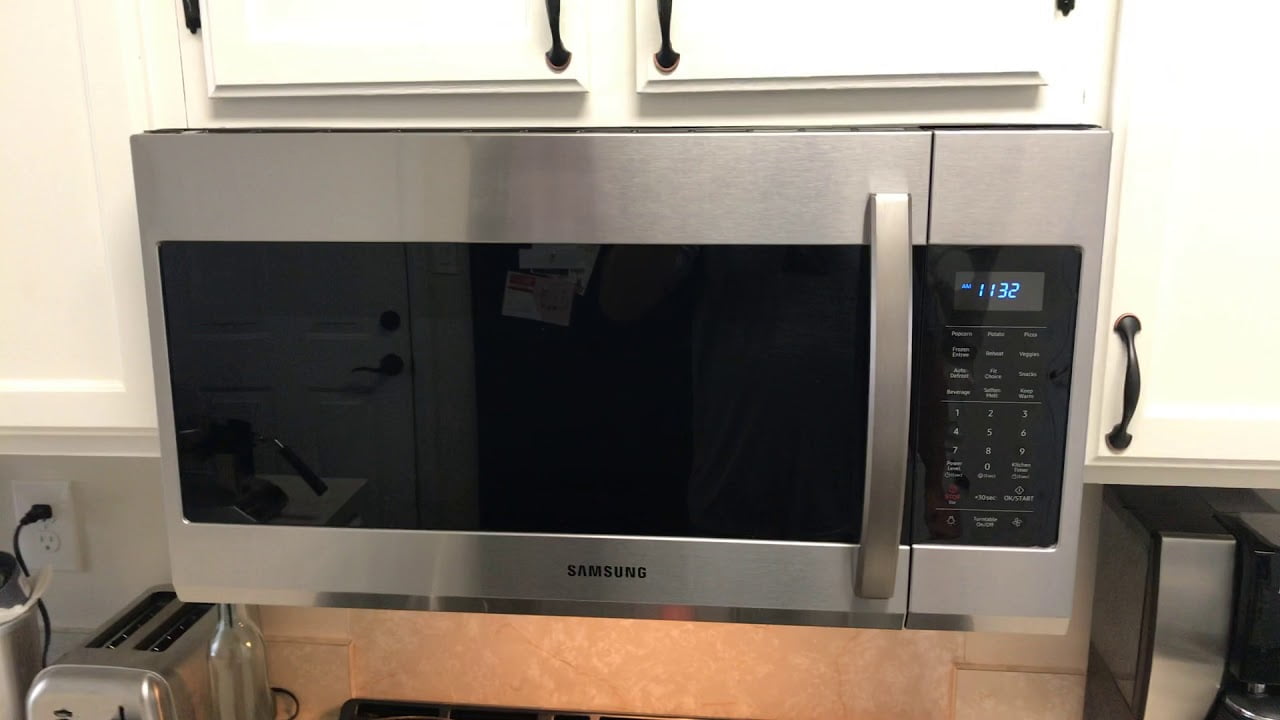
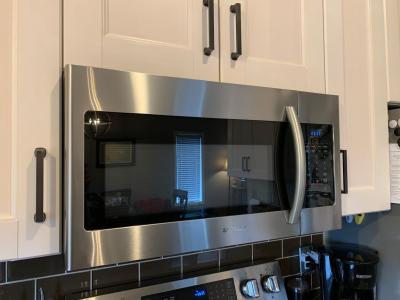
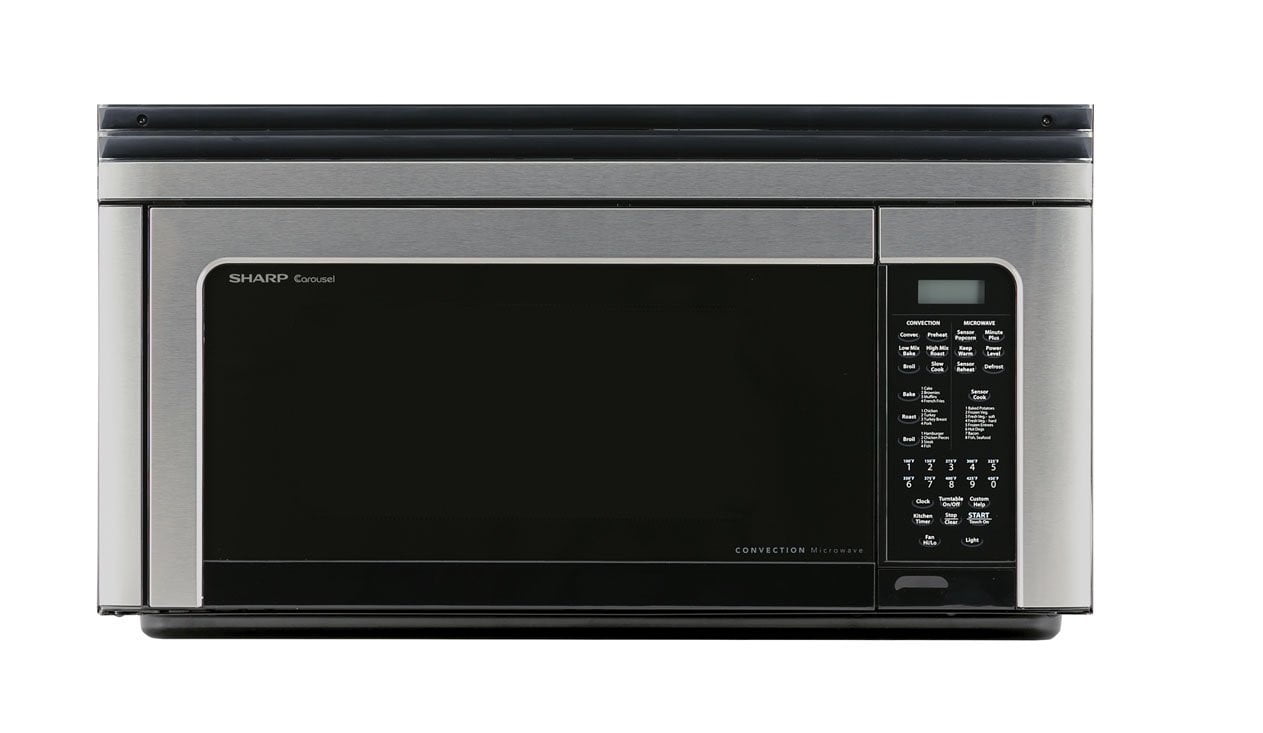
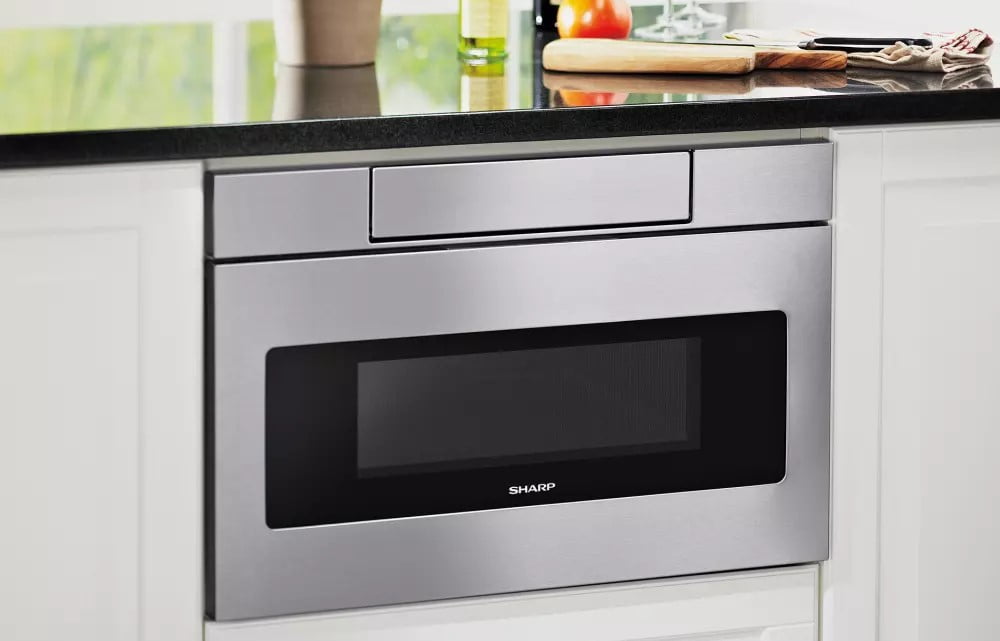
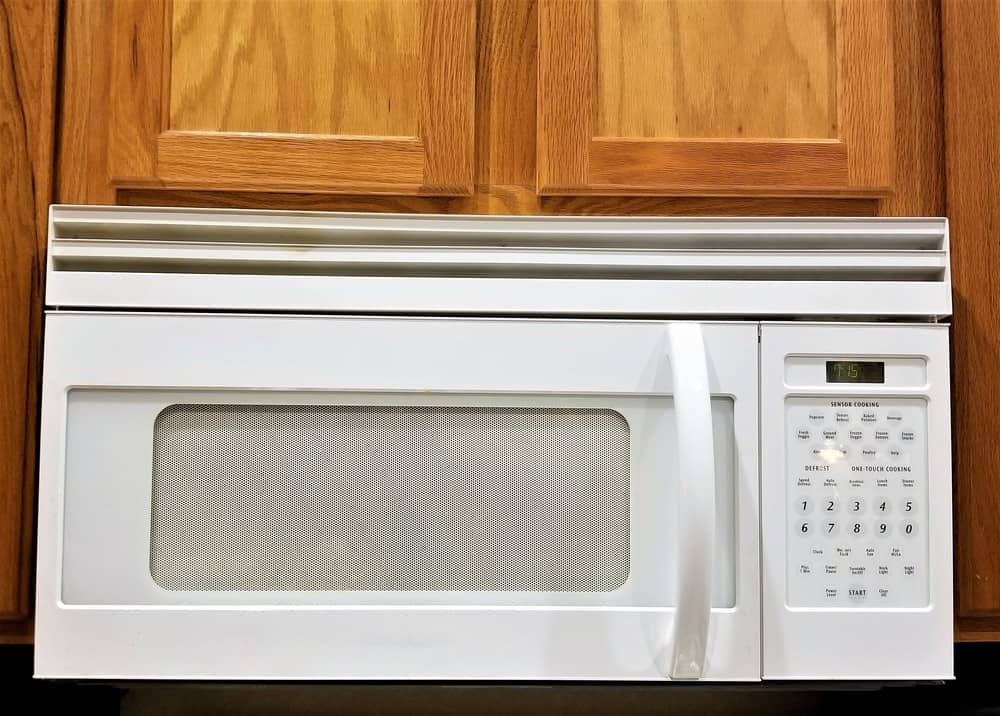
A built-in microwave has many names, including a range microwave, an over-the-range microwave, or even a drawer microwave. Typically, these microwave ovens rest above the oven range in a dedicated enclosure. They operate in contrast to countertop models, which do not need cabinet space, a trim kit, microwave vents, or anything else.
Insider Tip
Take your time with this installation, as a professional installation will result in safer operation and a longer overall lifespan.
How to Install a Built-in Microwave
Tools Needed: Phillips screwdriver, flat-blade screwdriver, measuring tape, level, drill, various drill bits
There are many ways to install a microwave, but built-in microwaves require a specialized process, as there are tools and multiple steps involved. Some consumers may also opt for a professional when it comes to installation.
STEP 1 Measure the Cabinet Opening
- No matter where the microwave oven will be placed, you will have to measure the cabinet opening before installation in order to ensure compliance.
- Use your tape measure to size out the depth, length, height, and width of the cabinet.
- Make sure to include around three inches of clearance above the cabinet opening and one inch of clearance below.
- Keep these measurements handy as you shop for your built-in microwave.
STEP 2Confirm Electrical Supply
- Make sure the cabinet has ready access to an electrical outlet with the proper voltage for your microwave.
- If the outlet is far away, purchase an extension cord and try to tuck it out of the way.
- Any extension cord will take up extra room at the back of the cabinet, so take that into consideration.
SKIP 3 Assemble and Install the Spacer Kit
- Built-in microwaves should ship with a dedicated spacer kit so as to allow it to sit comfortably inside of your cabinet or related enclosure.
- The specific process of building this spacer kit will differ depending on the make and model of your microwave oven.
- The process typically includes aligning a spacer bar at the bottom trim and securing it with screws.
- Do the same thing for the opposite spacer bar.
- Drill through the mounting holes in the spacer bars to create pilot holes using whatever method indicated in the instructions. Insert the appropriate screws.
- Tighten these screws with a screwdriver, though take caution not to overtighten the screws.
STEP 4 Unpack the Microwave and Get it Ready
- Methodically unpack your new microwave, removing any packaging and setting aside any components and the instructions.
- If the microwave is heavy, make sure to have another person on hand for the rest of the installation process.
- Once unpacked, rest the microwave near the cabinet enclosure on a table or even a pile of cardboard.
STEP 5 Connect the Wiring
- Some built-in microwaves can simply be plugged into a power outlet, while others will require some light electrical work.
- Wear safety gloves and turn off the power via the fusebox before messing with actual electrical circuit boxes.
- Secure any wires to the junction box as indicated in the instructions, or simply plug the power cord into the extension cord or into the power outlet itself.
STEP 6 Place and Install the Microwave
- Now it is time to gently insert the microwave into the cabinet or enclosure.
- Have two or more people for this process.
- Align the microwave oven with the spacer bars.
- Open the microwave door and push against the front frame until it is fully inserted into the cabinet, making sure it is centered.
- Affix the microwave to the mounting bracket via whatever method is indicated in the instructions.
- Insert the rotating tray according to the instructions, and get ready to cook.
- Later on, you may want to learn how to clean a microwave with lemons or via other methods.
F.A.Q.S
Do built-in microwaves need ventilation?
Yes, in most cases this major appliance will need ventilation of some kind.
How long do built-in microwaves last?
A built-in microwave oven should last ten years or so, depending on how often you maintain it and how accurately it has been installed. Be sure to use a trim kit to get that right and pay special attention to the power cord.
Are built-in microwaves safe?
Yes, built-in microwaves and wall ovens are safe no matter where they are placed, including upper cabinets, so long as they are installed correctly and include ventilation.
STAT: In 1947, Raytheon built the “Radarange”, the first commercially available microwave oven. (source)






![Best Kitchen Appliances in [year] ([month] Reviews) 27 Best Kitchen Appliances in 2026 (January Reviews)](https://www.gadgetreview.dev/wp-content/uploads/best-kitchen-appliances.jpg)
![Best Whirlpool Microwaves in [year] 28 Best Whirlpool Microwaves in 2026](https://www.gadgetreview.dev/wp-content/uploads/best-whirlpool-microwaves-image.jpg)
![Best Microwave Drawers in [year] 29 Best Microwave Drawers in 2026](https://www.gadgetreview.dev/wp-content/uploads/best-microwave-drawer-image.jpg)
![Best Quiet Microwaves in [year] 30 Best Quiet Microwaves in 2026](https://www.gadgetreview.dev/wp-content/uploads/best-quiet-microwave-image.jpg)
![Best LG Microwaves in [year] 31 Best LG Microwaves in 2026](https://www.gadgetreview.dev/wp-content/uploads/best-lg-microwaves-image.jpg)
![Best Microwaves in [year] ([month] Reviews) 32 Best Microwaves in 2026 (January Reviews)](https://www.gadgetreview.dev/wp-content/uploads/best-microwaves-image.jpg)
![Best Over the Range Convection Microwaves in [year] 33 Best Over the Range Convection Microwaves in 2026](https://www.gadgetreview.dev/wp-content/uploads/best-over-the-range-convection-microwave-image.jpg)
![Best Retro Microwaves in [year] 34 Best Retro Microwaves in 2026](https://www.gadgetreview.dev/wp-content/uploads/best-retro-microwave-image.jpg)
![Best GE Microwaves in [year] 35 Best GE Microwaves in 2026](https://www.gadgetreview.dev/wp-content/uploads/best-ge-microwaves-image..jpg)
![10 Best Samsung Microwaves in [year] 36 10 Best Samsung Microwaves in 2026](https://www.gadgetreview.dev/wp-content/uploads/best-samsung-microwaves-image.jpg)
![10 Best Microwaves for Seniors in [year] 37 10 Best Microwaves for Seniors in 2026](https://www.gadgetreview.dev/wp-content/uploads/best-microwaves-seniors-image.jpg)
![10 Best Microwave Toaster Oven Combo in [year] 38 10 Best Microwave Toaster Oven Combo in 2026](https://www.gadgetreview.dev/wp-content/uploads/best-microwave-toaster-oven-combo-scaled-1.jpg)
![10 Best Panasonic Microwaves in [year] 39 10 Best Panasonic Microwaves in 2026](https://www.gadgetreview.dev/wp-content/uploads/best-panasonic-microwaves.jpg)
![10 Best Microwaves for College Dorms in [year] 40 10 Best Microwaves for College Dorms in 2026](https://www.gadgetreview.dev/wp-content/uploads/best-microwaves-for-college-dorms.jpg)
![10 Best Compact Microwaves in [year] 41 10 Best Compact Microwaves in 2026](https://www.gadgetreview.dev/wp-content/uploads/best-compact-microwave-image.jpg)
![10 Best Convection Microwave Ovens in [year] 42 10 Best Convection Microwave Ovens in 2026](https://www.gadgetreview.dev/wp-content/uploads/best-convection-microwave-oven-image.jpg)
![10 Best Built In Microwaves in [year] 43 10 Best Built In Microwaves in 2026](https://www.gadgetreview.dev/wp-content/uploads/best-built-in-microwave-image.jpg)


