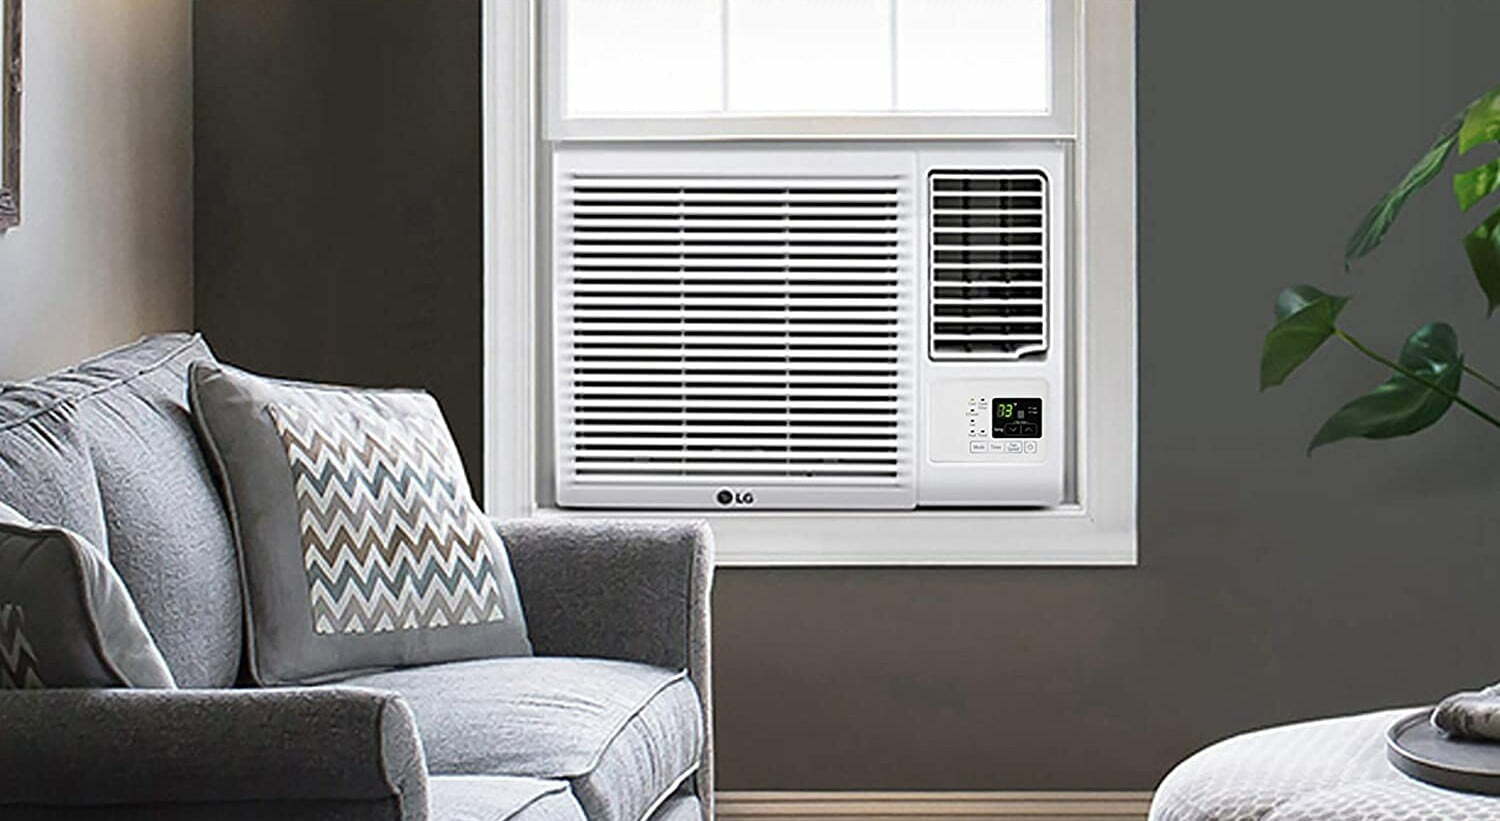
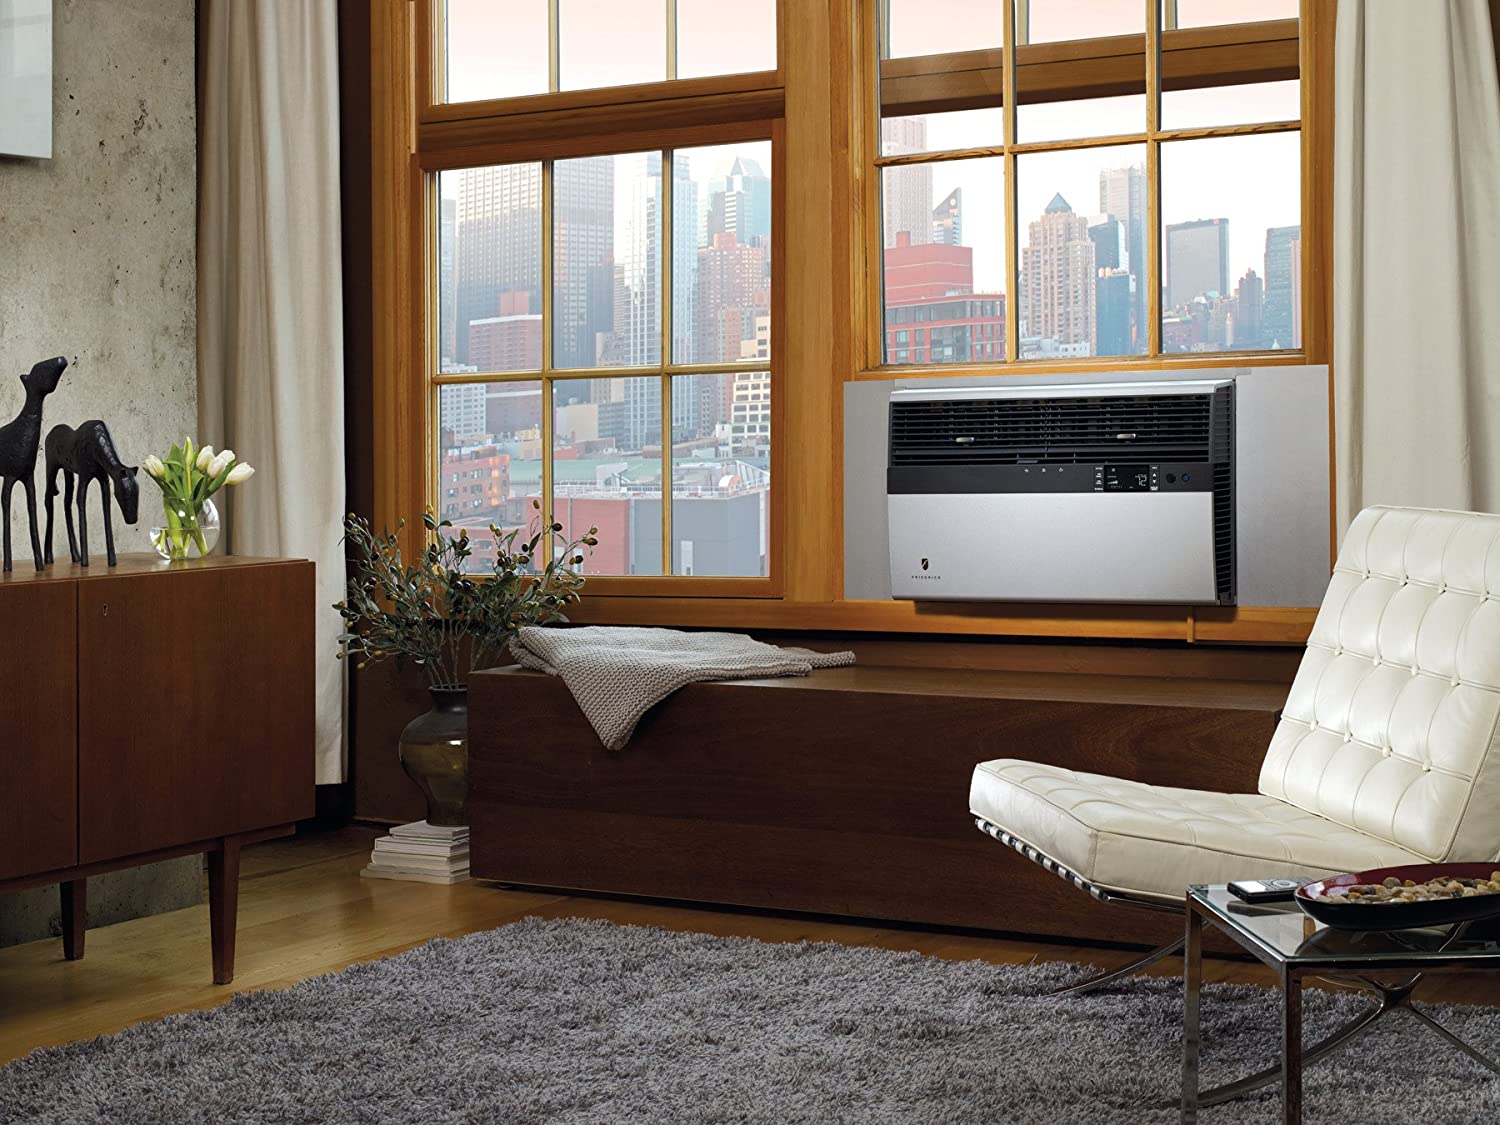
For those who need to cool a small space, the best air conditioner is often a window air conditioning unit. And to keep your window unit in excellent working order, it’s best to know how to do some simple repairs. So today, we’ll show you how to change the power cord on a window AC unit.
KEY TAKEAWAYS:
- Replacing a window air conditioner electrical cord is an easy DIY repair.
- To complete this repair, three color-coded wires need to be attached: ground (green wire), common (white wire), and black (hot wire).
- A faulty power cord needs to be replaced because it causes a potential fire hazard.
And for those looking for further information on central AC units, we have another article that discusses when to replace a heat pump with an air conditioner.
For more A/C-related questions, check out our info content covering leaving your A/C on when you’re not home, how to understand air conditioner symbols, and learning what E1 means on your A/C.
Replacing the Power Cord on a Window Air Conditioner
Basic knowledge of which wire goes to which terminal is all that’s needed to install your own power cord. If you are looking for more information on HVAC units, here’s an article that covers what causes Freon leaks in air conditioners.
Insider Tip
Keep the unit in an upright position throughout the repair process as best you can.
STEP 1 Unplug the Old Power Cord
- Make sure it’s unplugged from the electrical outlet. Then safely remove the unit from the window and place it on a level surface upright.
STEP 2 Remove the Sheet Metal/Plastic Inlet Cover
- Once you remove the cover, take out the air filter. Then undo the mounting screws that take off the front panel (electronic control board) and lift the front panel out of place after disconnecting the wire connector.
- Remove the front screws on the sides of the air conditioner near the bottom. Removing these screws will loosen up the inner parts of the unit.
STEP 3 Access the Service Box
- Slide out the internal components and find the service box. The service box should be a small grey box located in the upper section. You will see the power cord going into it.
- Remove the screws that fasten the service box cover.
STEP 4 Detach Old Wires
- Disconnect the wire connector attaching the white and black wires. Unscrew the white and black wires from the terminals if you have an older unit.
- Detach the ground wire.
- Once all wires are detached, completely remove the power cord.
STEP 5 Attach the Replacement Power Cord
- Connect the end of the wire connector on the cord to the wire connector in the AC unit. For older units, screw in the white wire to the common terminal and the black wire to the live terminal.
- Then screw in the grounding wire.
- Secure all wires, and thread the cord through the hole in the service box.
STEP 6 Reassemble Unit
- Attach the cover to the service box.
- Push the unit back into the AC cabinet and replace both front and rear cabinet screws.
- Reconnect the front panel.
- Place the air filter back.
- Then reinsert the front cover.
- Plug into the electrical outlet and power on the unit.
Warning
Check where the wire goes through the sheet metal frame. Make sure the rubber grommet/grip-tight is still installed, so the sheet metal doesn’t cut the cord.
F.A.Q.S
What is an LCDI power cord?
This acronym stands for Leakage Current Detection Interruption. This type of cord detects a breakage in the hot wire (black) and uses detectors to prevent the unit from causing fires.
What is a strain relief clamp?
A strain relief clamp is a small plastic brace that attaches to the power cord to hold it and take pressure off it.
What gauge wire do I need for my window AC power cord?
To know what size you’ll need, check the amperage of your unit. For example, if it is 20 amps, you’ll likely need 12-gauge wire. And if it is a 30-amp unit, you’ll need 10-gauge wire.
STAT: Experts recommend letting an air conditioner sit flat for at least 2 hours after repairs to allow the oil in the compressor to settle. (source)
REFERENCES:
- https://support.edgestar.com/hc/en-us/articles/360026608592-How-do-I-replace-the-power-cord-on-my-window-or-through-the-wall-air-conditioner-
- https://www.youtube.com/watch?v=7c8bLJPODpQ
- https://idswater.com/2020/03/16/what-is-a-lcdi-power-cord/r
- https://www.fix.com/repair/appliance/air-conditioner/does-not-turn-on/
- https://www.youtube.com/watch?v=c4Q8j1DaA-E








![Best Air Conditioners in [year] ([month] Reviews) 27 Best Air Conditioners in 2025 (December Reviews)](https://www.gadgetreview.dev/wp-content/uploads/best-air-conditioners-image.jpg)
![Quietest Through The Wall Air Conditioners in [year] 28 Quietest Through The Wall Air Conditioners in 2025](https://www.gadgetreview.dev/wp-content/uploads/quietest-through-the-wall-air-conditioner-image.jpg)
![Best 10000 BTU Air Conditioners in [year] 29 Best 10000 BTU Air Conditioners in 2025](https://www.gadgetreview.dev/wp-content/uploads/best-10000-btu-air-conditioner-image.jpg)
![Best 15000 BTU Air Conditioners in [year] 30 Best 15000 BTU Air Conditioners in 2025](https://www.gadgetreview.dev/wp-content/uploads/best-15000-btu-air-conditioner-image.jpg)
![Best 15000 BTU Window Air Conditioners in [year] 31 Best 15000 BTU Window Air Conditioners in 2025](https://www.gadgetreview.dev/wp-content/uploads/best-15000-btu-window-air-conditioner-image.jpg)
![Best 12000 BTU Air Conditioners in [year] 32 Best 12000 BTU Air Conditioners in 2025](https://www.gadgetreview.dev/wp-content/uploads/best-12000-btu-air-conditioner-image.jpg)
![Best Photocatalytic Oxidation Air Purifiers in [year] 33 Best Photocatalytic Oxidation Air Purifiers in 2025](https://www.gadgetreview.dev/wp-content/uploads/best-photocatalytic-oxidation-air-purifier-image.jpg)
![Best Ventless Portable Air Conditioners in [year] 34 Best Ventless Portable Air Conditioners in 2025](https://www.gadgetreview.dev/wp-content/uploads/best-ventless-portable-air-conditioner-image.jpg)
![Best Window Air Conditioners with Heat in [year] 35 Best Window Air Conditioners with Heat in 2025](https://www.gadgetreview.dev/wp-content/uploads/best-window-air-conditioner-with-heat-image.jpg)
![Best Inverter Air Conditioners in [year] 36 Best Inverter Air Conditioners in 2025](https://www.gadgetreview.dev/wp-content/uploads/best-inverter-ac-image.jpg)
![Best HEPA Air Purifiers in [year] 37 Best HEPA Air Purifiers in 2025](https://www.gadgetreview.dev/wp-content/uploads/best-hepa-air-purifier-image.jpg)
![Best Quiet Window Air Conditioners in [year] 38 Best Quiet Window Air Conditioners in 2025](https://www.gadgetreview.dev/wp-content/uploads/quiet-window-air-conditioner-image.jpg)
![Best Energy Efficient Window Air Conditioners in [year] 39 Best Energy Efficient Window Air Conditioners in 2025](https://www.gadgetreview.dev/wp-content/uploads/best-energy-efficient-window-air-conditioner-image.jpg)
![Best Quiet Portable Air Conditioners in [year] 40 Best Quiet Portable Air Conditioners in 2025](https://www.gadgetreview.dev/wp-content/uploads/quiet-portable-air-conditioner-image.jpg)
![Best 6000 BTU Air Conditioners in [year] 41 Best 6000 BTU Air Conditioners in 2025](https://www.gadgetreview.dev/wp-content/uploads/best-6000-btu-air-conditioner-image.jpg)
![Best 8000 BTU Air Conditioners in [year] 42 Best 8000 BTU Air Conditioners in 2025](https://www.gadgetreview.dev/wp-content/uploads/best-8000-btu-air-conditioner-image.jpg)
![Best Small Window Air Conditioner in [year] 43 Best Small Window Air Conditioner in 2025](https://www.gadgetreview.dev/wp-content/uploads/best-small-window-air-conditioner-image.jpg)
![Best 5000 BTU Air Conditioners in [year] 44 Best 5000 BTU Air Conditioners in 2025](https://www.gadgetreview.dev/wp-content/uploads/best-5000-btu-air-conditioner.jpg)
![Best Mini Split in [year] 45 Best Mini Split in 2025](https://www.gadgetreview.dev/wp-content/uploads/best-ductless-mini-split-air-conditioner-image.jpg)
![10 Best Portable Air Conditioners and Heaters in [year] 46 10 Best Portable Air Conditioners and Heaters in 2025](https://www.gadgetreview.dev/wp-content/uploads/best-portable-air-conditioner-and-heater-image.jpg)
